The Ultimate Guide to Site Preparation for Backyard and Driveway Pavers: Tips for a Lasting, Low-Maintenance Project
Build a Lasting Foundation: Expert Site Preparation Tips for Stunning Backyard and Driveway Pavers
In any paving project, whether you're creating a cozy backyard patio or a durable industrial driveway, the groundwork is crucial. Proper site preparation ensures the longevity of your paving project and can dramatically improve the final appearance and durability. This guide will walk you through the essential steps for a well-prepared site and introduce you to some popular backyard paver and driveway paver trends for 2024.
1. Why Proper Site Preparation Matters
When preparing for a paving project, the strength and stability of the base can make or break the final results. Proper site preparation helps:
- Prevent common issues like sinking or shifting.
- Provide a stable, even surface for laying pavers.
- Increase the lifespan of your paver installation.
Whether you're opting for a backyard patio, driveway, or industrial paver layout, these site preparation steps will set the foundation for success.
2. Site Preparation Steps for Backyard and Driveway Pavers
Step 1: Site Assessment and Planning
Begin by mapping out the area where your pavers will be installed. Decide on your preferred layout, keeping in mind essential elements like drainage and water flow.
- Mark the Area: Clearly define the perimeter, marking it with stakes or spray paint.
- Measure Depth Requirements: Depending on the paver style and intended use, ensure you understand how deep to excavate.
If you're working with a professional paver installer, they can help determine the optimal layout and depth to handle various weather conditions and heavy loads.
Step 2: Clear the Area
Clear the designated area of vegetation, old materials, debris, and any previous installations.
- Remove Vegetation and Topsoil: Ensure no roots, weeds, or grass remain to prevent future growth beneath the pavers.
- Dispose of Debris: Any stones, old pavers, or other materials should be removed to create a clean slate.
- Level the Area: Use a level to verify that the entire area is even.
By clearing the site properly, you’ll create a stable environment that supports the new pavers and prevents unwanted plant growth.
Step 3: Excavation to Required Depth
Excavating to the correct depth is essential to ensure your paver installation is both aesthetically pleasing and functional. This depth varies based on the type of paver and use of the space:
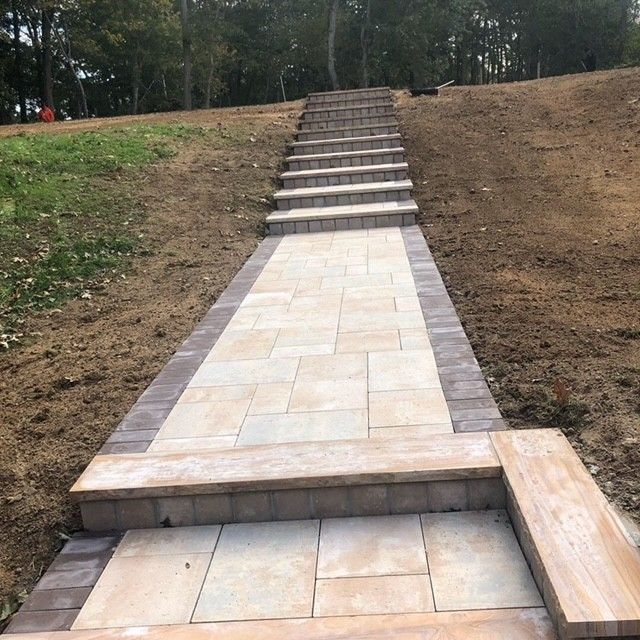
- Backyard Patios: Typically, backyard patios require an excavation depth of around 4-6 inches.
- Driveways: Driveway pavers for cars or light trucks usually require 8-12 inches to support the weight.
- Industrial Driveways: Heavy-duty or commercial applications require a depth of 12-18 inches to support substantial weight loads without cracking or shifting.
Step 4: Laying the Base Material
A well-compacted base layer of crushed stone or gravel will support your pavers.
- Add Base Material in Layers: Place base material in 2-3 inch layers, compacting each layer thoroughly with a plate compactor. Proper compaction minimizes shifting.
- Check for Drainage: The base should have a slight slope away from structures to ensure water flows away, reducing the chance of water pooling and erosion.
Step 5: Installing Edge Restraints
Edge restraints help prevent the pavers from spreading out over time, preserving the pattern and structure.
- Anchor Edge Restraints Firmly: These can be made of metal, plastic, or concrete, depending on the look and durability required. They act as barriers to keep pavers in place.
- Secure with Spikes: Edge restraints should be securely staked down every few inches.
Edge restraints play a critical role in maintaining the shape of your paver layout, especially for intricate designs.
Step 6: Laying and Leveling Bedding Sand
Once the base is set, add a layer of bedding sand to create a cushion for the pavers.
- Spread and Level Sand Evenly: The sand should be evenly spread across the base, typically around 1 inch thick.
- Screed for Smoothness: Use a screed board to level out the sand before laying each paver.
Step 7: Placing the Pavers
Now that the foundation is ready, it’s time to place the pavers according to your desired pattern.
- Start from the Edges: Begin at one edge and lay the pavers in a straight line, keeping each one as close to the previous as possible.
- Use Spacers if Necessary: For even spacing, spacers can help achieve a more professional look.
- Tamp Down Pavers: After placing the pavers, use a plate compactor to press them into the sand, creating a snug fit.
Step 8: Adding Joint Sand and Sealing
Once the pavers are in place, adding sand in the joints and sealing the surface can protect the installation and prevent weed growth.
- Brush Sand into Joints: Polymeric sand is a good option as it hardens with moisture, creating a tighter seal between pavers.
- Seal the Surface: A quality sealant helps preserve the color and prevents staining, especially useful for driveways exposed to oil and grease.
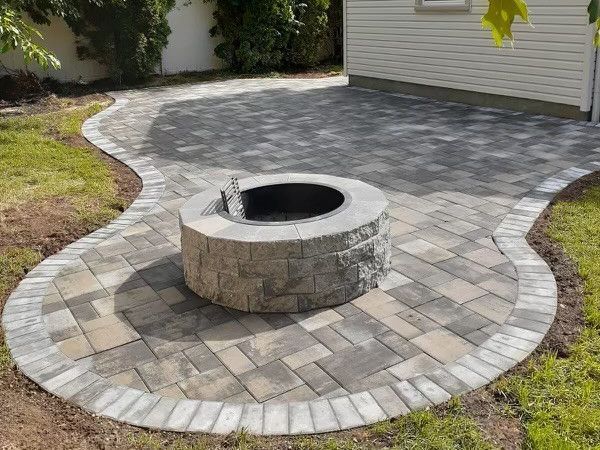
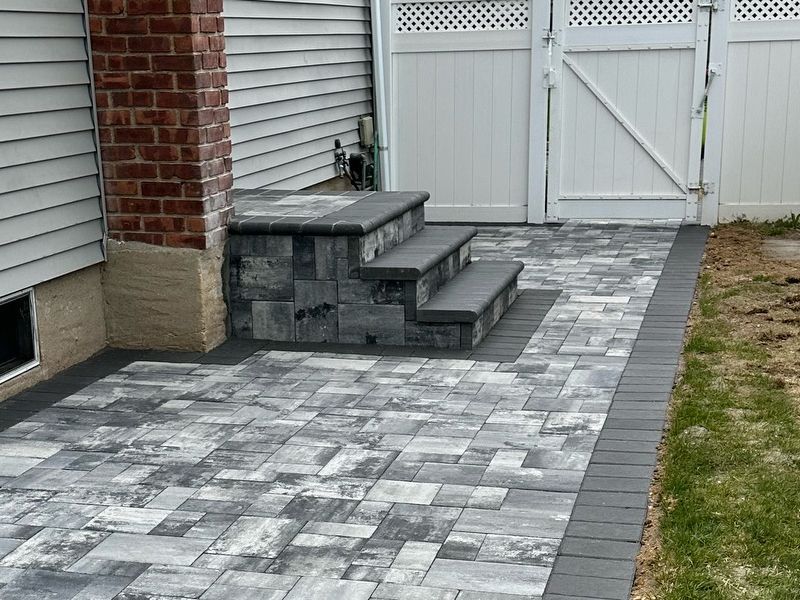
3. 2024 Trends in Backyard Pavers and Driveways
Backyard Pavers for Fall 2024
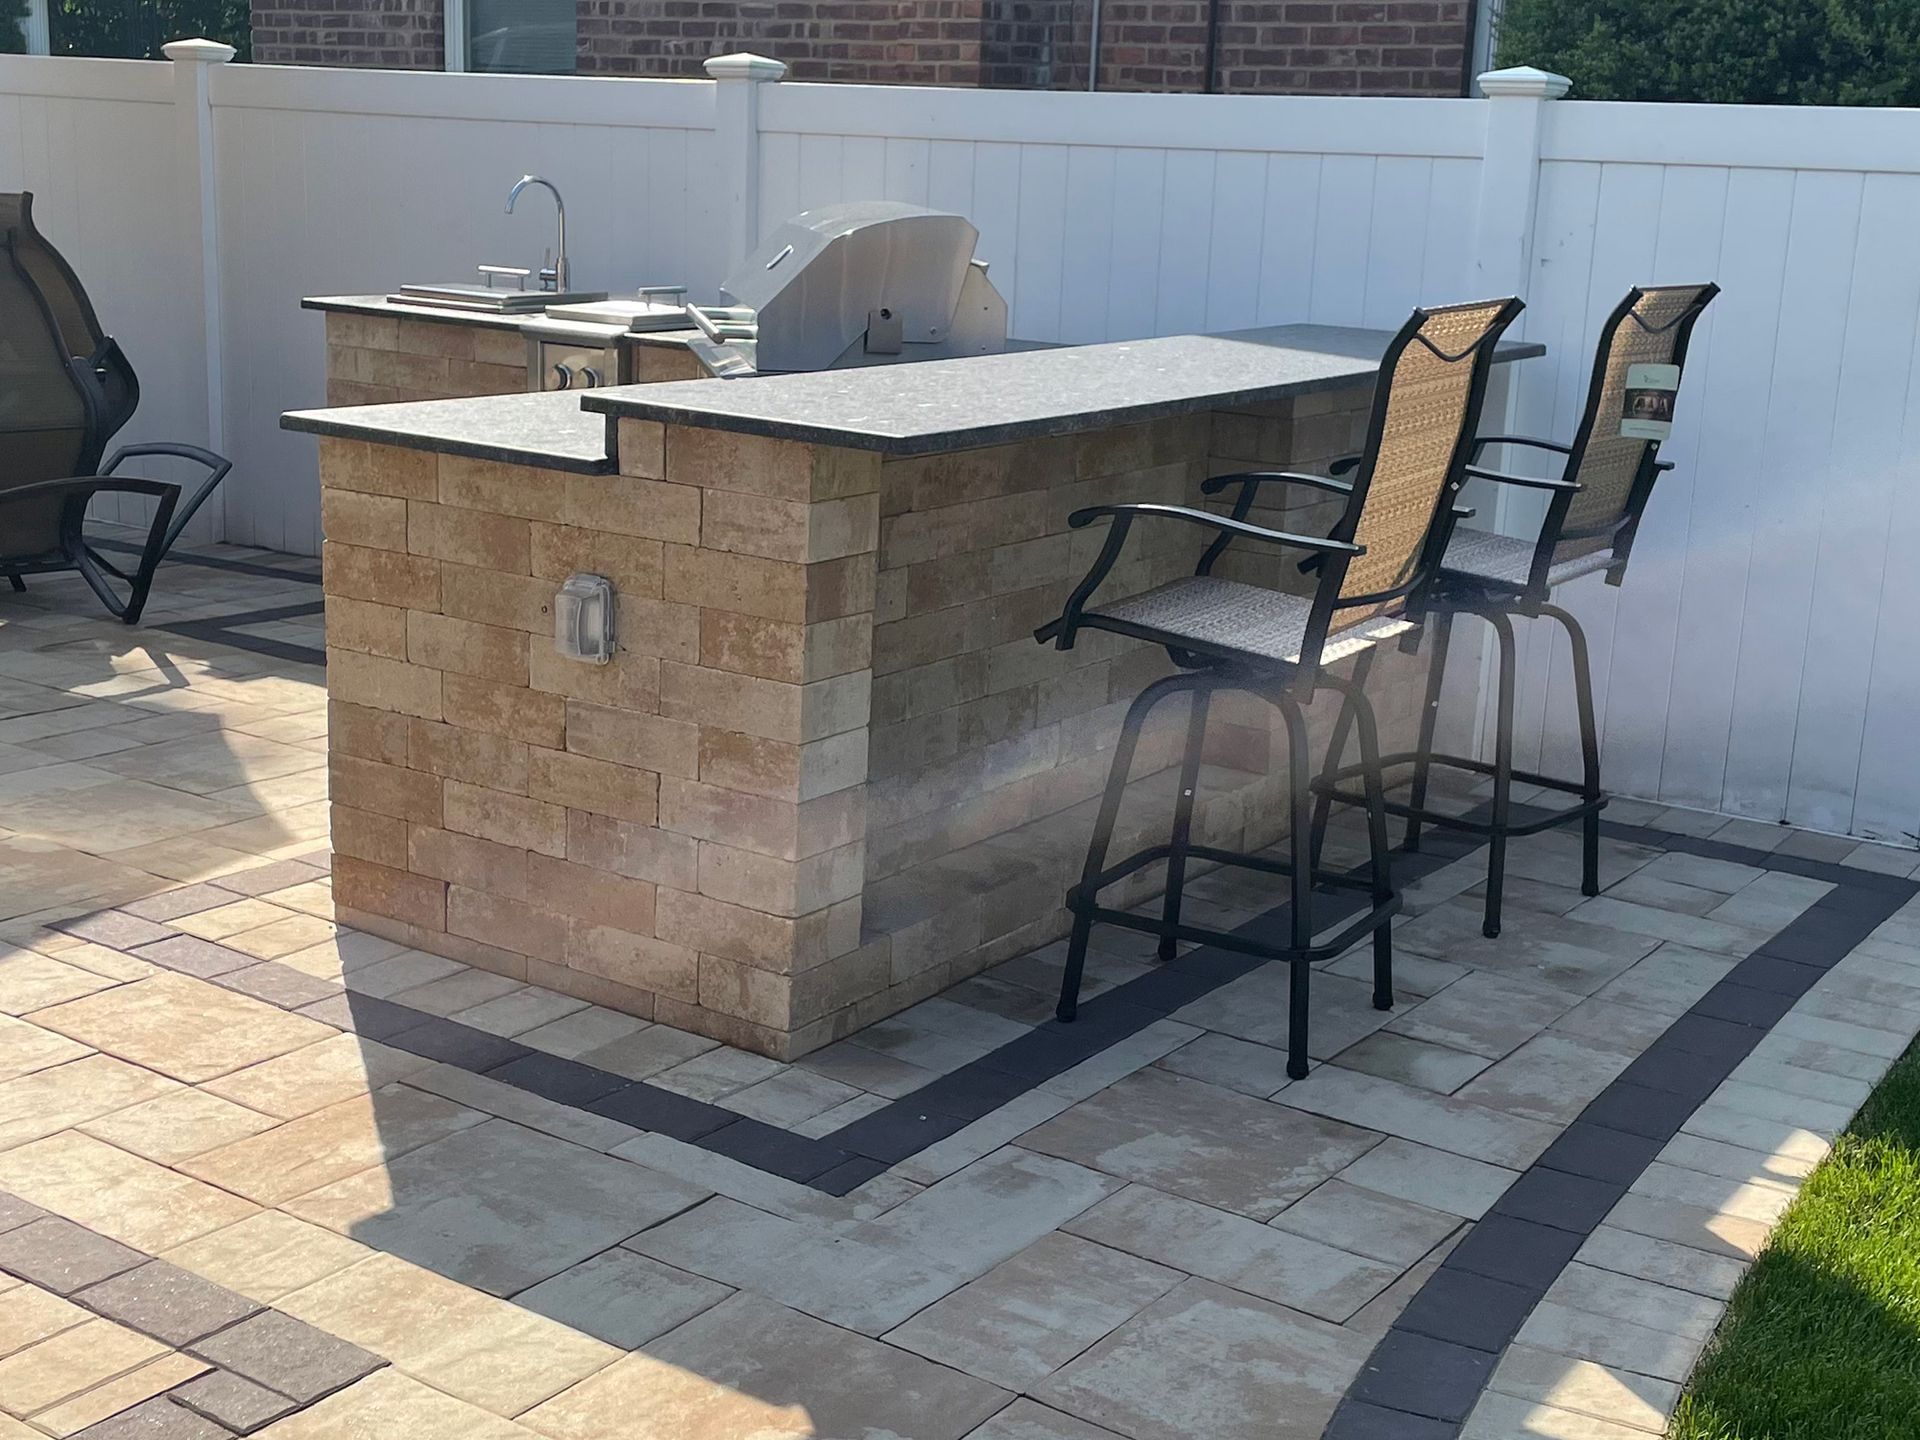
- Low-Maintenance Paver Designs: Opt for materials that are easy to clean and resistant to mold and mildew, like concrete or porcelain pavers.
- Modern Layout Trends: Linear patterns and larger pavers are in vogue, offering a modern, spacious feel to smaller backyard patios.
- Eco-Friendly Options: Permeable pavers are a sustainable option, allowing water to seep through the gaps and reducing runoff.
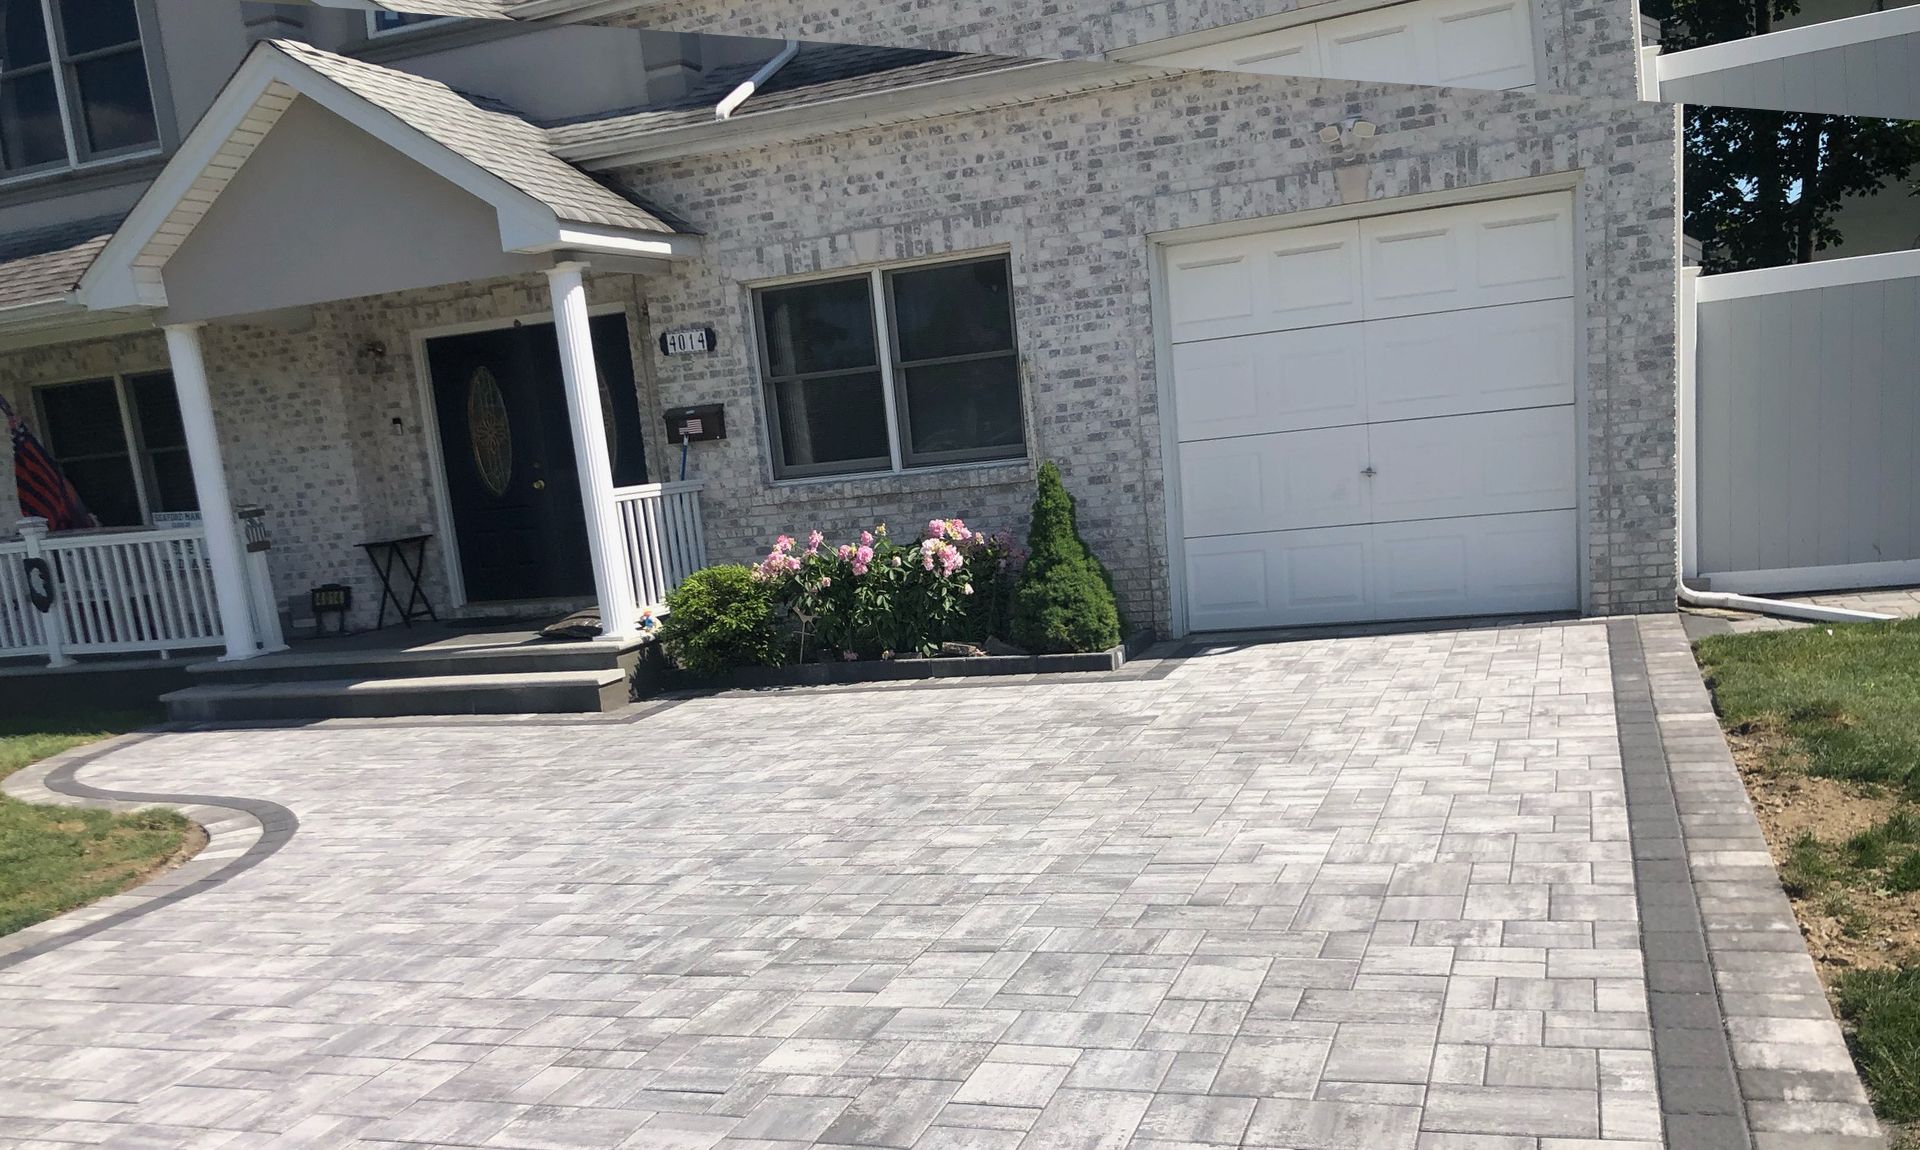
Driveway Pavers for Durability and Style
- Heavy-Duty Materials: Concrete, stone, and high-density rubber pavers work well for industrial spaces or driveways requiring resilience against heavy equipment.
- Fall Deals: Look out for discounts on driveway paver installation fall deals 2024, which often bundle sealing services to protect pavers before winter.
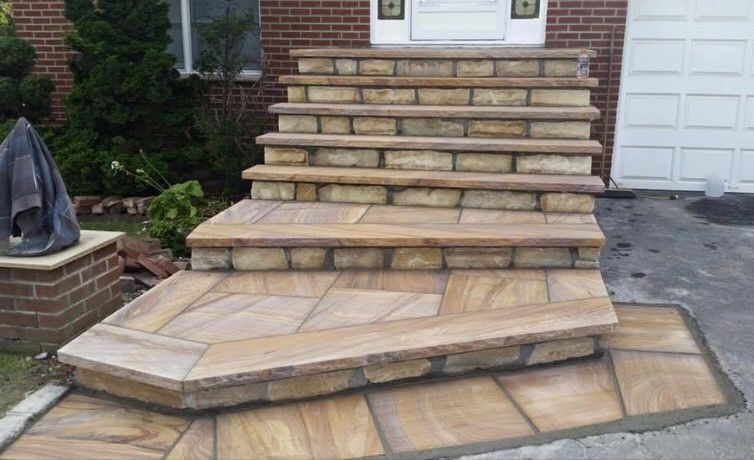
- Luxury Appeal: Sleek, polished pavers or intricate patterns can greatly enhance curb appeal, with options like granite or slate for a high-end look.
4. Why Work with a Professional Paver Installation Company
When it comes to extensive paving projects, a professional installation company brings expertise in choosing the right materials, precise installation, and handling drainage considerations. Here’s what you gain by hiring professionals:
- Expert Site Preparation: Pros ensure that the base and foundation are meticulously prepared, preventing costly repairs down the line.
- Material Recommendations: Get advice on the best pavers for your needs—whether eco-friendly options for a backyard patio or heavy-duty pavers for a commercial driveway.
- Sealing and Maintenance Advice: From sealing driveway pavers before winter to maintenance tips for backyard patio pavers, professionals ensure your project remains durable and beautiful.
Conclusion: Pave Your Way to a Stunning and Resilient Landscape
Site preparation is the hidden hero in any successful paver installation. Whether you’re considering backyard pavers for your fall gatherings or heavy-duty driveway pavers for commercial spaces, following these site preparation steps will result in a beautiful, low-maintenance, and long-lasting installation. And if you want the best results with minimal effort, professional paver installers can help transform your vision into a reality.

Share On: