A Step-by-Step Guide to Patio Paver Installation: Planning, Design, and Expert Tips
Expert Tips for Designing and Installing Durable, Stylish Pavers for Your Backyard or Driveway
Installing pavers in your backyard or driveway can transform your outdoor space into a beautiful, functional area. Whether you're looking to create a cozy patio for fall BBQs or need a durable driveway for industrial use, understanding the process from start to finish is crucial. At JIP Construction, we specialize in designing and installing both residential and commercial pavers that are not only stylish but also built to last.
In this blog, we'll walk you through the installation process, focusing on planning and design, so you can create the perfect patio or driveway. Whether you’re DIY-ing a small backyard project or need professional-grade solutions for a larger space, we’ve got you covered.
1. Planning Your Paver Installation: The Foundation of a Successful Project
Determine the Size, Shape, and Layout
Before breaking ground, the first step in your paver installation project is to determine the size, shape, and overall layout of the area.
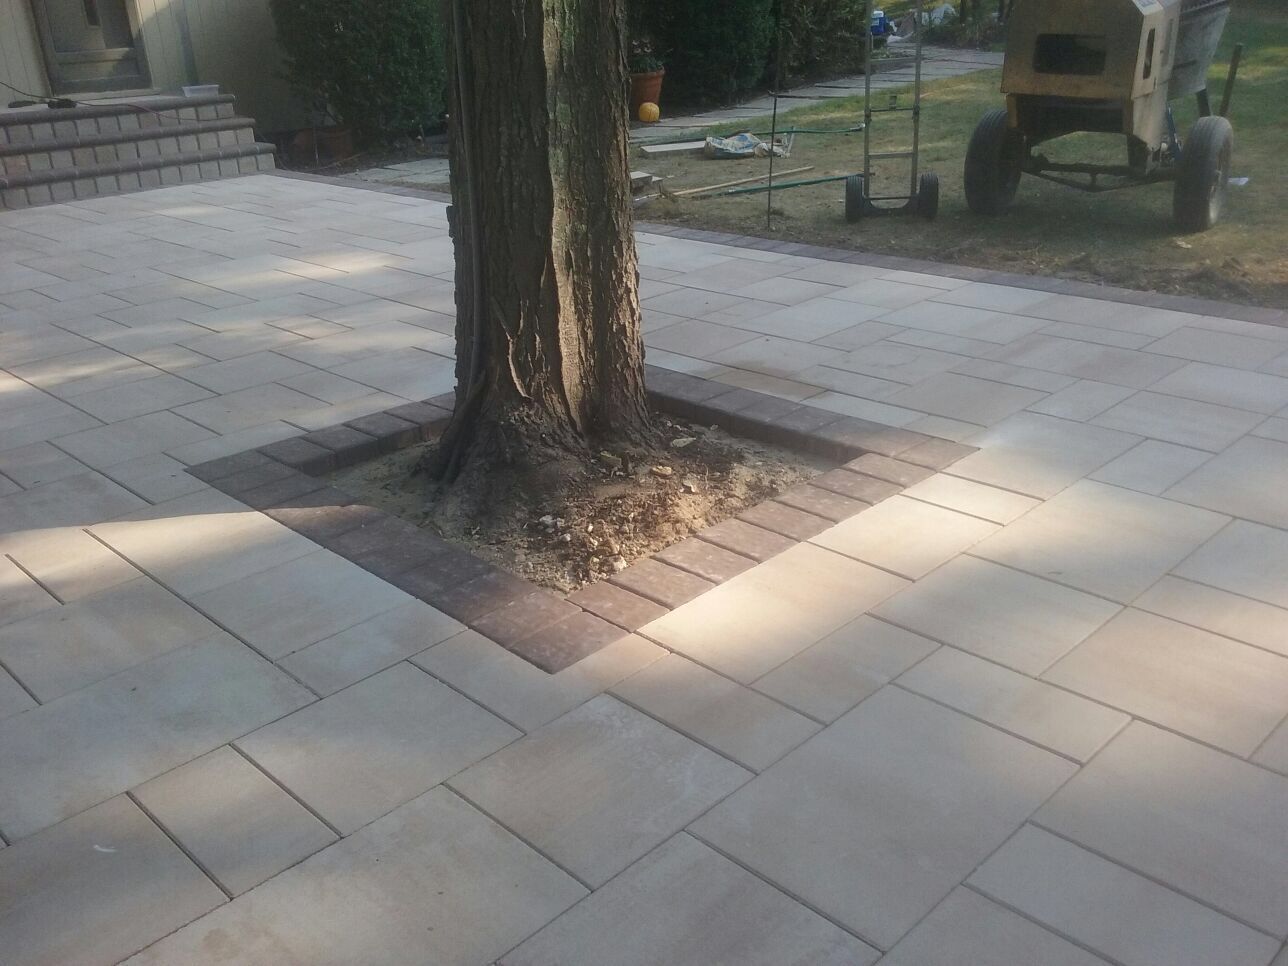
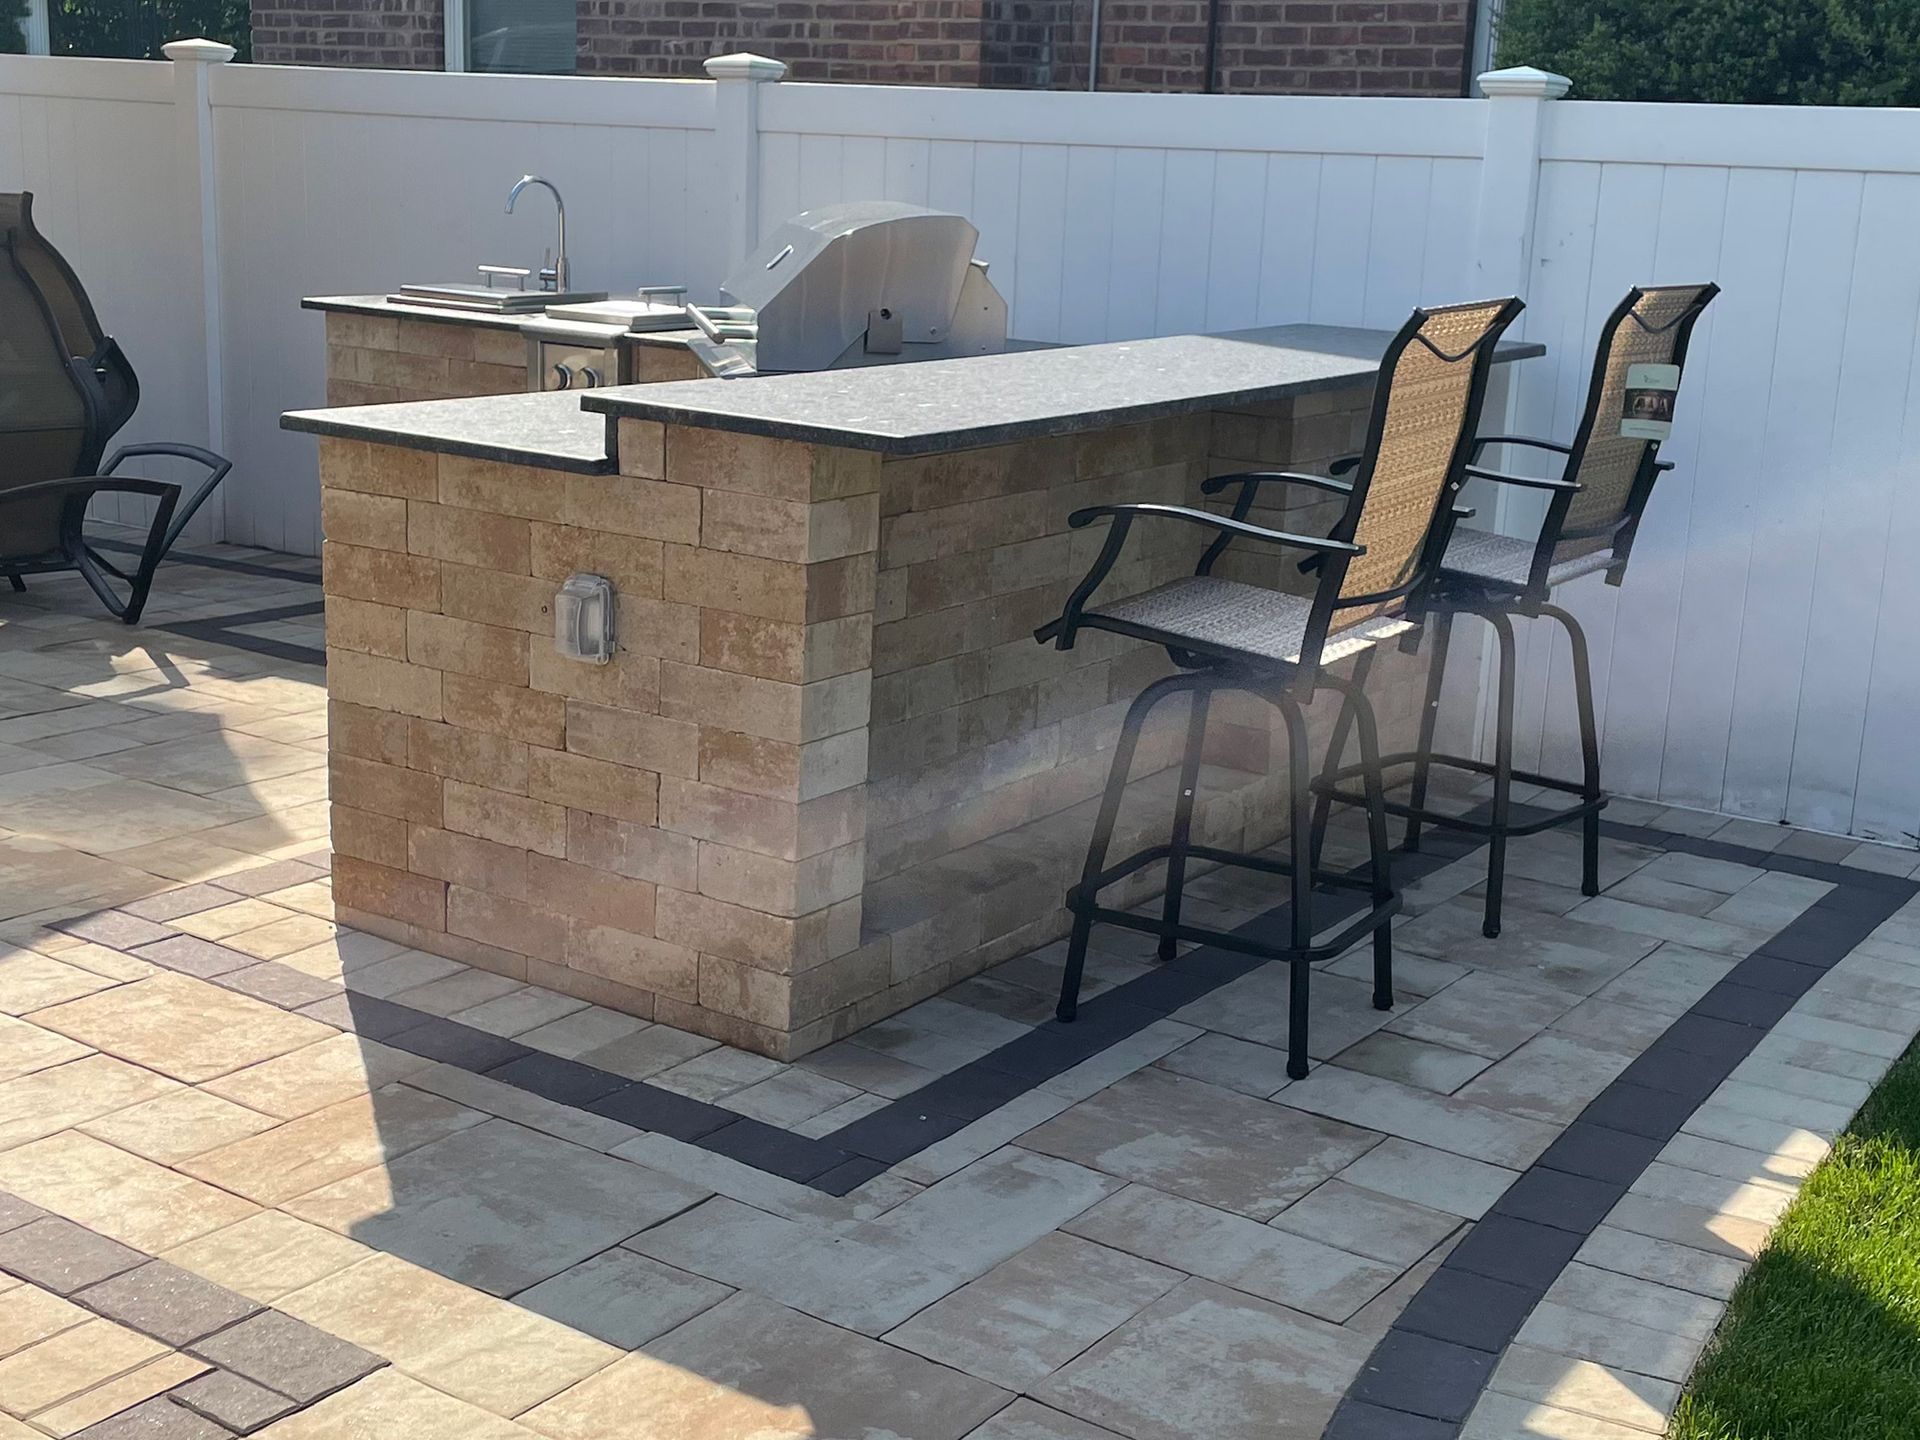
If you're working on a backyard patio, think about how you plan to use the space. Will you be hosting BBQs, creating a private retreat, or building a space for outdoor dining? Popular backyard paver ideas for fall 2024 include eco-friendly designs and modern backyard paver layout trends that offer both aesthetic appeal and functionality.
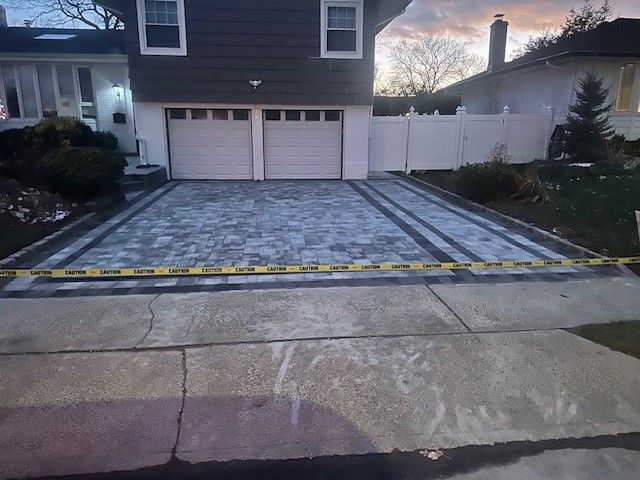
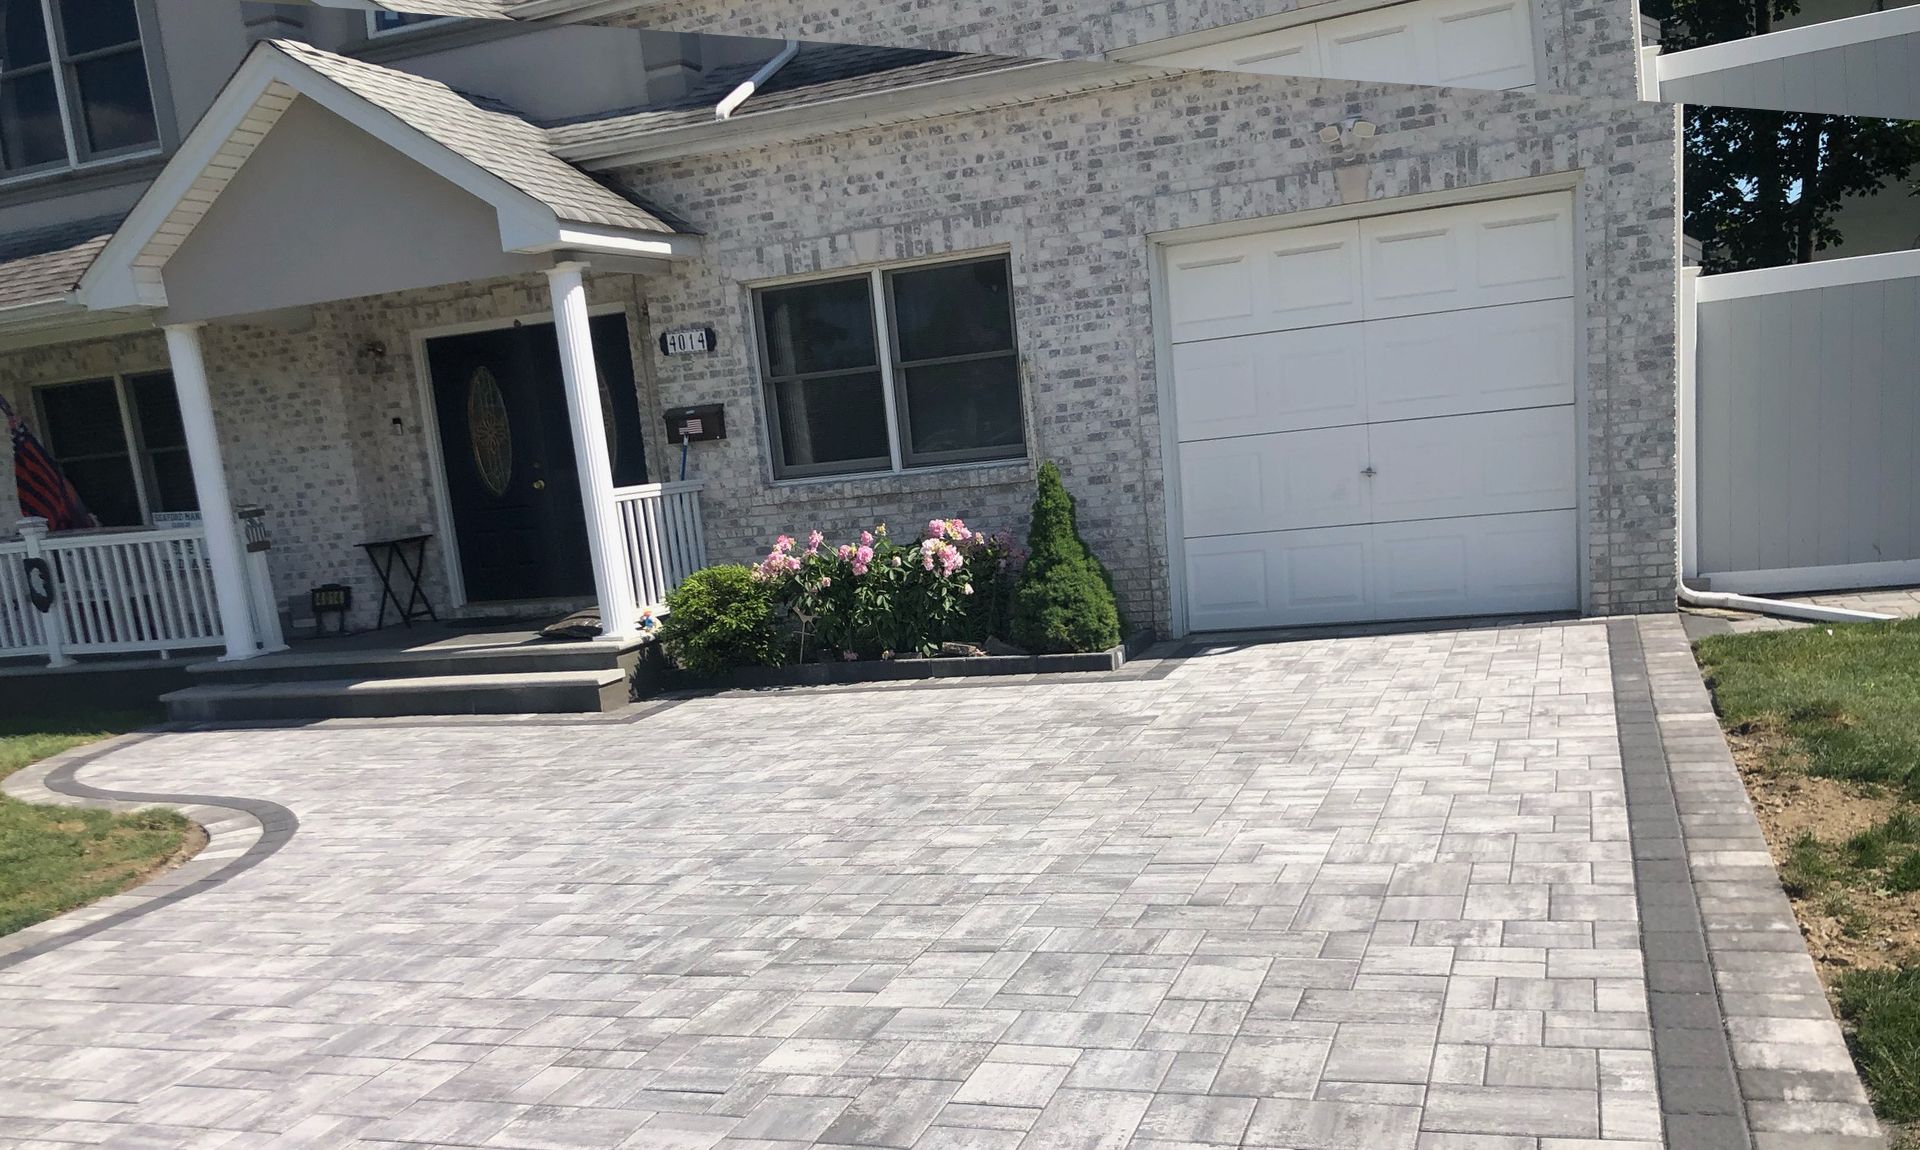
For driveways, size and layout are critical. Consider the amount of traffic, weight of vehicles, and overall aesthetics. If you’re dealing with heavy-duty driveway pavers, the design should focus on durability and long-lasting materials.
Keywords to keep in mind:
- Backyard patio paver installation near me
- Driveway paver installation fall deals 2024
Choose the Right Type of Pavers
Next, decide on the type of pavers you want to use. Pavers come in a variety of materials, each with their own strengths and applications:
- Concrete Pavers: One of the most popular options for affordable backyard paver patio installers, concrete pavers are versatile and come in a range of styles, from sleek, modern looks to traditional cobblestone patterns. They’re low-maintenance and can easily fit into any low-maintenance backyard paver designs.
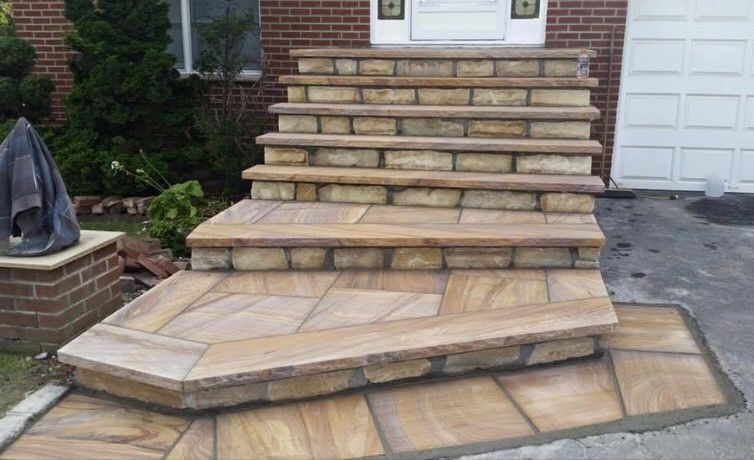
- Natural Stone Pavers: These offer a timeless, luxurious look but come with a higher price tag. They are perfect for luxury driveway paver ideas for curb appeal. Granite, slate, and limestone are some popular choices for driveways and patios that want a high-end appearance.
- Clay Brick Pavers: Ideal for those looking for a classic, rustic feel. These pavers are durable and resistant to weather changes, making them a solid choice for areas with fluctuating temperatures.
When choosing pavers, it’s also important to factor in functionality. For instance, best pavers for heavy-duty driveways need to be strong enough to support heavy loads, especially in industrial yard spaces.
Keywords to consider:
- Best backyard paver ideas for fall 2024
- Driveway pavers for small industrial spaces
- Eco-friendly backyard pavers for fall
Check Local Regulations and Obtain Permits
Before installation begins, always check local regulations to ensure you’re following any necessary guidelines. Some areas may require permits, especially for larger installations like driveways. For commercial properties, regulations are typically stricter, so ensuring compliance will save you headaches down the road.
You’ll also want to look into drainage requirements. For example, driveways and patios need proper drainage to prevent water from pooling, especially during the colder months. If you’re installing pavers vs asphalt for colder months, the right drainage system will extend the life of your paver installation.
2. The Paver Installation Process: A Step-by-Step Overview
Once the planning phase is complete, it’s time to start the actual installation. Here's how it works:
Excavation and Preparation of the Area
The first physical step in installing pavers is excavating the designated area. The depth of excavation will vary depending on whether you’re installing a patio or driveway. Typically, a backyard patio requires a base depth of 4-6 inches, while a driveway needs a deeper base to accommodate vehicles.
During this phase, it’s essential to account for the slope of the ground for drainage purposes. For backyard paver stones for September BBQs, ensuring a slight incline will keep your patio free from standing water, extending its lifespan and usability.
Base Installation: Sand, Gravel, and Geotextile Fabric
Once the area is excavated, the next step is to lay down a strong foundation. This usually involves adding layers of gravel and sand to create a stable base. For driveway pavers that withstand heavy equipment, a compacted base of 8-12 inches of crushed stone is recommended, especially for commercial driveway paver services or industrial driveway pavers for heavy loads.
Geotextile fabric is often used to prevent the base materials from shifting and to maintain long-term stability. If you live in a colder climate, be sure to use materials that can withstand freeze-thaw cycles and high moisture levels.
Keywords to include:
- How to seal driveway pavers before winter
- Long-lasting driveway paver materials
Laying the Pavers
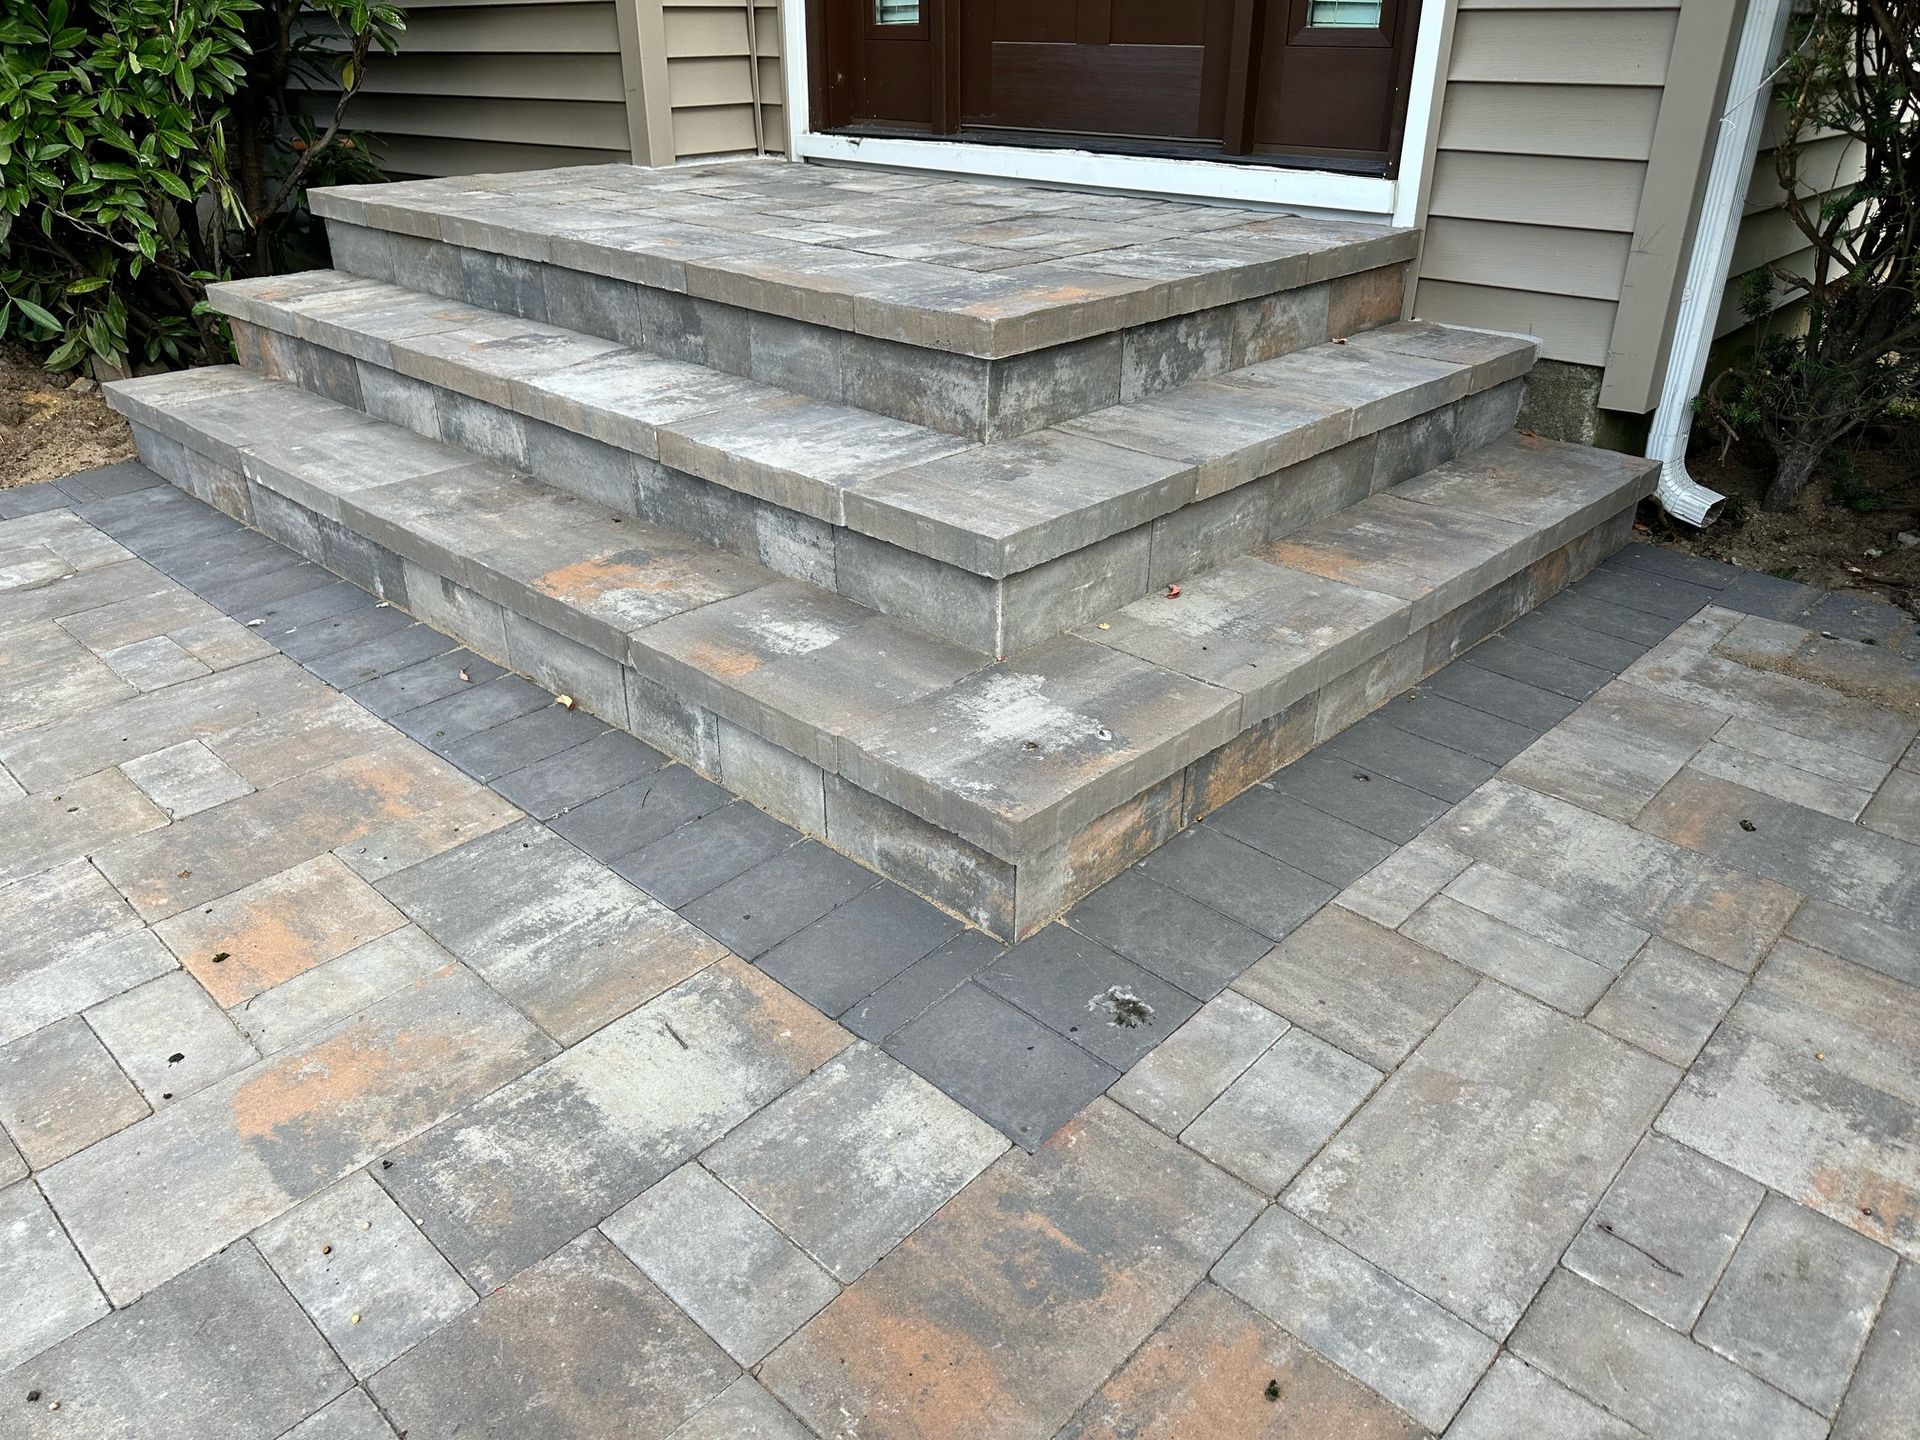
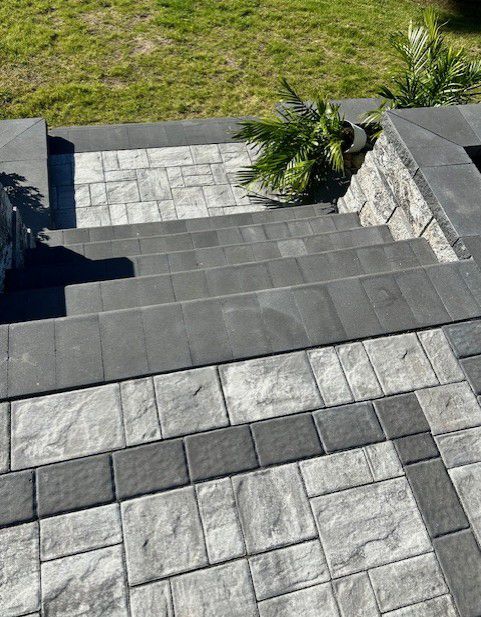
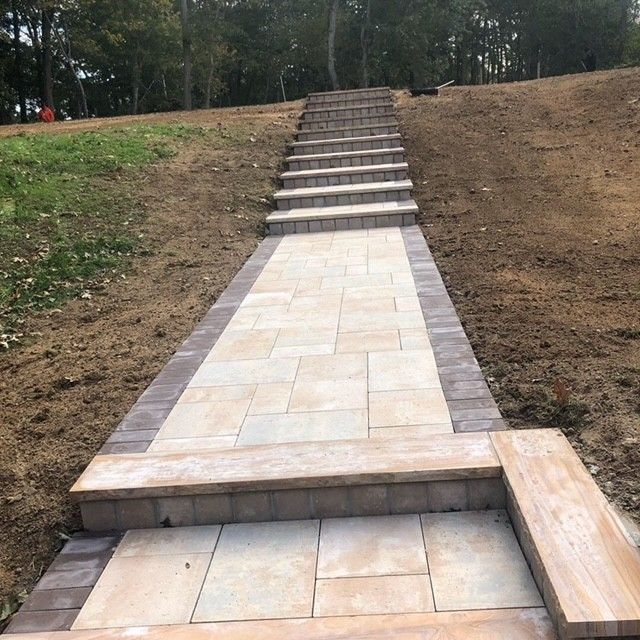
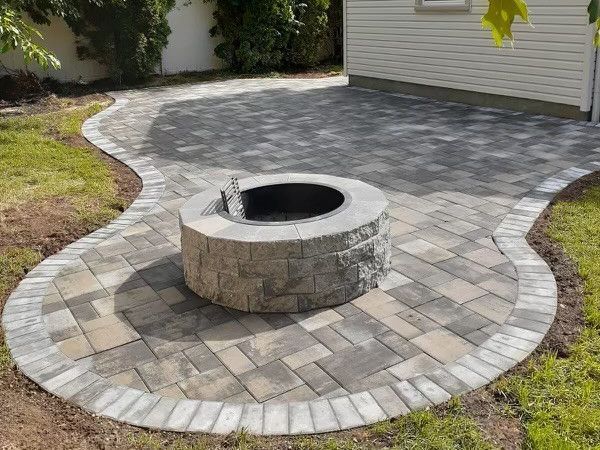
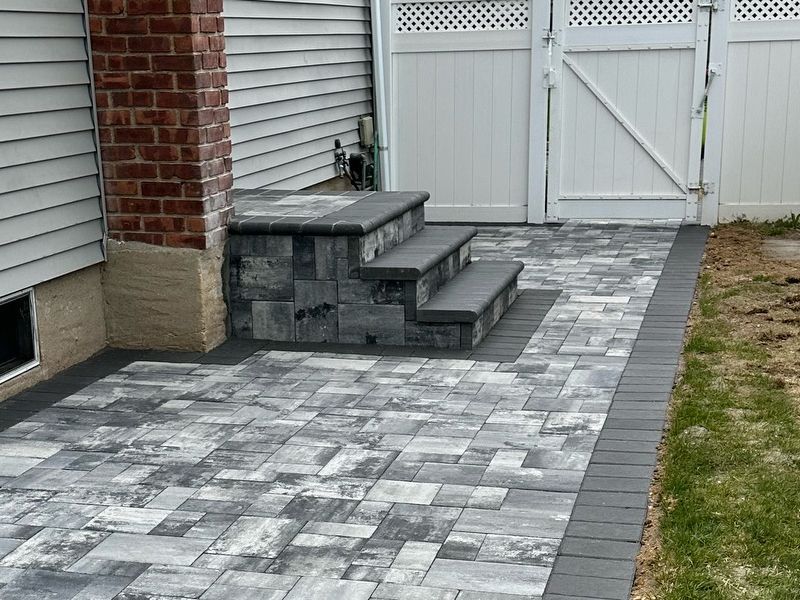
Once the base is in place, the pavers can be laid down according to your chosen design. This is where your creativity comes in! For example, DIY backyard patio pavers for small spaces can make use of simple geometric patterns that are easy to install and maintain. On the other hand, if you’re looking for something a bit more elegant, luxury driveway paver ideas like herringbone or basketweave patterns can really elevate the curb appeal.
Ensure that the pavers are laid close together with minimal gaps. After the pavers are in place, a layer of sand is swept over the surface and into the joints to lock everything into place.
Sealing and Finishing Touches
To protect your investment, consider sealing your pavers after installation. Sealing helps to prevent stains, water damage, and weed growth, ensuring that your patio or driveway remains in excellent condition for years to come. For eco-friendly backyard pavers, choosing a sealant that doesn’t contain harmful chemicals is a smart choice.
For those preparing for colder weather, sealing is particularly important. It’s advisable to seal your driveway pavers before winter to ensure they stay protected from frost and snow, which can cause damage over time.
3. Benefits of Professional Installation vs. DIY
While DIY installation can be rewarding and cost-effective, professional installation offers several advantages, especially for larger projects. Here’s why you might want to consider hiring professionals for your next project:
- Expertise: Professionals bring years of experience and know-how, ensuring that your pavers are installed correctly and efficiently.
- Quality Materials: At JIP Construction, we use only the best materials, from heavy-duty industrial pavers to eco-friendly backyard options.
- Time-Saving: Professional installers can complete the job quickly, leaving you with more time to enjoy your new patio or driveway.
- Durability: A professionally installed paver project will typically last longer and require less maintenance.
Keywords:
- Affordable backyard paver patio installers
- Commercial paver installation companies near me
Conclusion
Whether you're planning to install a small patio for intimate fall gatherings or need a durable, high-traffic driveway for commercial use, understanding the process of paver installation is key to achieving the best results. At JIP Construction, we specialize in creating beautiful, long-lasting outdoor spaces with expert precision. From the planning and design phase to the final sealing, we ensure your project exceeds your expectations.

Share On: