The Ultimate Guide to Paving Your Driveway: Step-by-Step Process
Learn the process of paving a durable and stylish driveway with expert tips from JIP Construction.
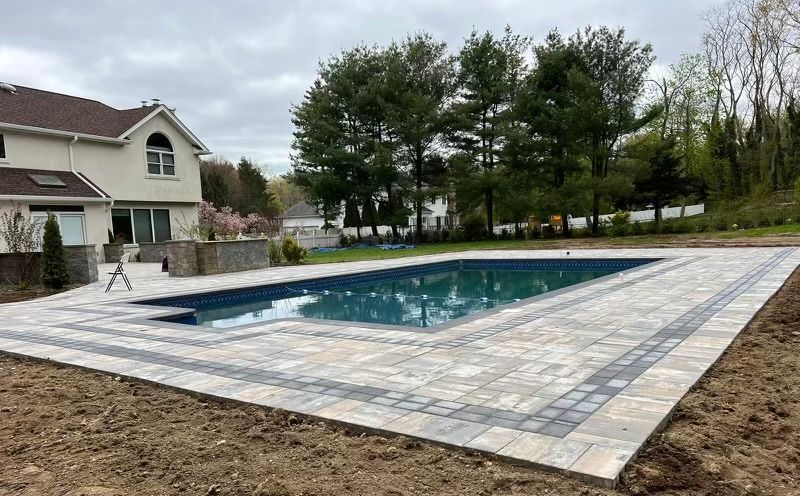
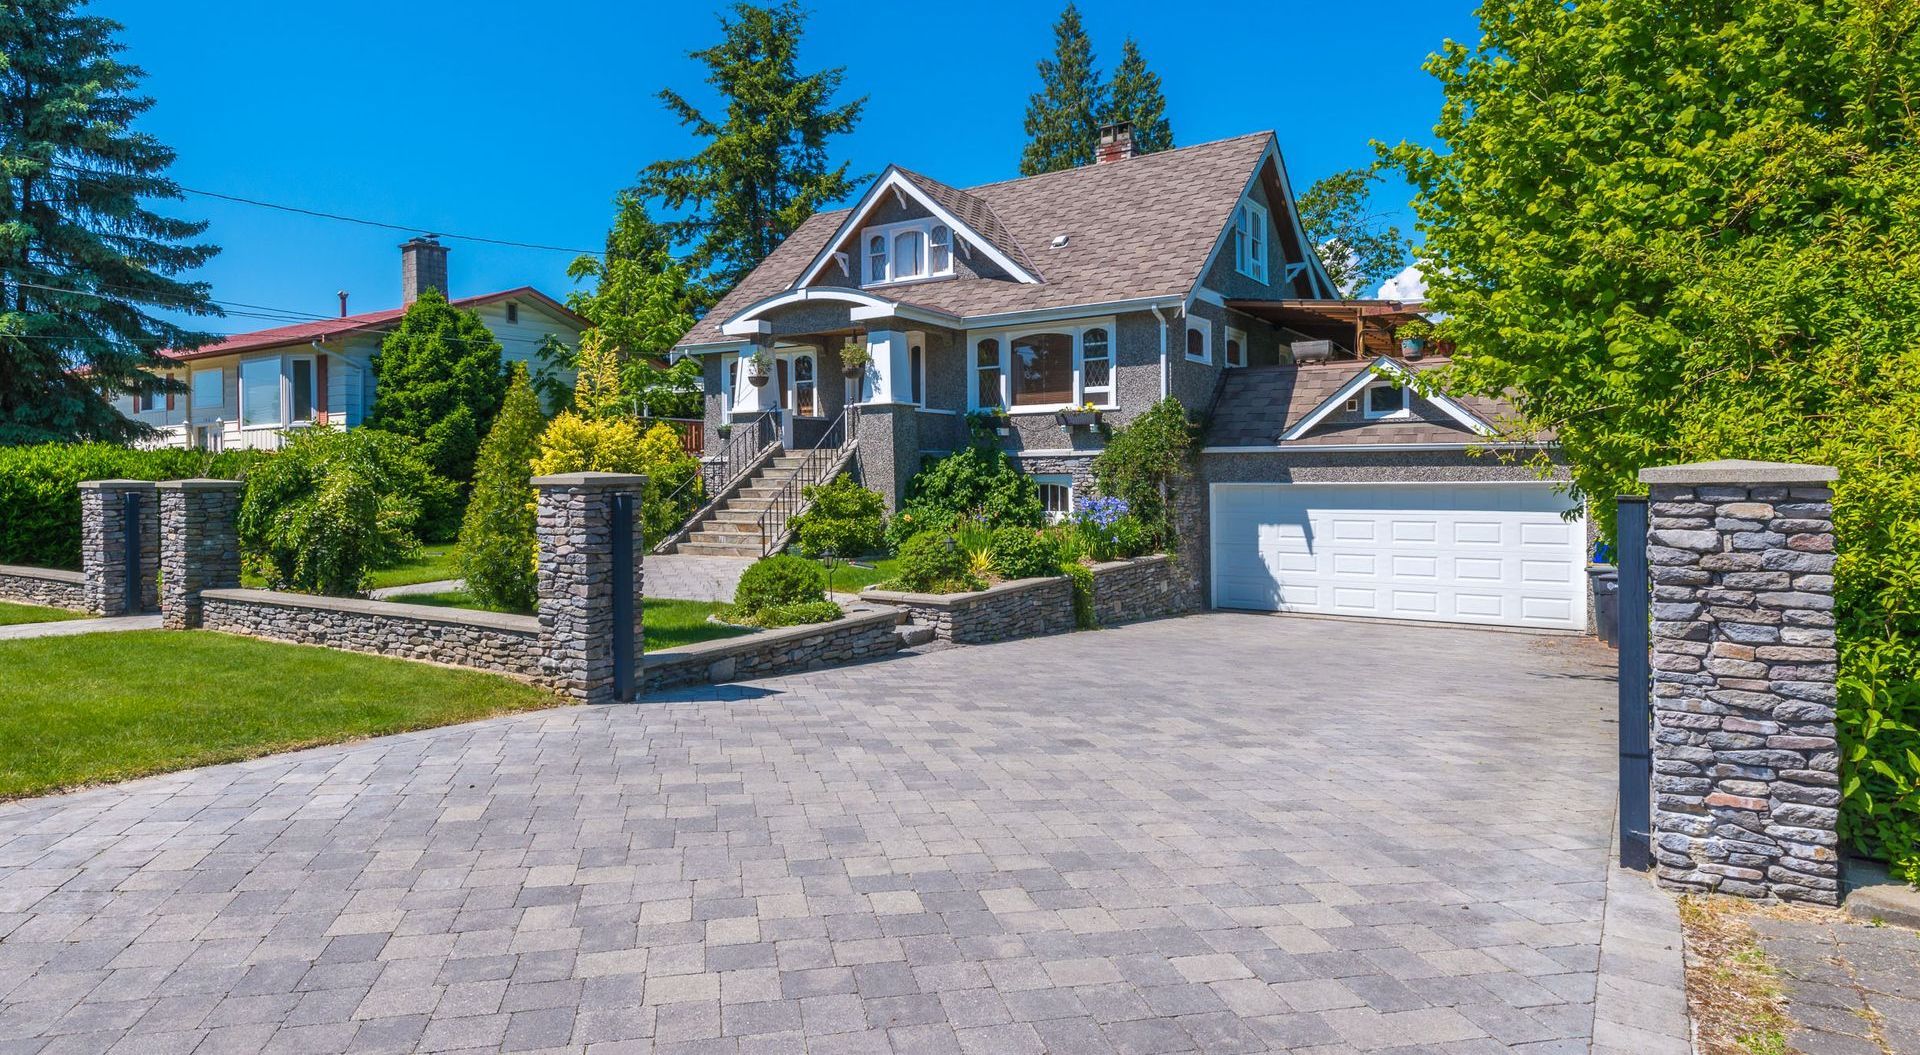
Paving a driveway is a significant investment that not only enhances the curb appeal of your home but also provides a durable and functional surface for vehicles. Whether you're considering this project for the first time or looking to upgrade your existing driveway, understanding the steps involved can help you achieve a long-lasting result. At JIP Construction, we specialize in delivering top-notch paving services throughout New York, including Long Island, where we have built a reputation as a trusted driveway pavers contractor. Here’s a detailed breakdown of the essential steps to ensure your driveway is built to last.
1. Planning and Design
The first step in paving a driveway is careful planning and design. This stage is crucial as it sets the foundation for the entire project. Start by determining the driveway's layout, dimensions, and materials. If you're in Long Island or nearby areas, you may want to consider popular choices like concrete pavers or natural stone pavers, which offer both durability and aesthetic appeal.
At JIP Construction, we work closely with our clients to create custom driveway designs that complement their homes' architectural style while meeting their specific needs. Whether you're looking for traditional interlocking pavers or eco-friendly driveway pavers, our experts can help you choose the best materials for your project.
Key Considerations:
- Driveway dimensions
- Material selection (concrete, natural stone, permeable pavers)
- Drainage solutions
- Curb appeal and design elements
2. Site Preparation
Once the design is finalized, the next step is to prepare the site. Proper site preparation is critical to ensuring the longevity of your driveway. This involves clearing the area of any vegetation, debris, or existing pavement. If your property is in a region like Long Island, where weather conditions can vary, it's essential to consider factors like soil type and drainage during this stage.
Steps Involved:
- Clearing the Area: Remove all obstacles, including trees, roots, rocks, and old pavement.
- Excavation: Excavate the area to the required depth, usually 8 to 12 inches, depending on the type of pavers and the expected load.
- Soil Stabilization: If necessary, apply a layer of geotextile fabric to prevent soil movement and ensure a stable base.
3. Base Installation
The base layer is the foundation of your driveway, and its quality directly impacts the durability and performance of the finished surface. A strong base is typically made from crushed stone or gravel, which provides stability and proper drainage. This layer should be compacted thoroughly to prevent future settling, which could lead to cracks or other issues in the driveway.
Key Steps:
- Laying the Base Material: Spread the crushed stone or gravel evenly across the excavated area.
- Compaction: Use a plate compactor to compress the base material. This step may need to be repeated several times to achieve the desired level of compaction.
- Leveling: Ensure the base is level and slopes slightly away from structures for proper drainage.
At JIP Construction, we use high-quality materials and advanced compaction techniques to ensure a solid foundation for your driveway. Whether you're opting for backyard pavers on Long Island or installing patio pavers in NY, our team guarantees a sturdy base that will stand the test of time.
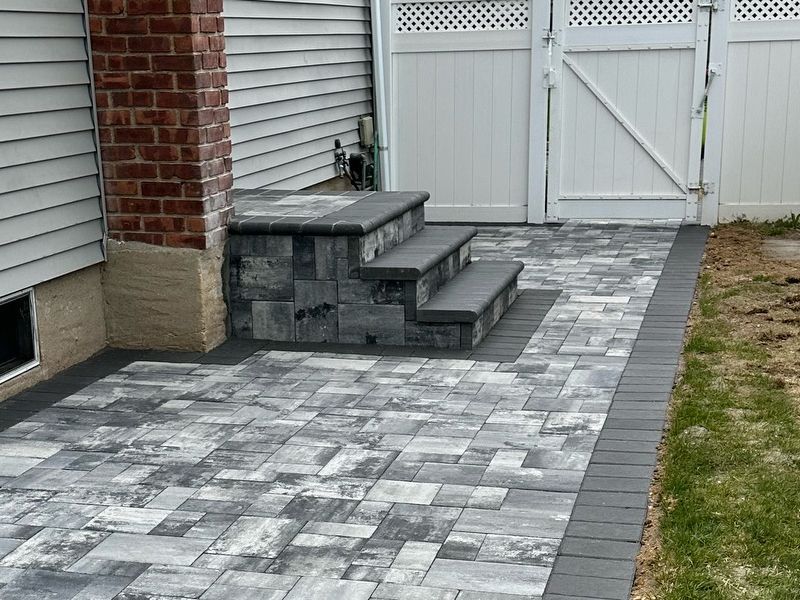
4. Edge Restraint Installation
Edge restraints are crucial for maintaining the integrity of your driveway. These barriers prevent the pavers from shifting over time and help retain the shape of the driveway. Edge restraints can be made from various materials, including plastic, metal, or concrete, depending on the design and material of your driveway pavers.
Installation Process:
- Placing the Edge Restraints: Install the edge restraints along the perimeter of the driveway.
- Securing the Restraints: Use spikes or other fasteners to secure the edge restraints firmly into the base layer.
- Checking Alignment: Ensure that the edge restraints are aligned correctly and follow the desired shape of the driveway.
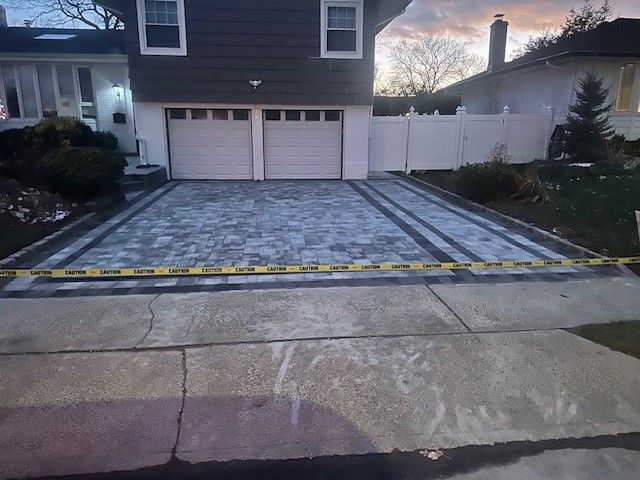
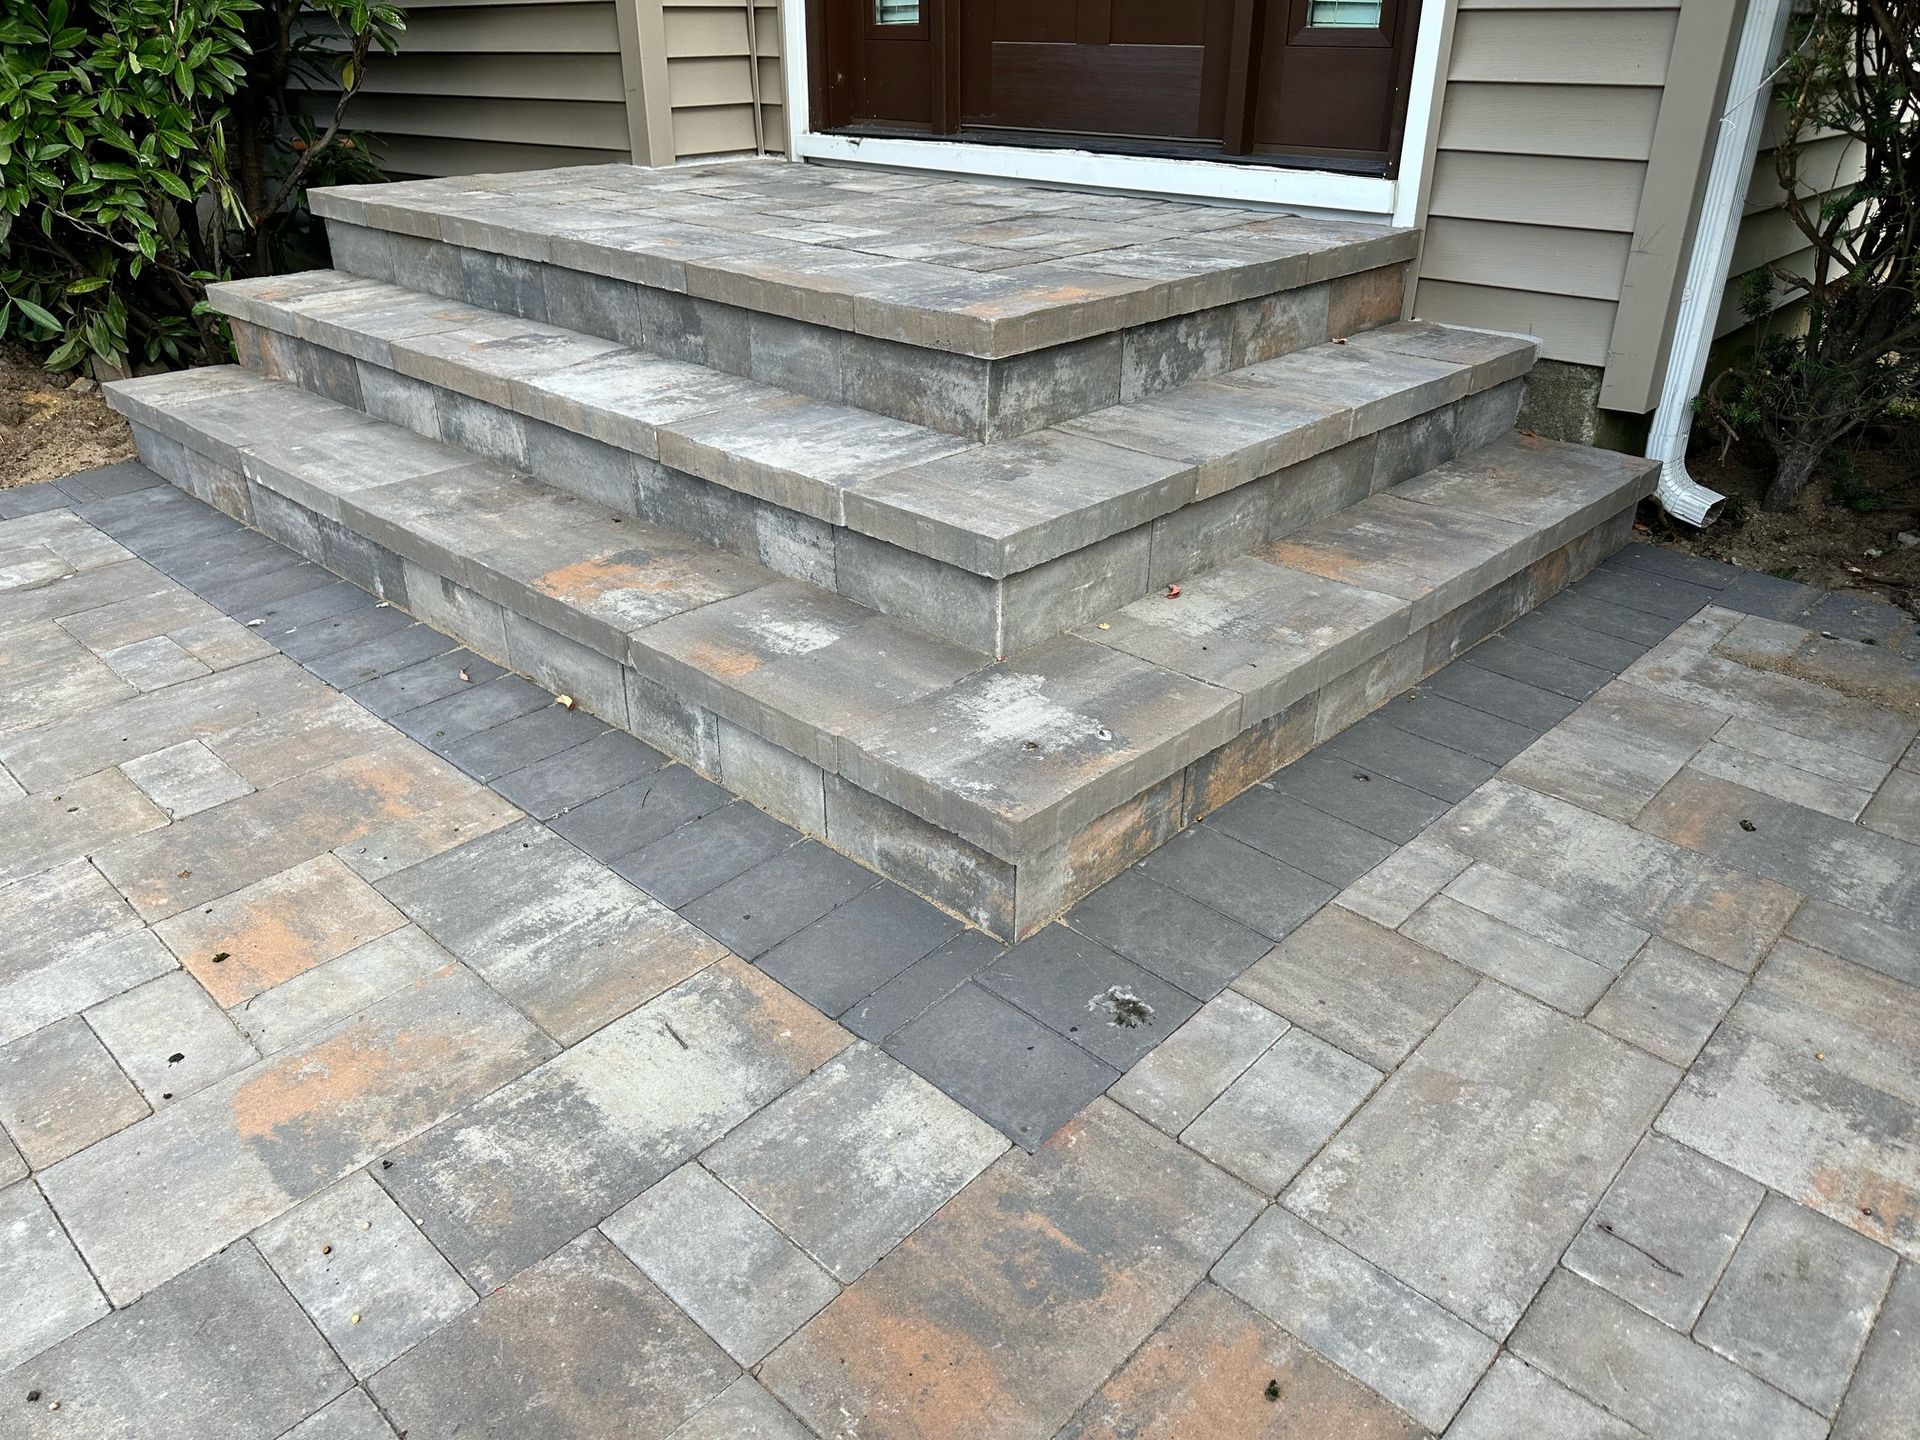
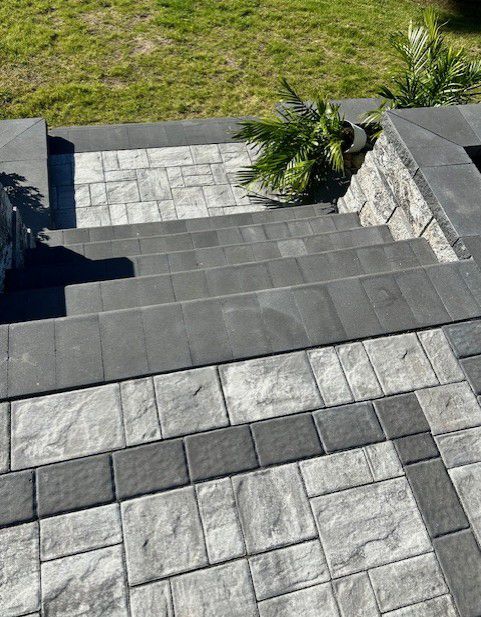
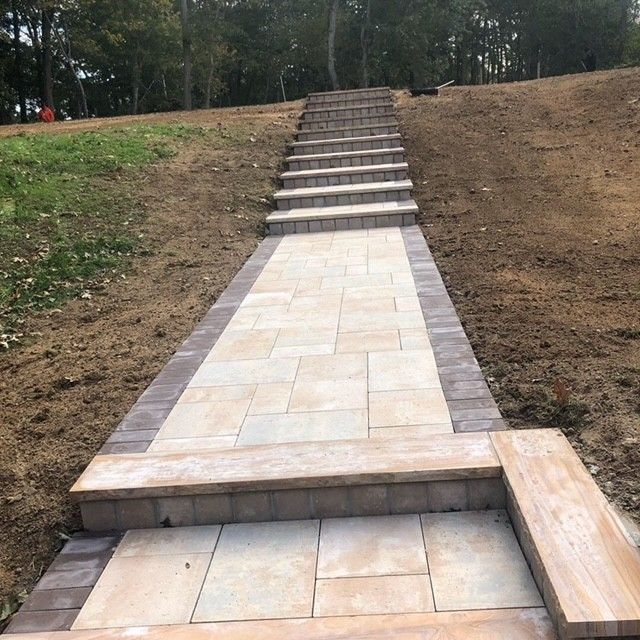
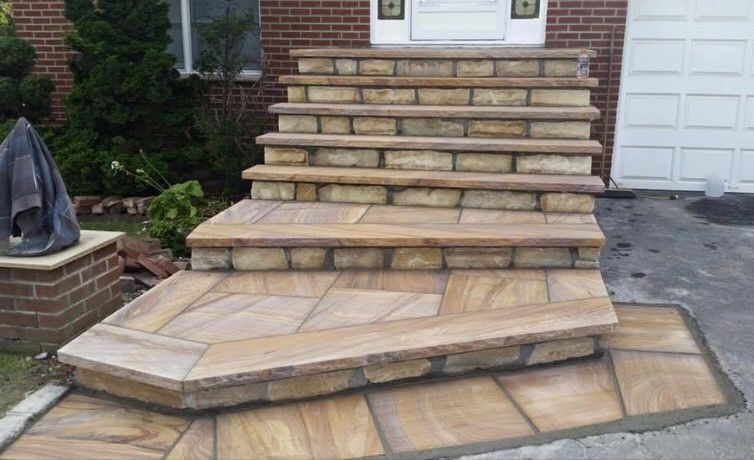
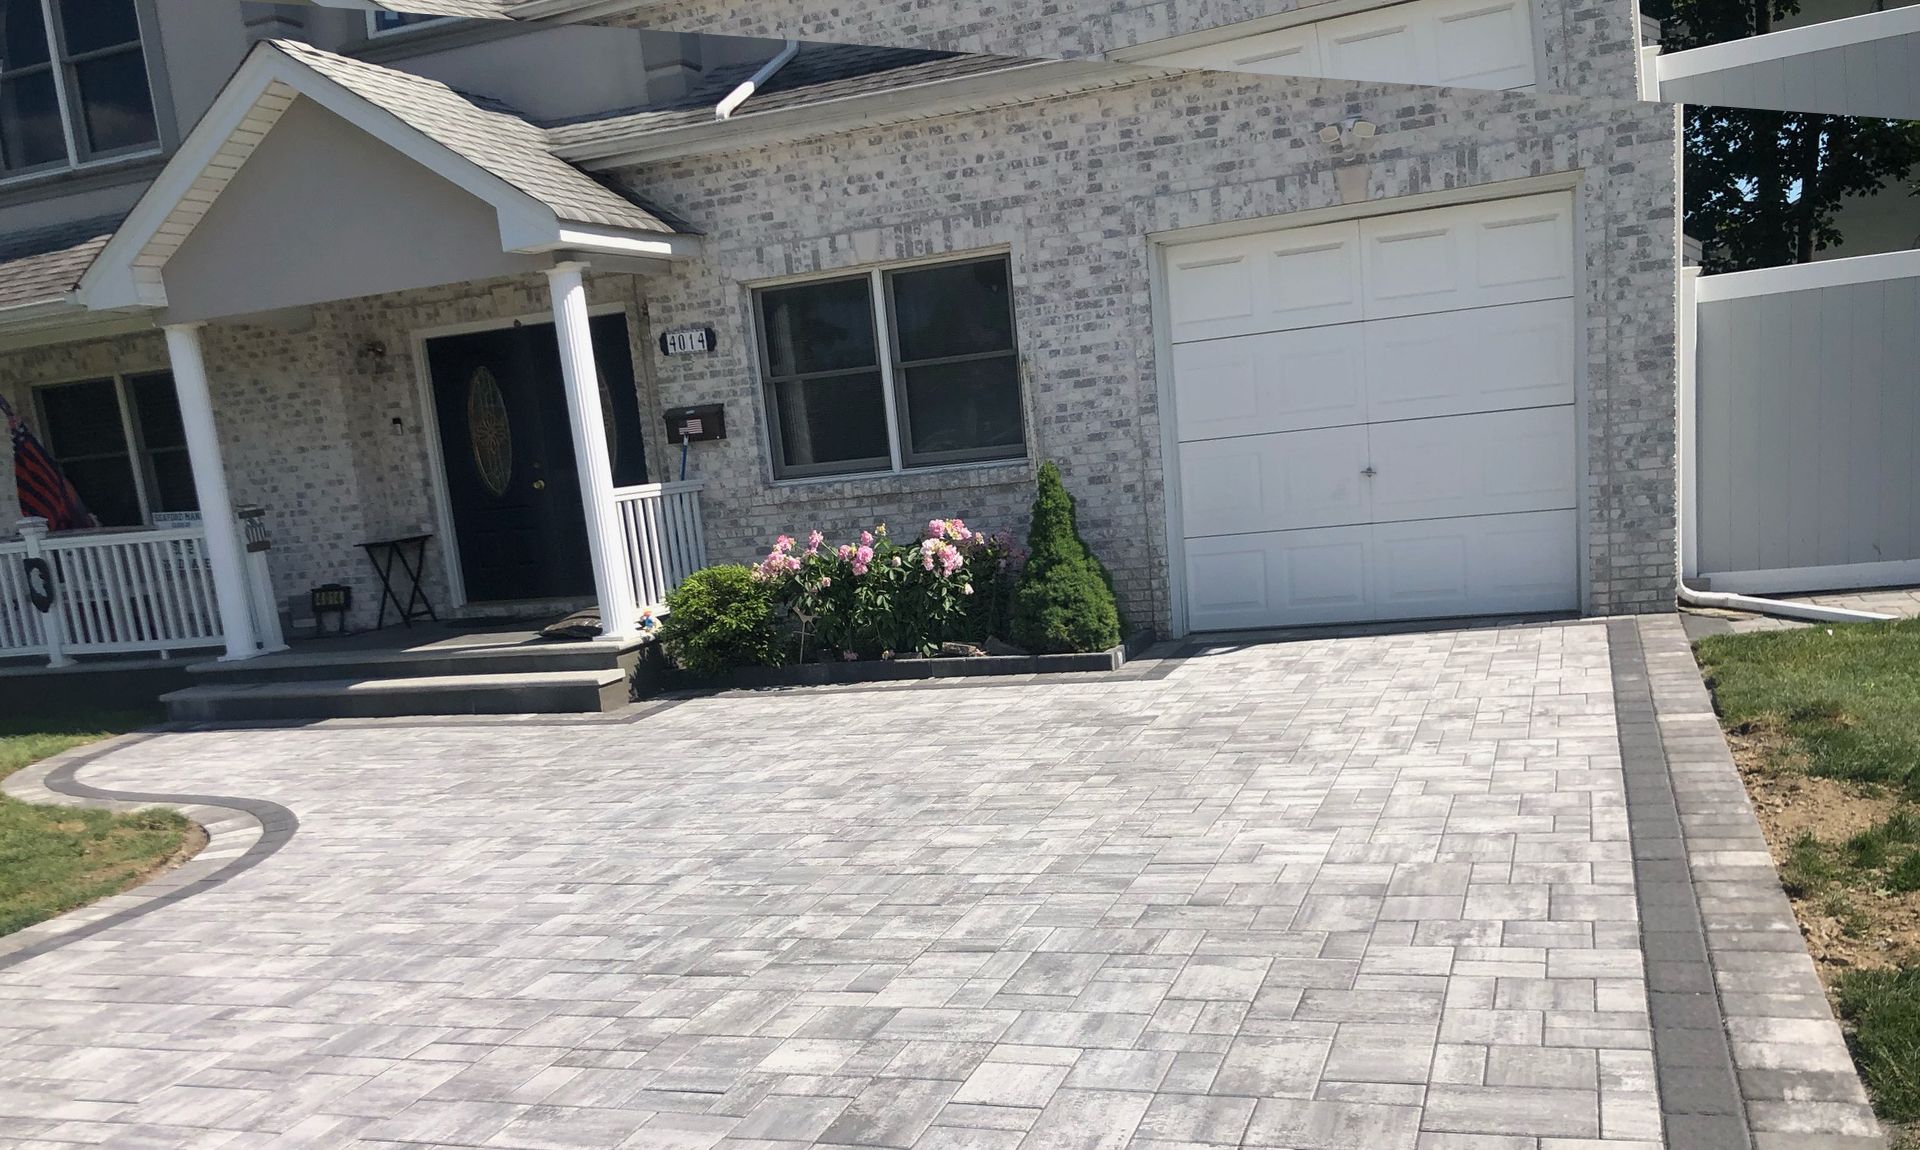
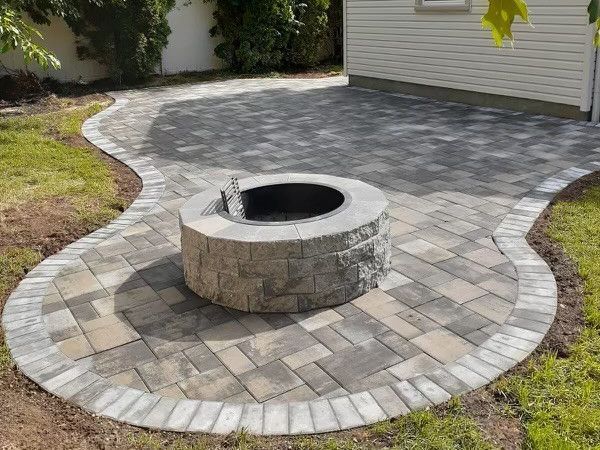
5. Paver Installation
With the base and edge restraints in place, it’s time to install the pavers. This is where your driveway begins to take shape. Whether you’ve chosen natural stone, concrete pavers, or permeable pavers, the installation process generally follows a similar pattern.
Steps:
- Laying the Pavers: Start from one corner of the driveway and work your way across, laying the pavers in the desired pattern. Ensure that the pavers are placed tightly together to avoid gaps.
- Cutting Pavers: Use a masonry saw to cut pavers to fit along the edges or around obstacles.
- Checking the Level: Regularly check the level of the pavers during installation to maintain a consistent surface.
For those in Long Island or NY, we recommend considering large format pavers or bluestone pavers for a sophisticated and durable driveway finish. Our team at JIP Construction has extensive experience in installing various types of pavers, ensuring a flawless and aesthetically pleasing result.
6. Sanding and Joint Filling
After the pavers are laid, the next step is to fill the joints with sand. This process locks the pavers in place and provides additional stability to the surface. Polymeric sand, which hardens when wet, is often used for this purpose as it resists erosion and weed growth.
Process:
- Spreading the Sand: Pour polymeric sand over the pavers and use a broom to sweep it into the joints.
- Compaction: Use a plate compactor to vibrate the sand into the joints and settle the pavers.
- Additional Sand: Add more sand as needed and repeat the compaction process until the joints are filled.
7. Sealing and Final Touches
The final step in paving your driveway is sealing the surface. Sealing helps protect the pavers from stains, weather damage, and wear. It also enhances the color and appearance of the pavers, giving your driveway a polished finish.
Steps:
- Cleaning: Ensure the surface is clean and free of debris before applying the sealer.
- Applying the Sealer: Use a sprayer or roller to apply the sealer evenly across the driveway.
- Drying: Allow the sealer to dry completely before using the driveway.
In addition to sealing, consider adding any final touches such as landscaping around the driveway or installing outdoor lighting. These elements can enhance the overall appeal of your property.
Conclusion
Paving a driveway is a complex process that requires careful planning, quality materials, and skilled workmanship. By following these steps, you can ensure a durable and attractive driveway that will last for years. At JIP Construction, we take pride in delivering top-rated driveway and patio pavers installation services across Long Island and New York. Whether you’re looking for custom driveway pavers, patio and walkway pavers, or complete masonry services, our team is here to bring your vision to life.
Share On: