Steps in Paving a Driveway: A Comprehensive Guide for Long Island Homeowners
Learn the essential steps to pave a durable, beautiful driveway, and enhance your home's curb appeal with expert tips.
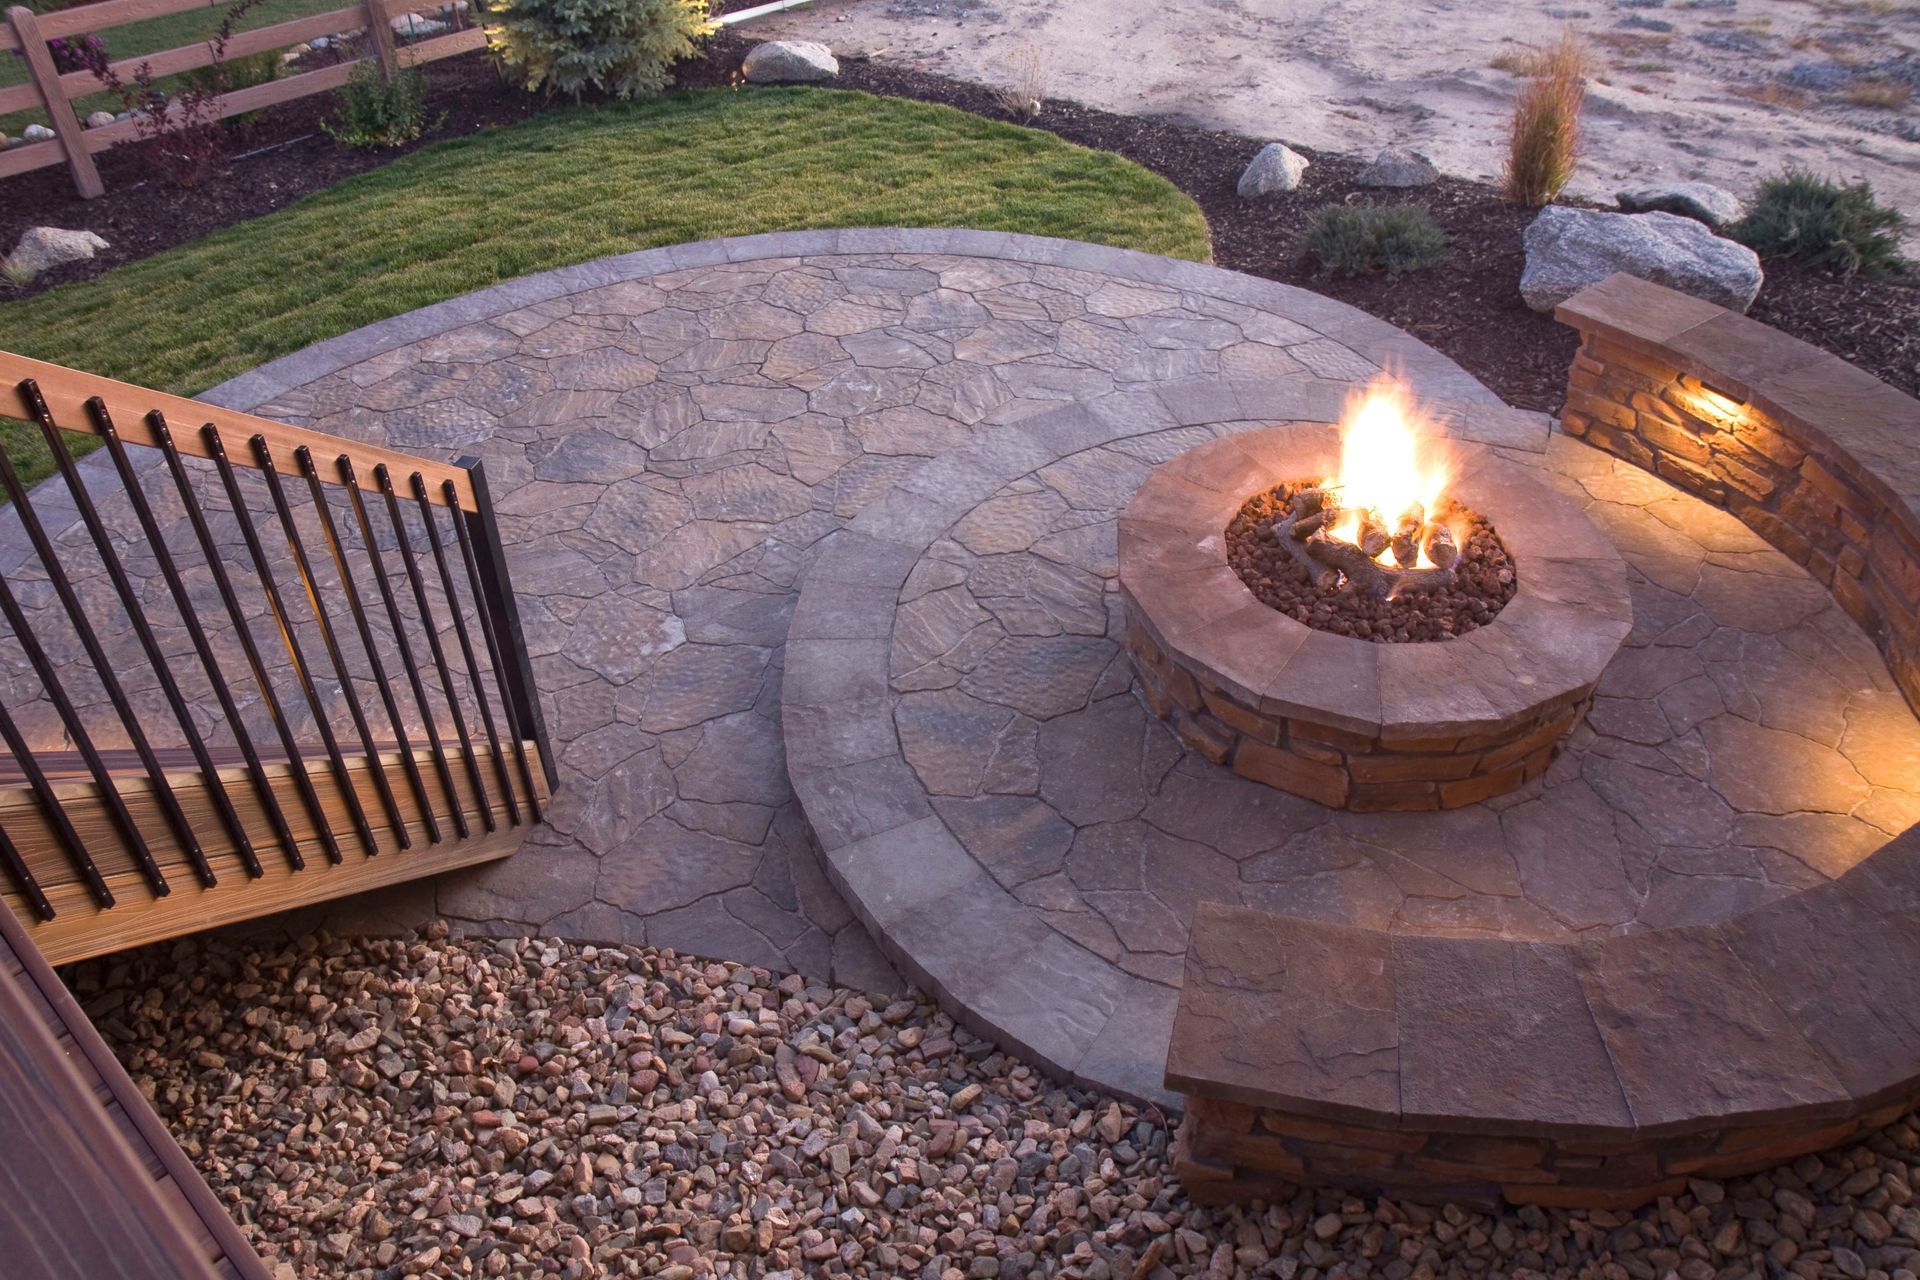
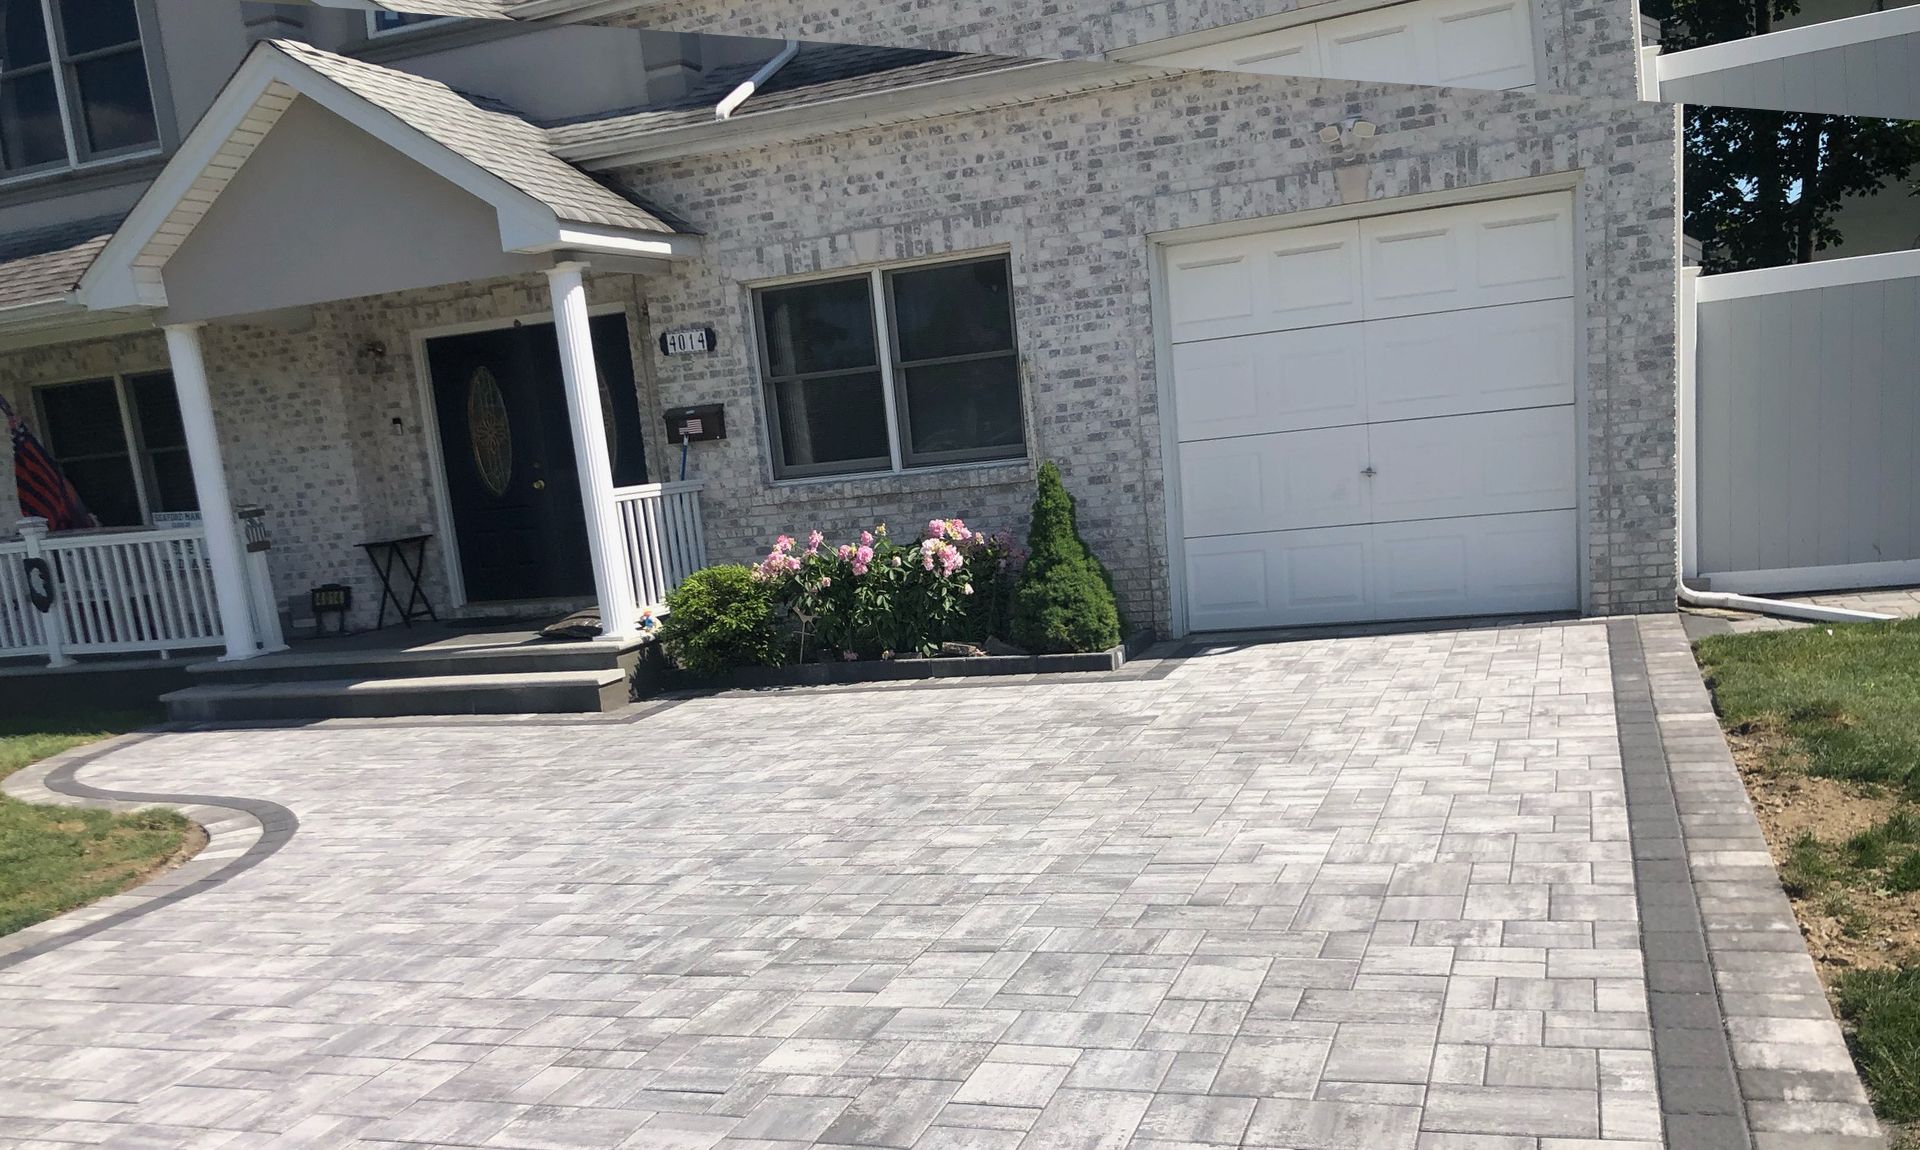
Paving a driveway is a significant project that can transform the curb appeal of your home while providing a durable and practical surface for your vehicles. Whether you're considering upgrading your driveway or installing one from scratch, understanding the steps involved can help you achieve the best results. In this guide, we'll walk you through the essential steps in paving a driveway, from site preparation to final installation. We'll also touch on how you can enhance your outdoor space with backyard pavers, Long Island's popular choices for patios, walkways, and other hardscaping projects.
1. Site Preparation
Proper site preparation is the foundation of any successful paving project. This phase ensures that the driveway will be level, stable, and long-lasting.
Clearing the Area
The first step in preparing your site is to clear the area of any vegetation, debris, and existing pavement. Removing these elements is crucial to avoid future complications, such as uneven settling or weed growth between the pavers. If you're working with a reputable driveway pavers contractor in NY, they'll use specialized equipment to clear the area efficiently, leaving a clean slate for the next steps.
Excavation
Once the site is cleared, excavation begins. The depth of excavation will depend on the type of pavers and the expected load on the driveway. Typically, you'll need to excavate to a depth of 8-12 inches to allow for a sturdy base layer. If your project is located in an area with heavy soil, like many parts of Long Island, you may need to excavate deeper to account for proper drainage and soil stability. At this stage, it's also important to consider any outdoor patio design ideas or future landscape paver projects, as integrating these can save time and costs down the line.
2. Installing the Base
The base layer is critical to the longevity and durability of your driveway. A well-prepared base ensures the pavers stay in place and withstand the weight of vehicles without shifting or cracking.
Base Material Selection
The base typically consists of crushed stone or gravel, which provides a solid, permeable foundation that supports the pavers and facilitates drainage. For residential pavers in Long Island, a base layer of 6-8 inches of crushed stone is usually sufficient. Choosing the right material is crucial; for instance, crushed bluestone is a popular choice in NY for its durability and aesthetic appeal.
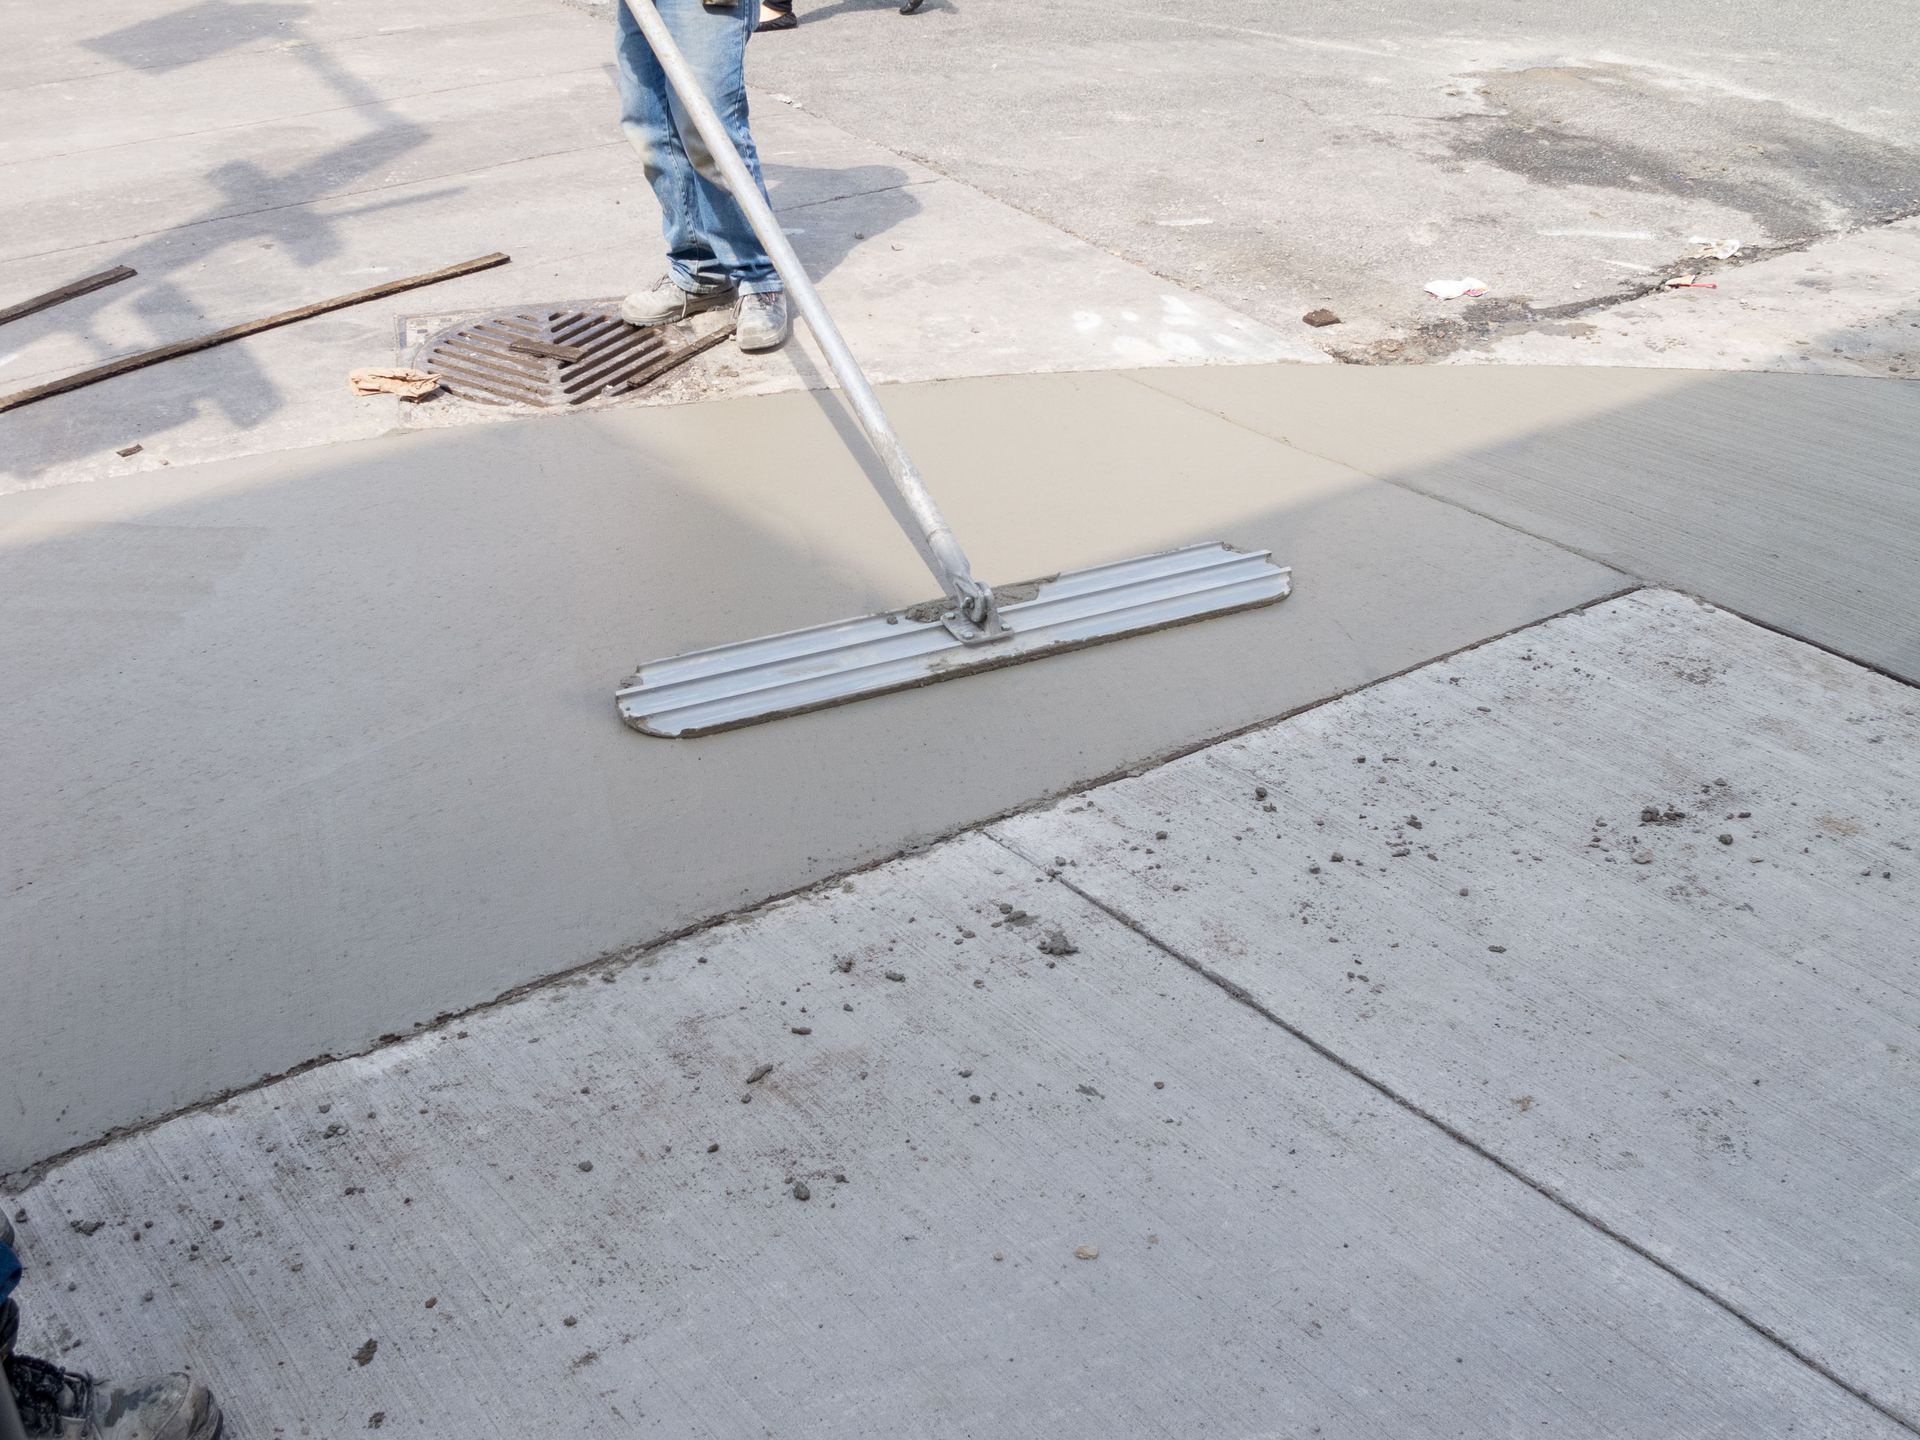
Compaction
After laying the base material, it must be thoroughly compacted. This step prevents the driveway from settling unevenly over time. Compacting the base ensures a stable, even surface that will support the pavers. Using a mechanical compactor, the base is compressed to achieve maximum stability.
3. Edge Restraints and Drainage
Properly installed edge restraints and drainage solutions are essential to keep your driveway looking great and functioning well over the years.
Edge Restraints
Edge restraints are installed along the perimeter of the driveway to keep the pavers from shifting out of place. They also add a clean, finished look to the driveway's borders. Concrete, metal, or plastic can be used for edge restraints, depending on the style and materials of your driveway. Custom driveway pavers on Long Island often incorporate robust edge restraints to maintain the integrity of the design.
Drainage Solutions
Effective drainage is vital to prevent water from pooling on your driveway, which can lead to erosion and damage over time. Installing a slight slope in the driveway, typically about 1/4 inch per foot, allows water to flow away from the surface. In areas prone to heavy rainfall or where permeability is a concern, eco-friendly driveway pavers are an excellent choice. These pavers allow water to pass through, reducing runoff and promoting natural groundwater recharge.
4. Laying the Pavers
Once the base is ready and the edge restraints and drainage systems are in place, it's time to lay the pavers. This step requires precision and attention to detail to ensure a uniform, attractive finish.
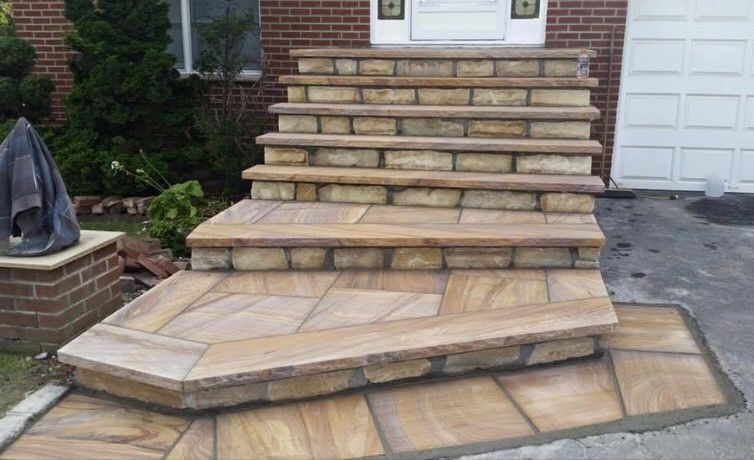
Choosing the Right Pavers
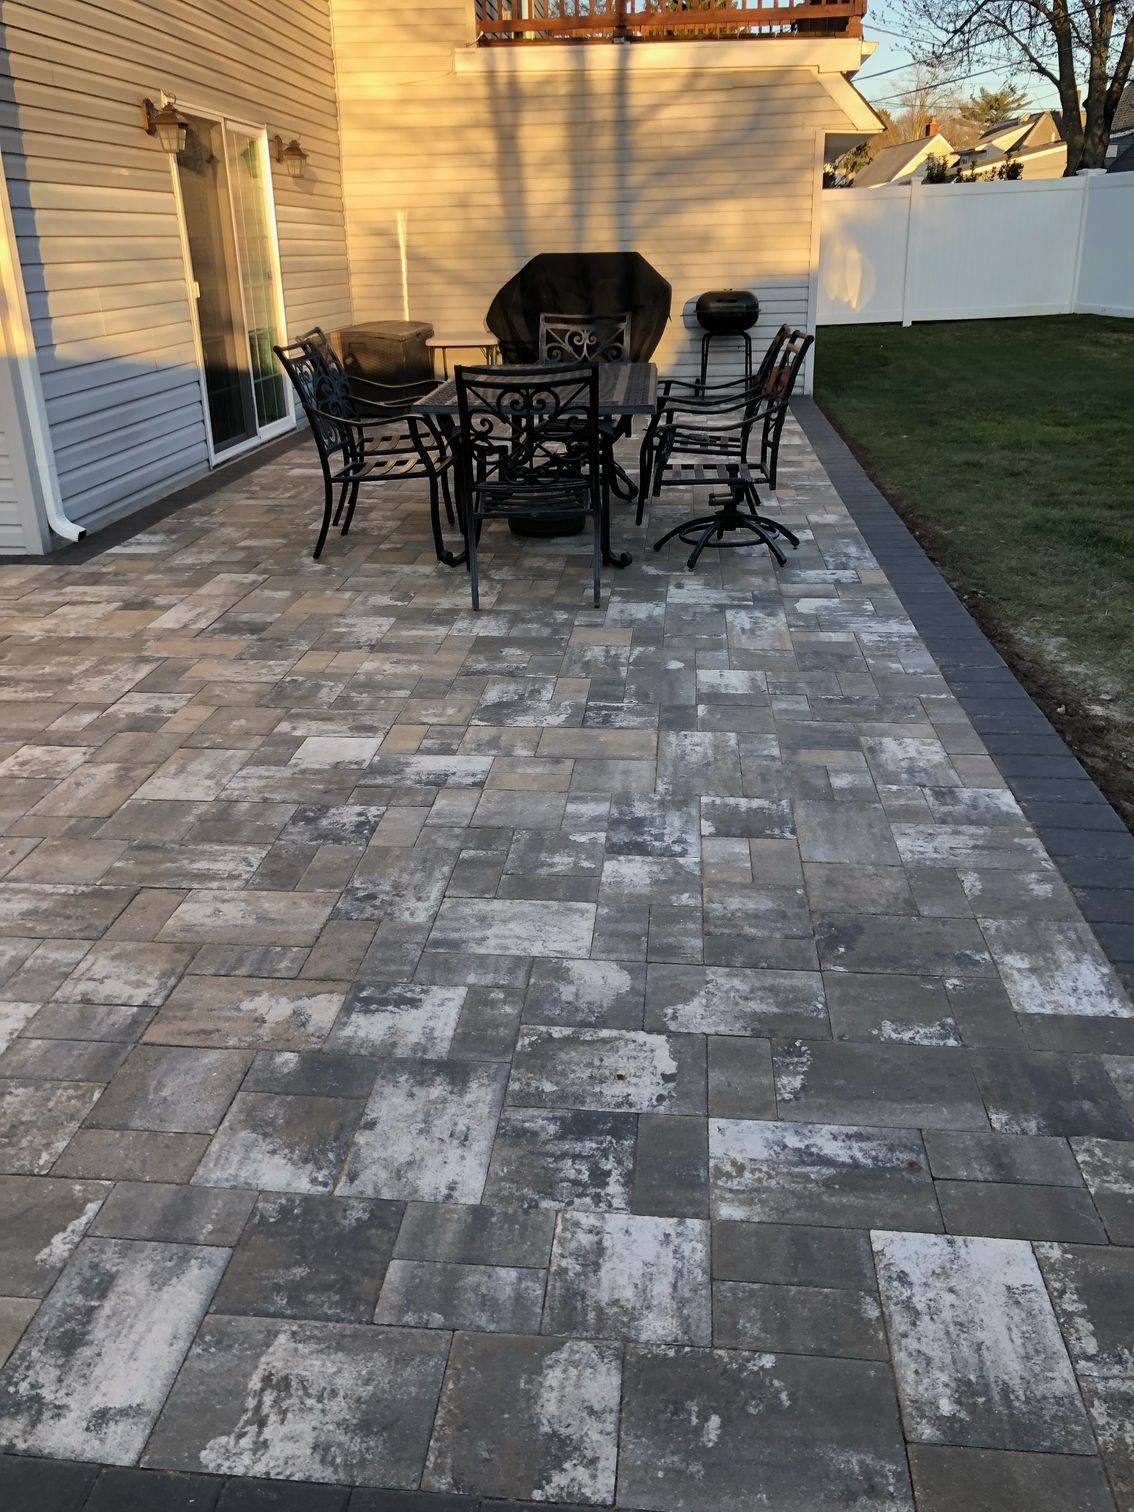
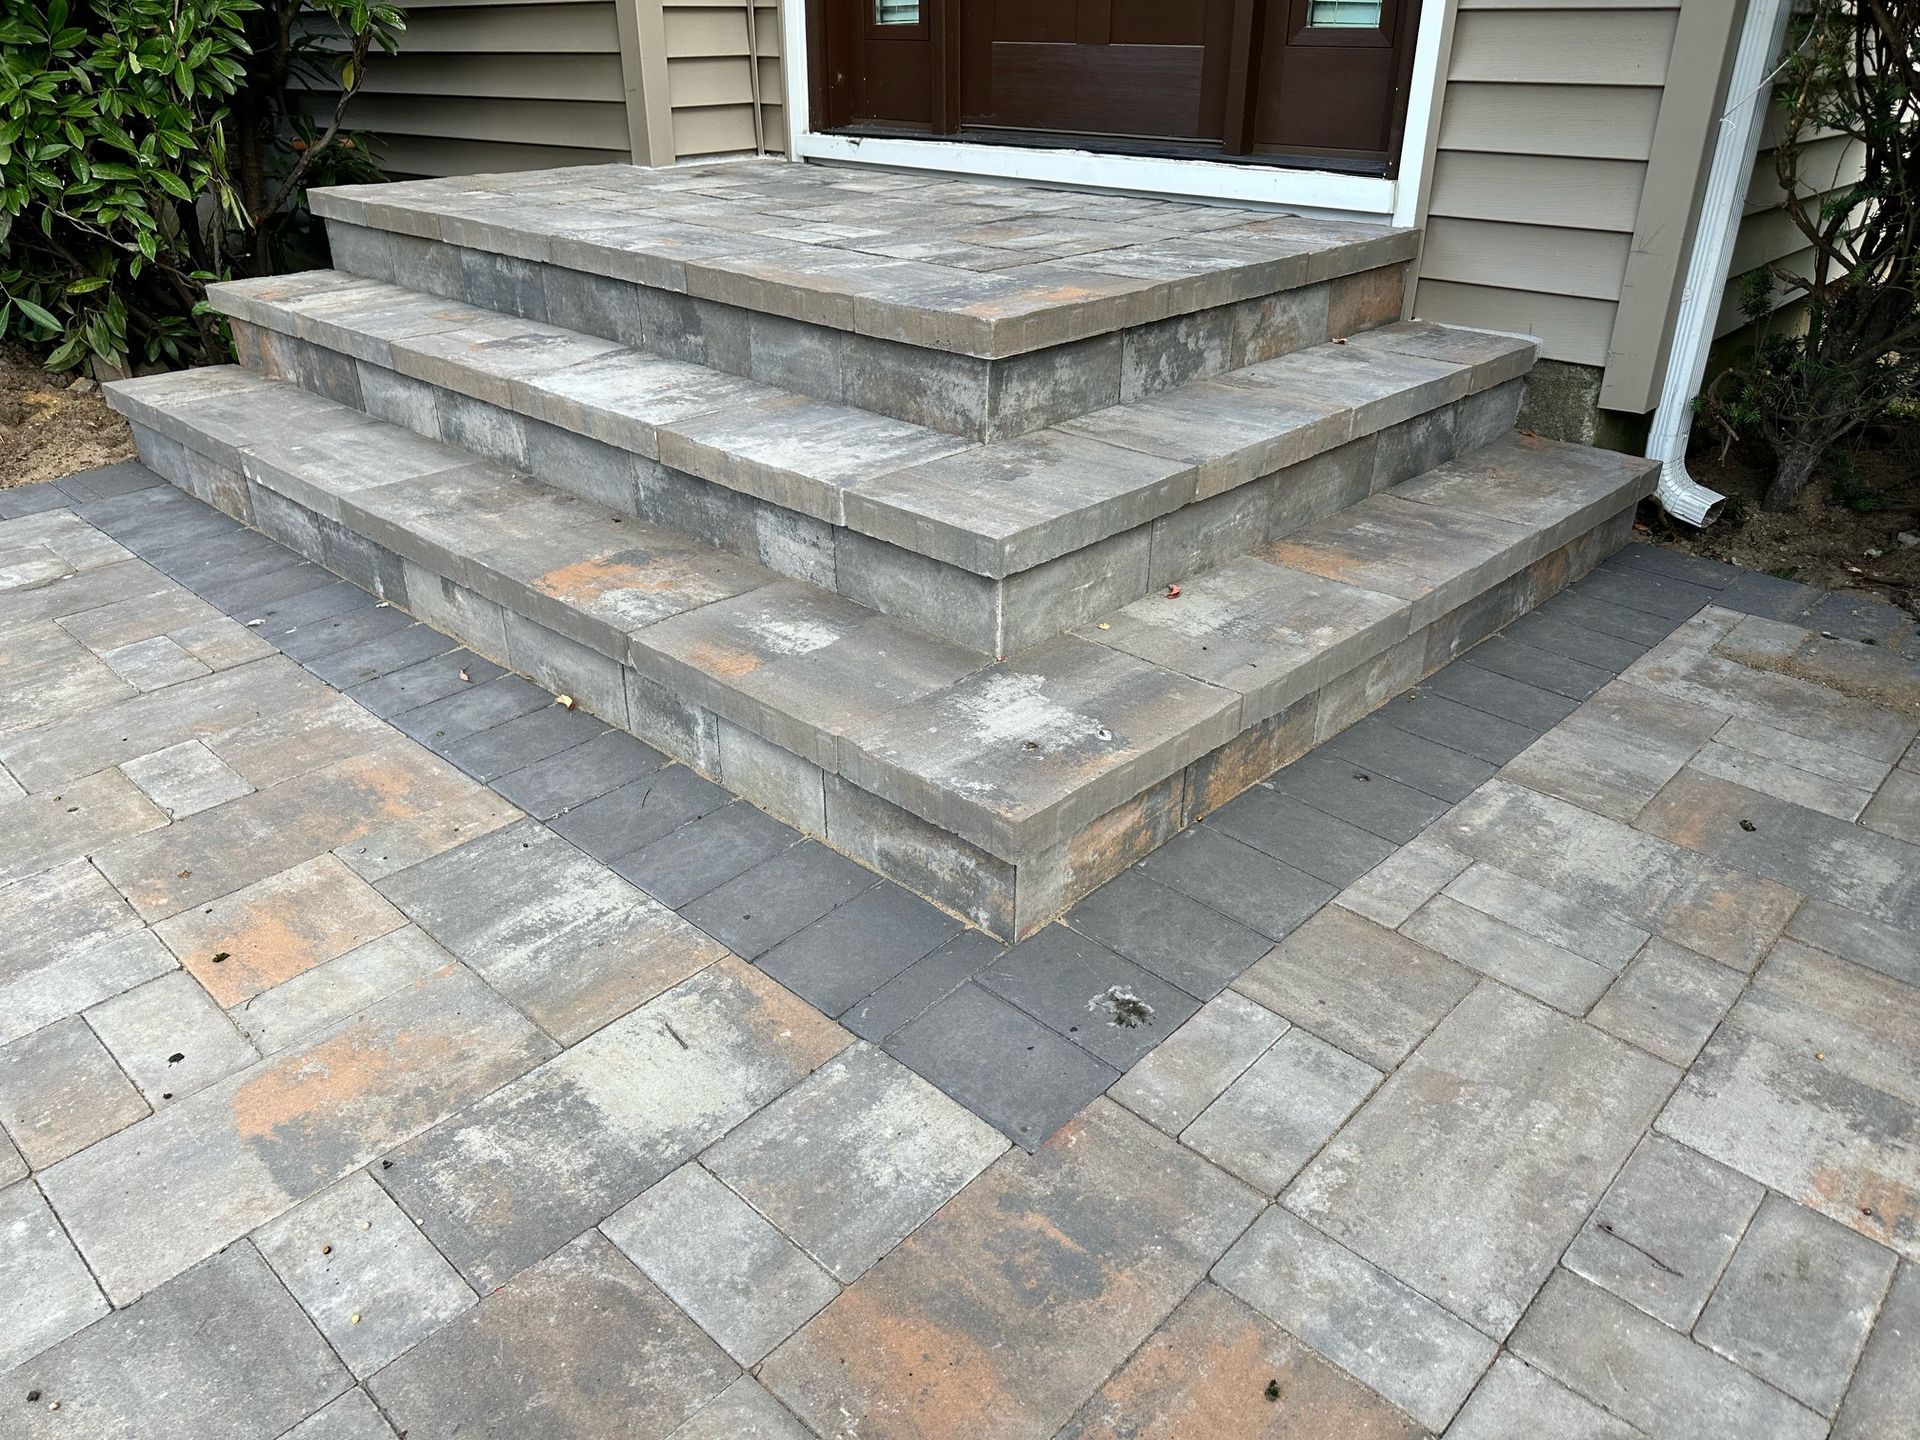
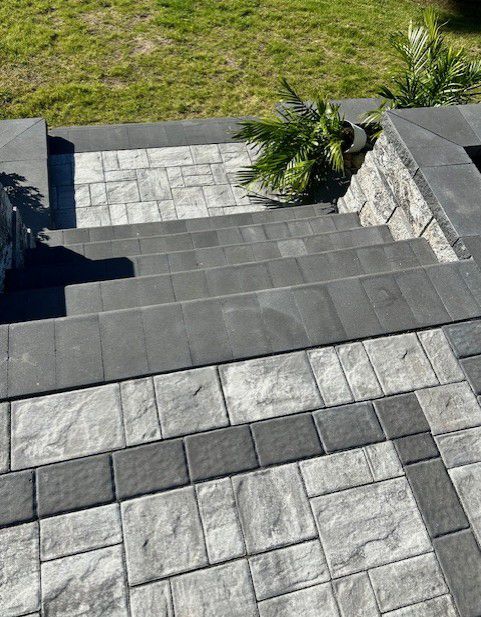
Choosing the right pavers is crucial for achieving the desired aesthetic and functionality. Long Island offers a variety of options, from natural stone pavers like bluestone, which provide a timeless look, to more modern options like large format pavers, which are increasingly popular in NY for their sleek, contemporary appearance. Interlocking pavers are another great choice for driveways, offering durability and a seamless, cohesive look.
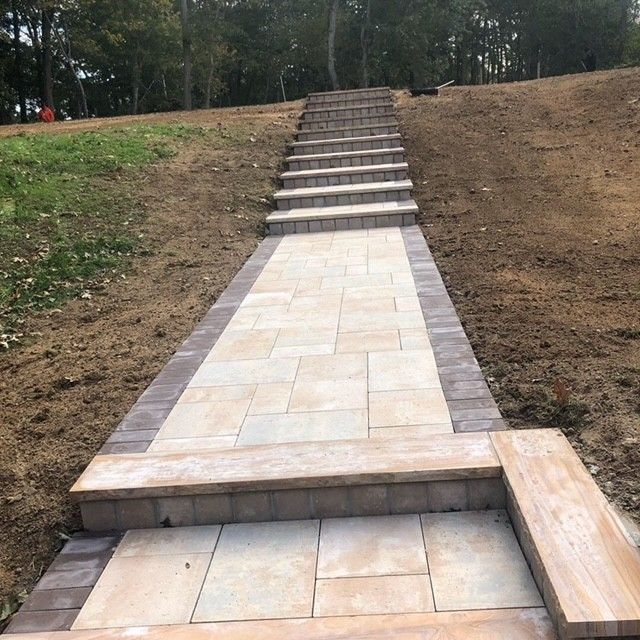
Laying Patterns
Pavers can be laid in various patterns, each offering a unique look and feel. The most common patterns include herringbone, basket weave, and running bond. The choice of pattern will depend on the style of your home and personal preference. For example, a herringbone pattern is highly recommended for driveways as it provides maximum strength and stability, particularly for areas that experience heavy traffic.
Cutting and Fitting
As you lay the pavers, you'll likely need to cut some to fit the edges or around obstacles. A wet saw is typically used for cutting pavers, ensuring clean, precise cuts that fit perfectly within the design. It's important to lay the pavers tightly together to minimize gaps and potential shifting.
5. Sanding and Sealing
The final steps in the paving process are sanding the joints and sealing the surface. These steps not only enhance the appearance of your driveway but also extend its lifespan.
Joint Sanding
Once the pavers are laid, fine sand is spread across the surface and swept into the joints between the pavers. This sand helps lock the pavers in place, preventing them from shifting. Polymeric sand is often used as it hardens when wet, providing additional stability and reducing weed growth between the joints.
Sealing the Pavers
Sealing the pavers is an optional but highly recommended step, especially for driveways. A high-quality sealer enhances the color of the pavers, protects them from stains, and reduces the effects of weathering. For Long Island homeowners, sealing is particularly beneficial given the region's varying climate conditions. It can also make the surface easier to clean, which is a plus for those seeking low maintenance backyard pavers.
6. Final Inspection and Maintenance Tips
After the pavers are sealed and the driveway is completed, a final inspection ensures everything is in place and meets your expectations.
Inspection
Walk through the driveway and check for any issues such as uneven pavers, loose joints, or poor drainage. Addressing these problems early can prevent larger issues down the line. If you've hired a professional contractor, they'll conduct this inspection with you to ensure the driveway meets industry standards.
Maintenance Tips
To keep your driveway looking its best, regular maintenance is key. Here are some tips:
- Regular Cleaning: Sweep the driveway regularly to remove debris that can accumulate in the joints.
- Sealing: Reapply sealer every 2-3 years to maintain the pavers' appearance and durability.
- Weed Control: Keep an eye out for weeds and remove them as soon as they appear. Polymeric sand can help minimize weed growth.
- Repair Cracks Promptly: Address any cracks or damage as soon as possible to prevent them from spreading.
Conclusion: Enhancing Your Home with Quality Paving
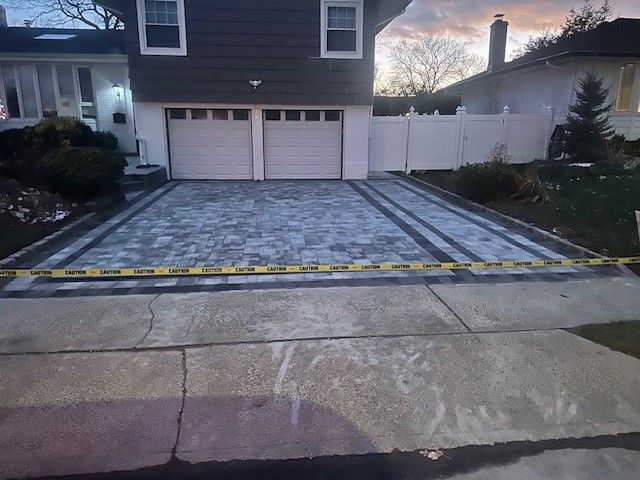
Paving a driveway is a significant investment that adds both value and curb appeal to your home. By following these steps and choosing the right materials and contractors, you can create a driveway that not only looks great but also stands the test of time. Whether you're interested in a new driveway, patio pavers installation in NY, or exploring other outdoor designs, working with experienced professionals like JIP Construction ensures your project is completed with precision and care.
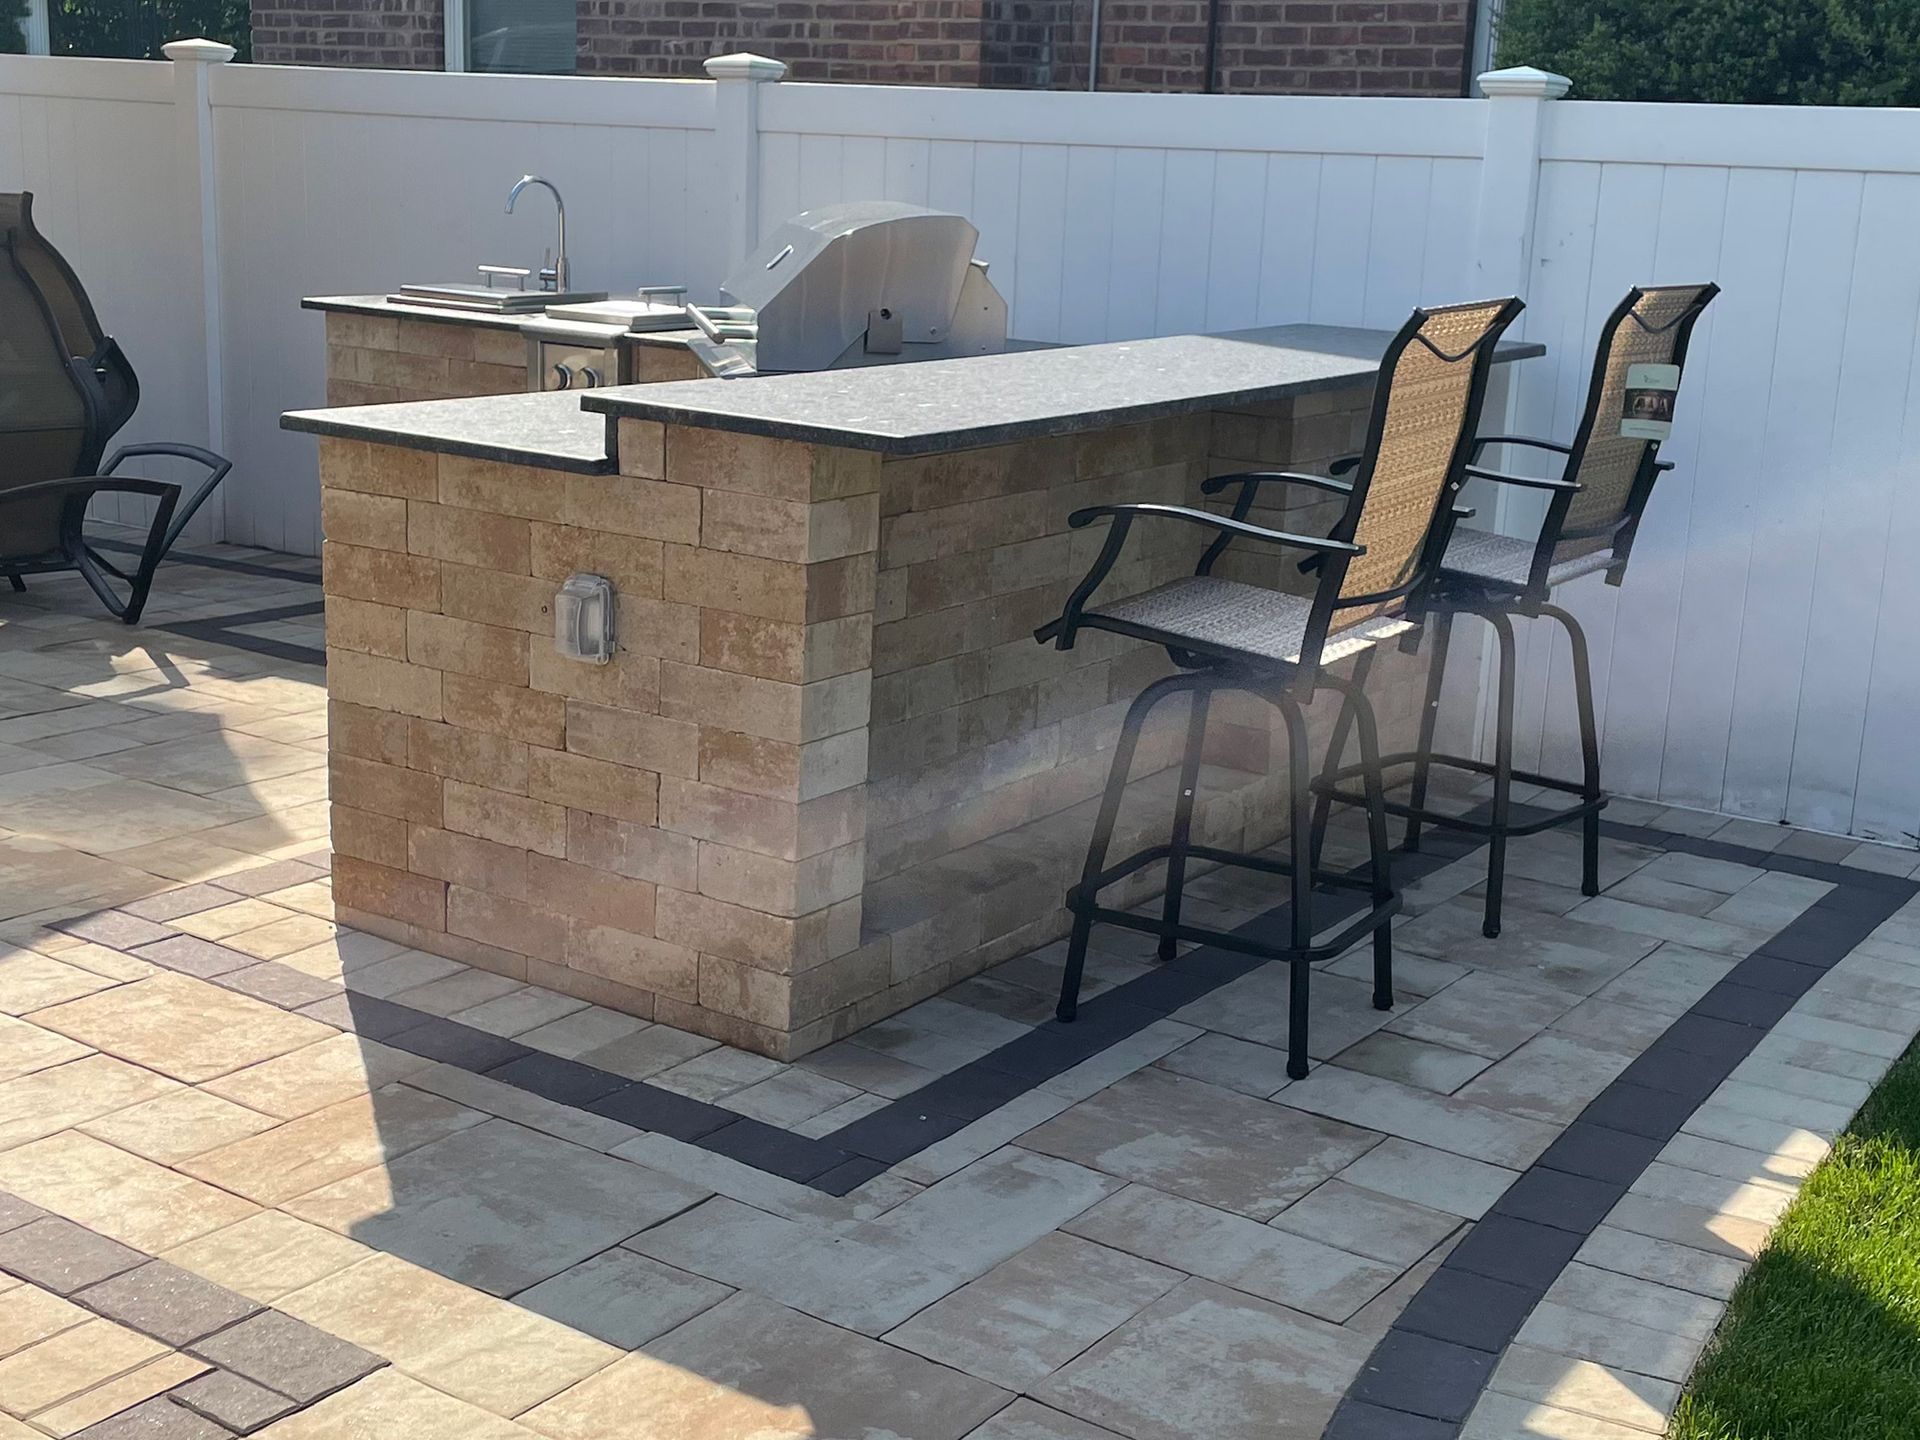
For homeowners in Long Island and surrounding areas, investing in top-rated patio pavers, affordable driveway pavers, or even custom designs can greatly enhance the functionality and beauty of your outdoor space. Contact us today to learn more about our pavers and masonry services in NY, and start planning your next home improvement project.

Share On: