The Ultimate Guide to Finishing Your Paver Project with Polymeric Sand: A Personalized Approach from JIP Construction
Ensure a Long-Lasting, Professional Finish for Your Paver Projects with Expert Tips from JIP Construction
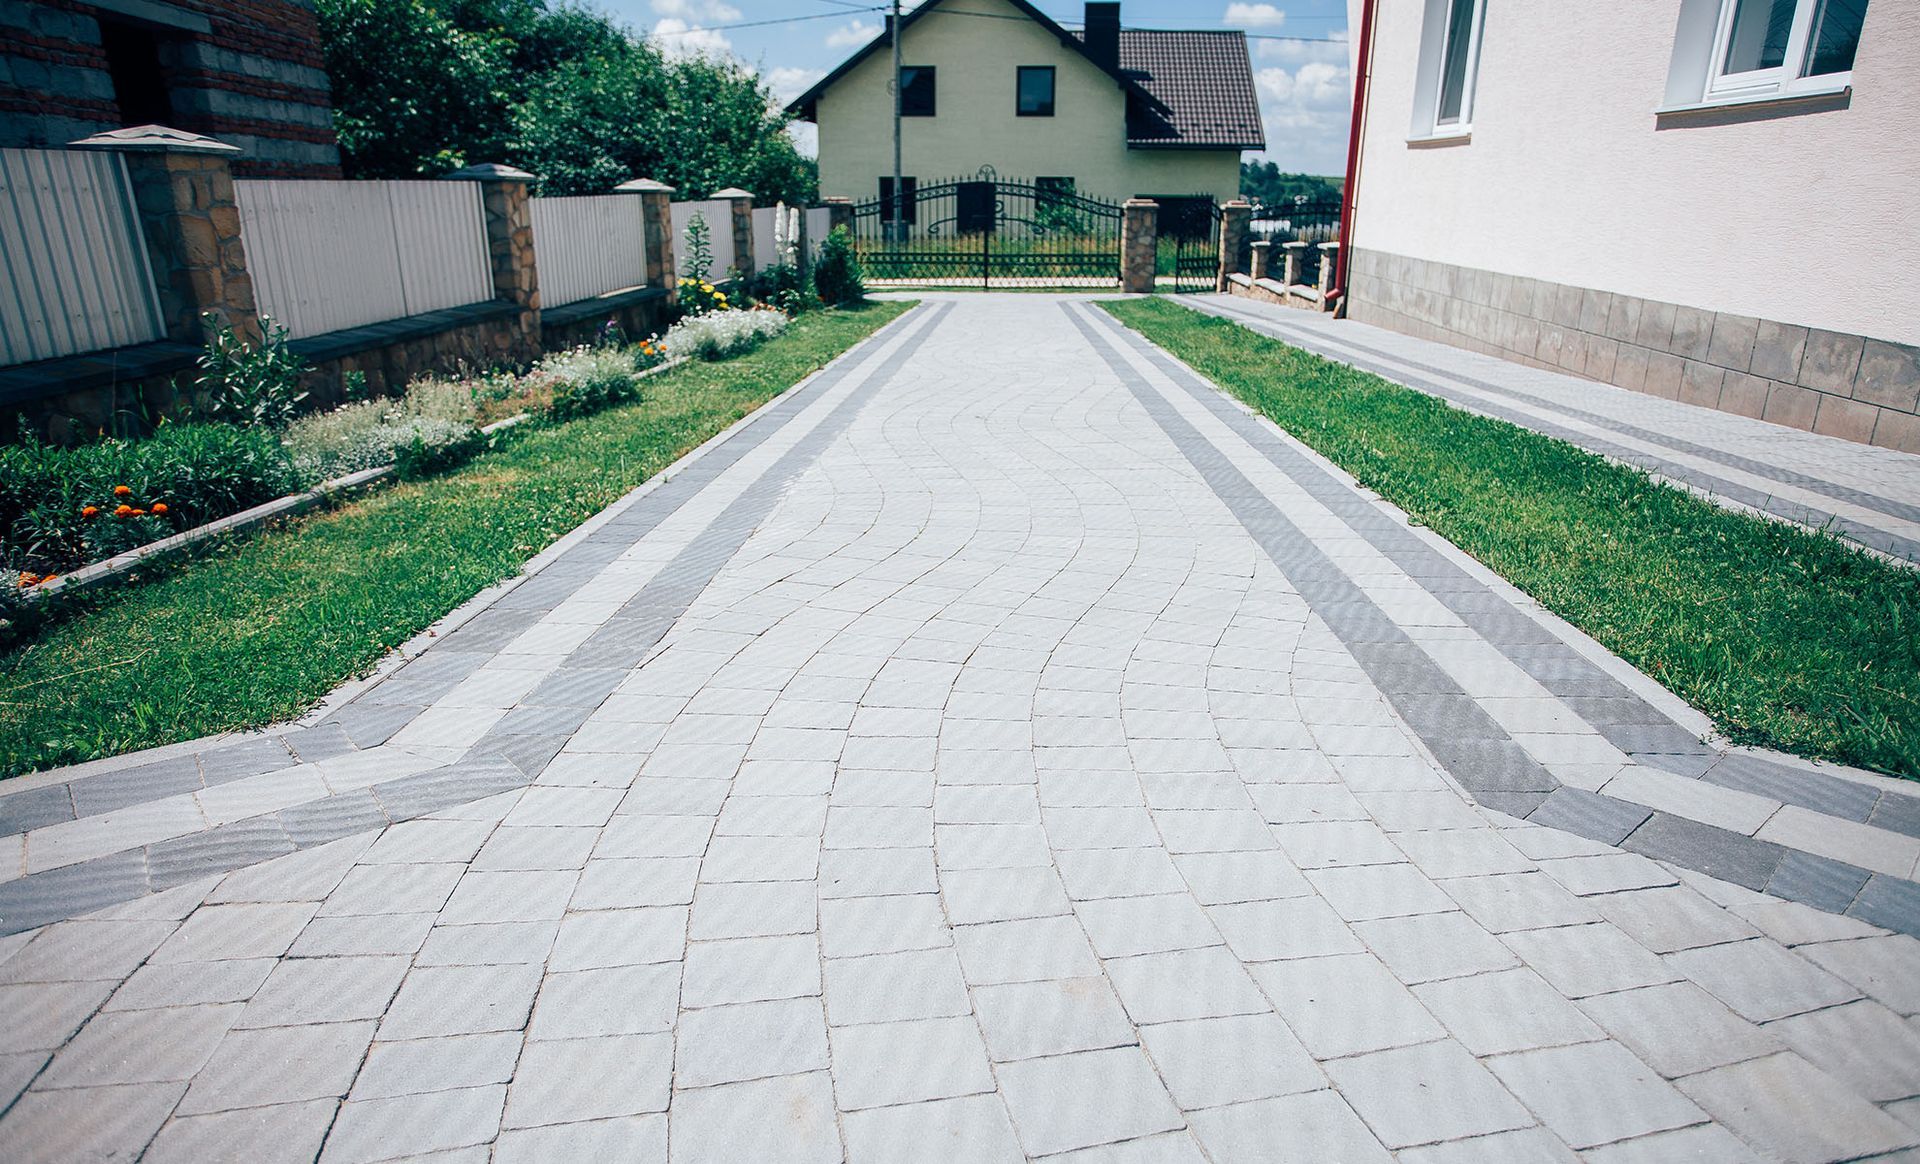
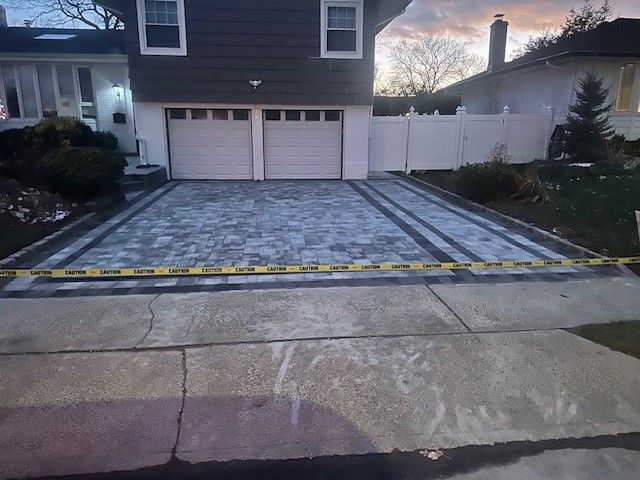
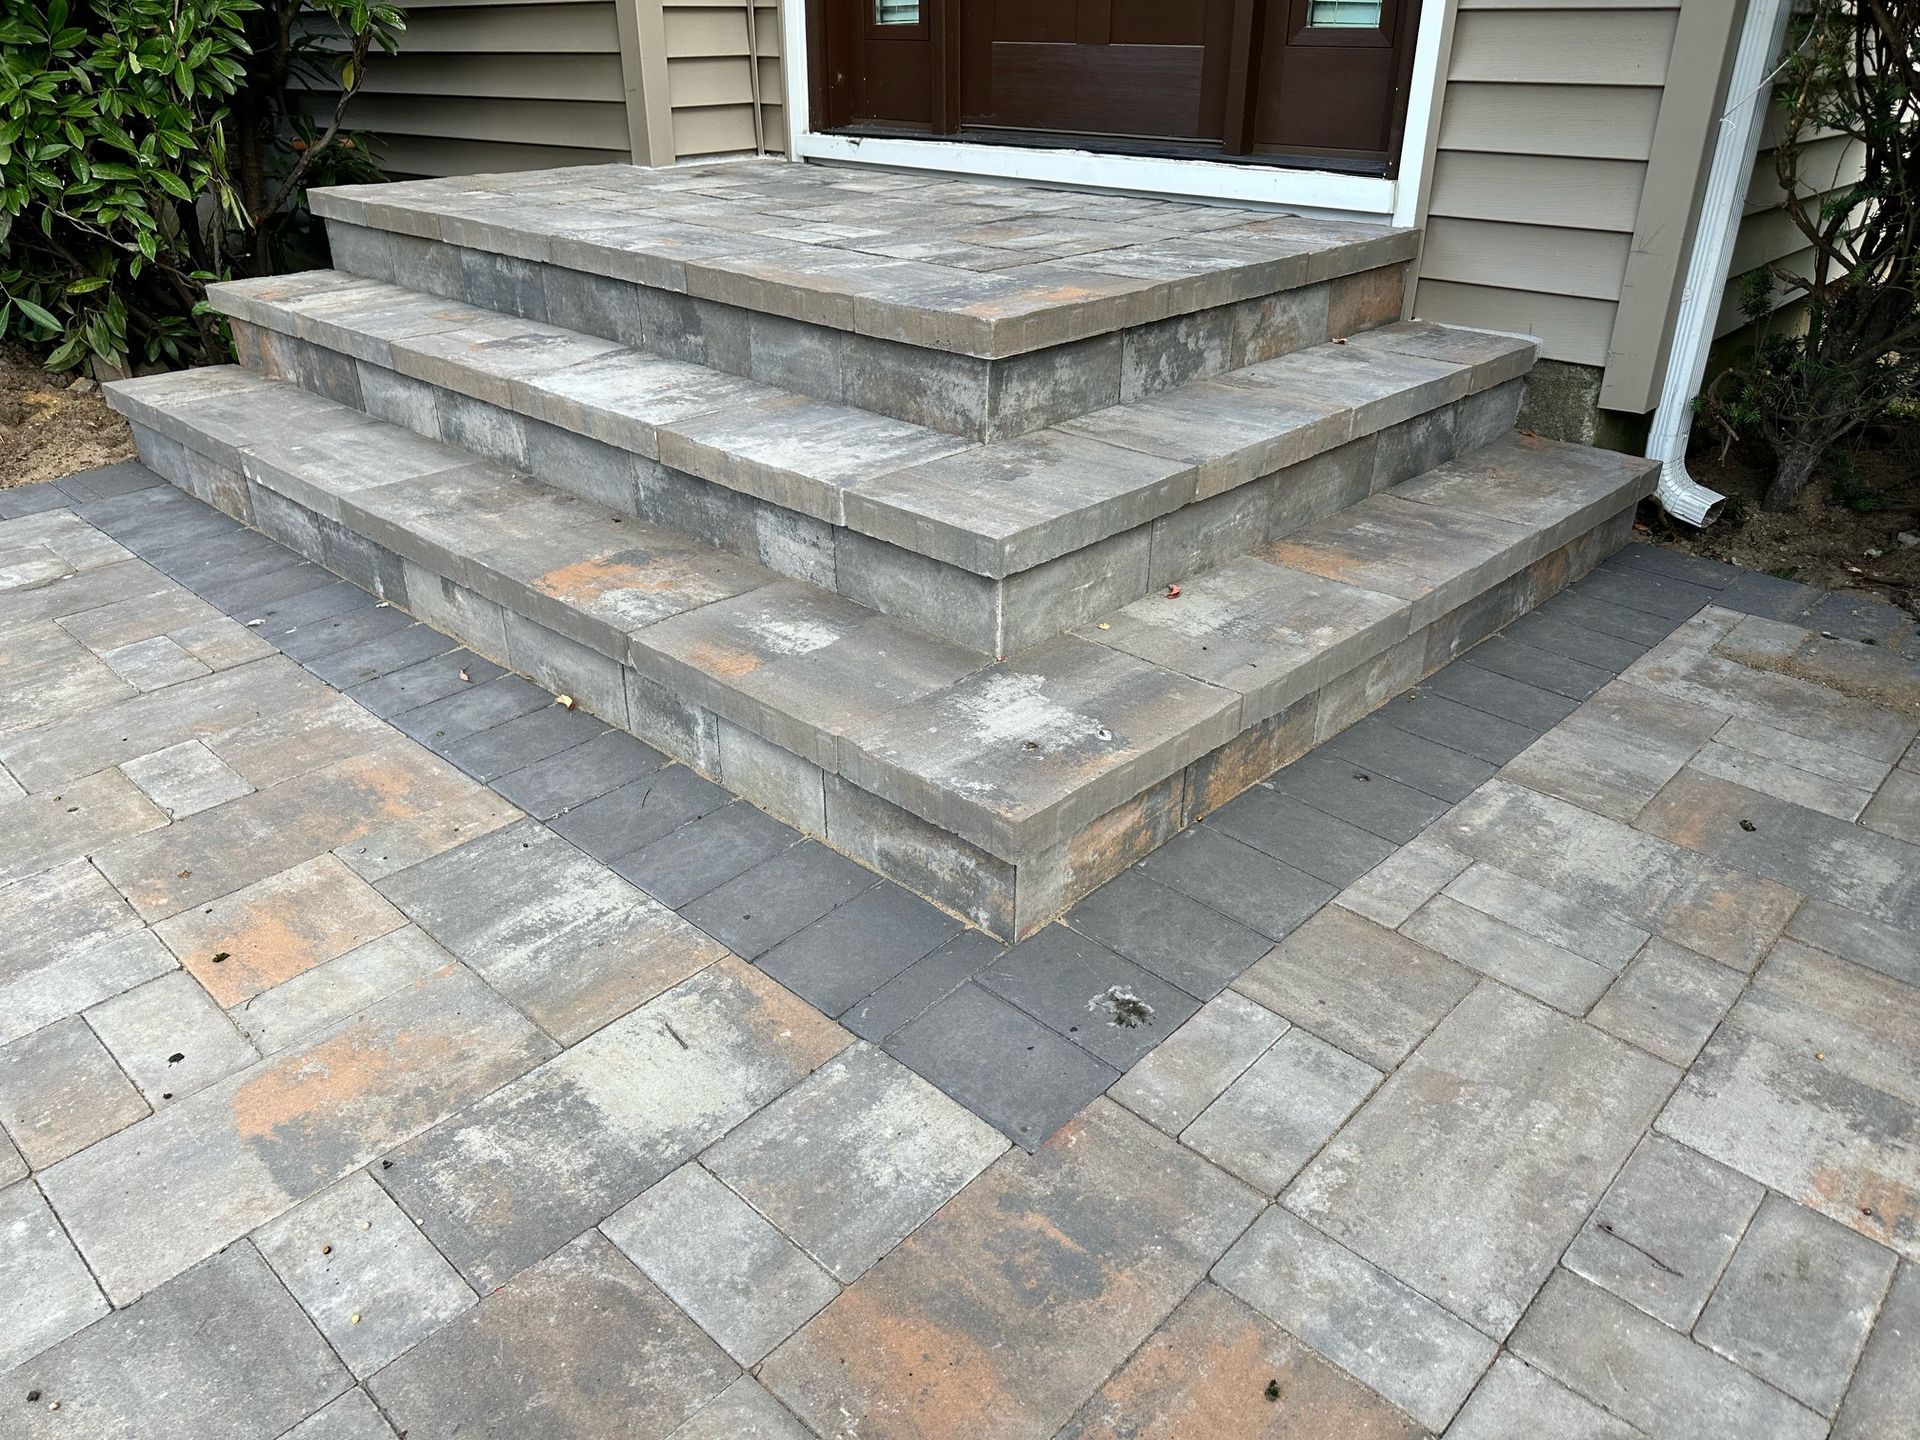
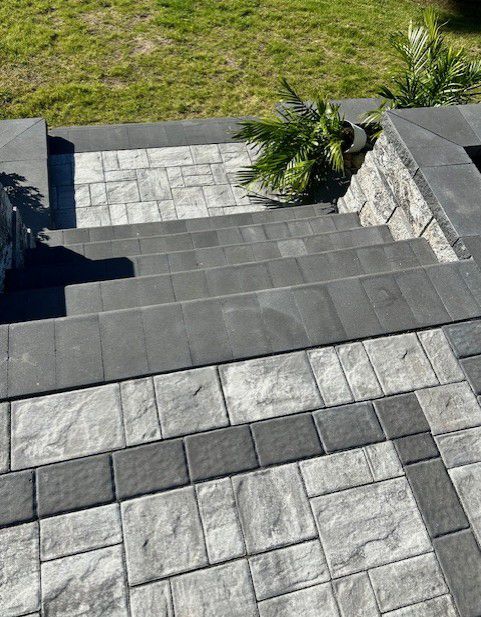
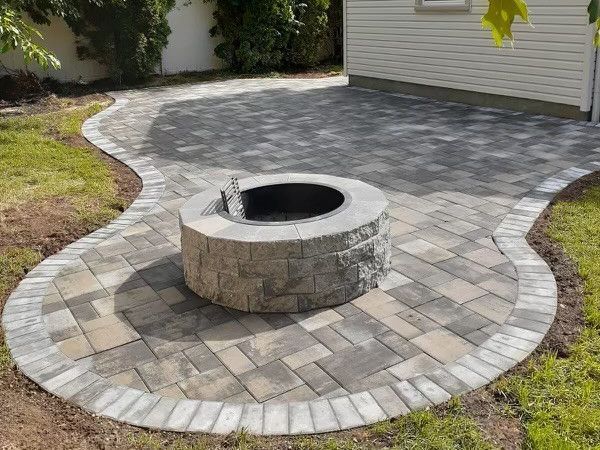
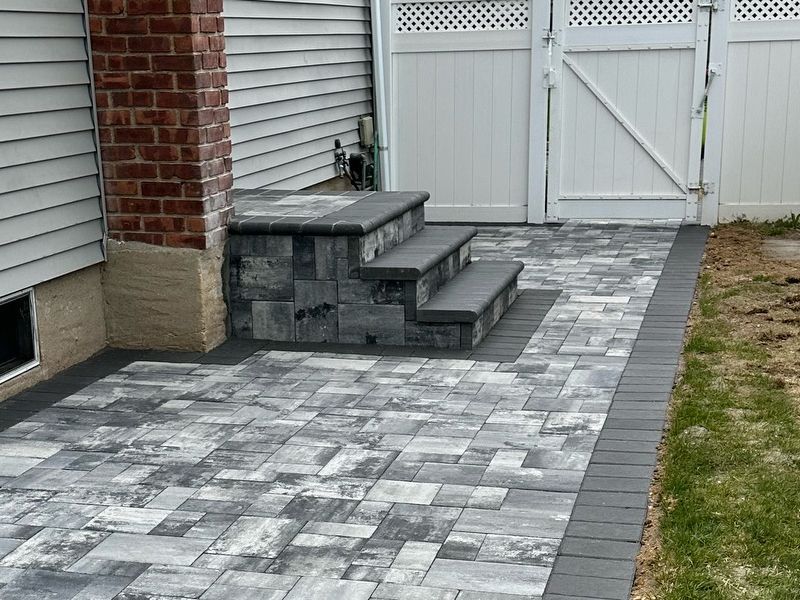
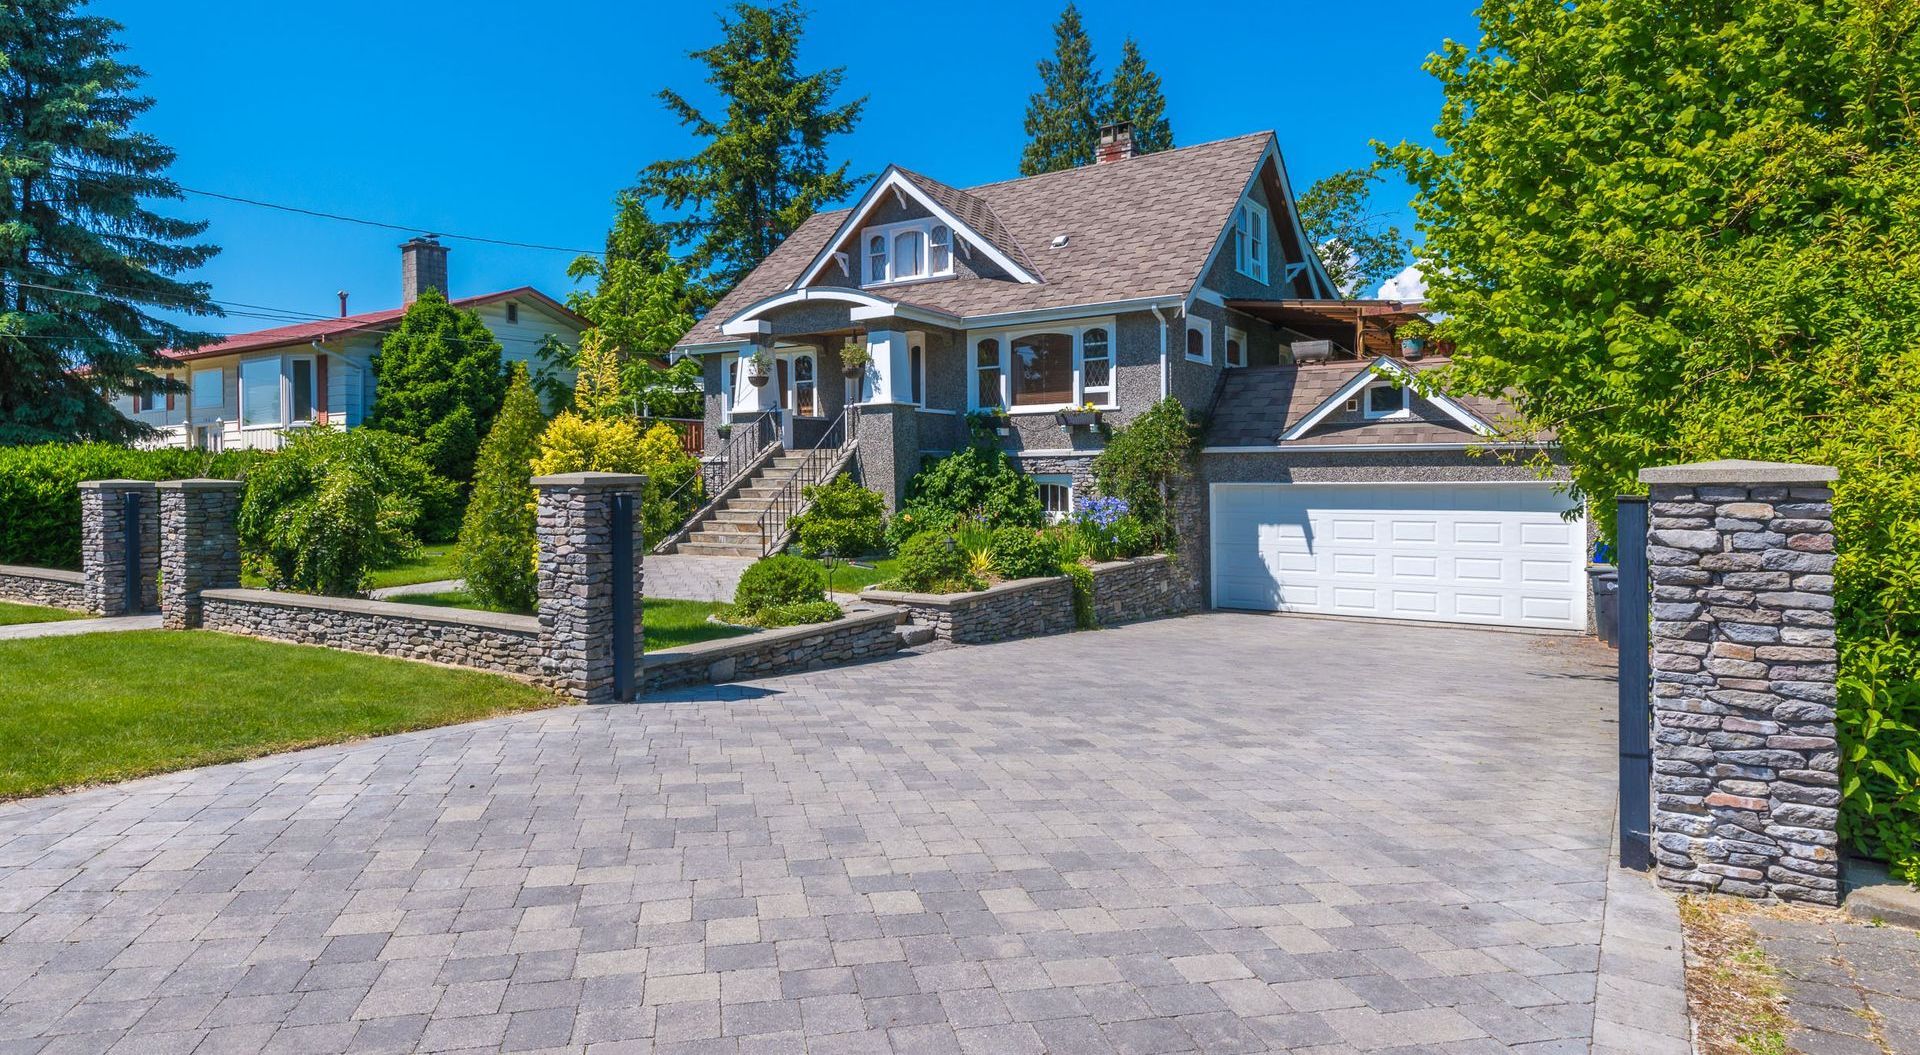
Finishing a paver project with polymeric sand is a crucial step that ensures the longevity and stability of your installation. At JIP Construction, we believe in providing our clients with the best techniques and materials to achieve a flawless finish. Here's a comprehensive guide on how to effectively use polymeric sand to complete your paver project.
Step 1: Spreading Polymeric Sand Over the Pavers
Polymeric sand is a mixture of fine sand and special additives that, when combined with water, form a binding agent. This creates a stable and durable joint between the pavers. Here’s how to do it:
- Preparation: Ensure your pavers are dry and free of debris. The surface should be clean before you begin spreading the polymeric sand.
- Application: Pour the polymeric sand directly onto the pavers. Using a broom, sweep the sand into the joints between the pavers. Work the sand back and forth until the joints are completely filled.
- Filling Joints: Pay attention to the joints and make sure they are filled to the top without any gaps. This prevents weed growth and insect infiltration.
Step 2: Compacting the Pavers
Compaction is essential to set the pavers into the sand and ensure they are securely in place.
- Choosing the Right Compactor: Use a plate compactor for this process. If the pavers are delicate or prone to scratching, place a piece of carpet or rubber mat under the compactor to protect the surface.
- Compaction Process: Run the plate compactor over the entire surface of the pavers. This helps to settle the pavers into the sand and ensures a firm, even surface.
- Refill and Repeat: After the initial compaction, inspect the joints and refill with polymeric sand as needed. Compact the surface again to ensure all joints are filled and the sand is well-settled.
Step 3: Rinsing the Surface to Activate the Polymeric Sand
The final step involves activating the polymeric sand, which is done by adding water. This step is critical for the sand to harden and bind the pavers together.
- Initial Rinse: Lightly mist the surface with water. Use a hose with a spray nozzle set to a fine mist to avoid washing away the sand.
- Controlled Watering: Water the surface evenly, making sure the water penetrates the sand in the joints without pooling on the surface. It’s important not to over-saturate the sand.
- Curing Time: Allow the sand to dry and cure. Depending on the weather conditions, this can take anywhere from 24 to 48 hours. During this time, avoid walking on the pavers to ensure the sand sets properly.
Benefits of Using Polymeric Sand for Your Paver Projects
At JIP Construction, we advocate for the use of polymeric sand because of its numerous benefits:
- Durability: Polymeric sand provides a strong and lasting bond that resists erosion and withstands various weather conditions.
- Weed and Insect Resistance: Properly installed polymeric sand prevents weed growth and deters insects from nesting between the pavers.
- Aesthetic Appeal: The sand enhances the overall appearance of your paver project by creating clean, filled joints that complement the pavers.
Common Mistakes to Avoid
- Overwatering: Adding too much water can wash away the sand and prevent it from properly setting.
- Insufficient Filling: Failing to completely fill the joints can lead to instability and weed growth.
- Inadequate Compaction: Not compacting the pavers properly can result in uneven surfaces and shifting pavers.
Conclusion
Finishing your paver project with polymeric sand is a crucial step that should not be overlooked. By following these steps, you can ensure a durable, attractive, and long-lasting paver installation. At JIP Construction, we pride ourselves on using the best practices and highest quality materials for every project. If you have any questions or need professional assistance, feel free to contact us.
Share On: