Serving Westbury, NY and Nassau County, NY
Installation Techniques: Best Practices for Installing Driveway and Patio Pavers
Installation Techniques: Best Practices for Installing Driveway and Patio Pavers
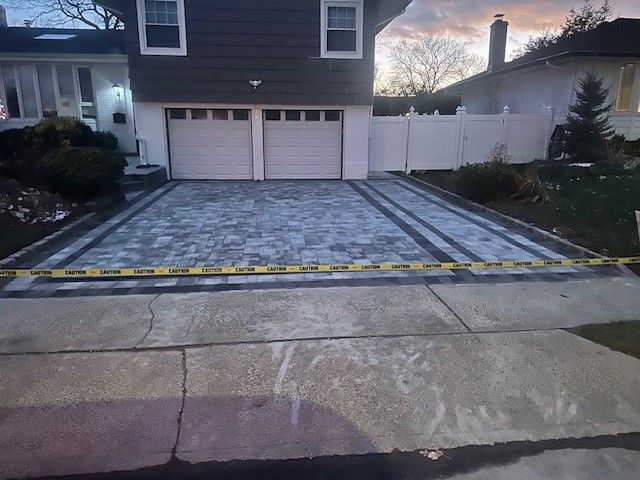
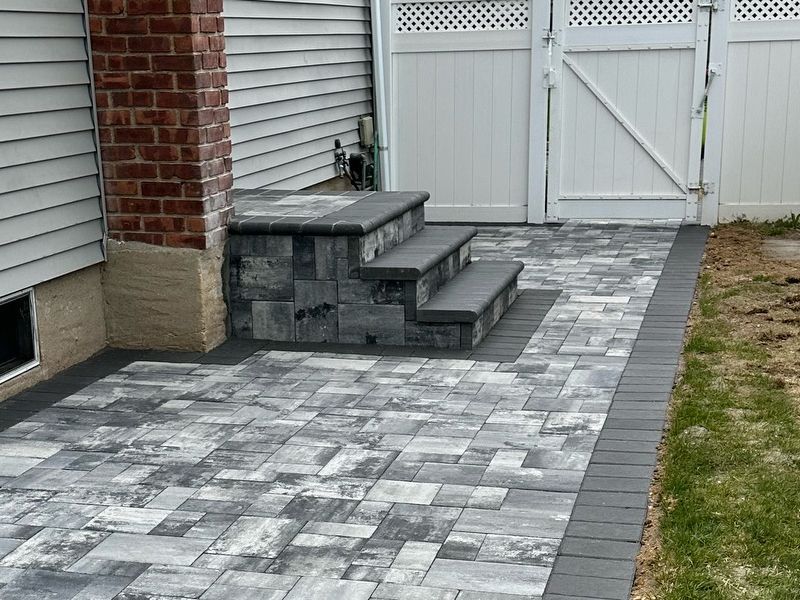
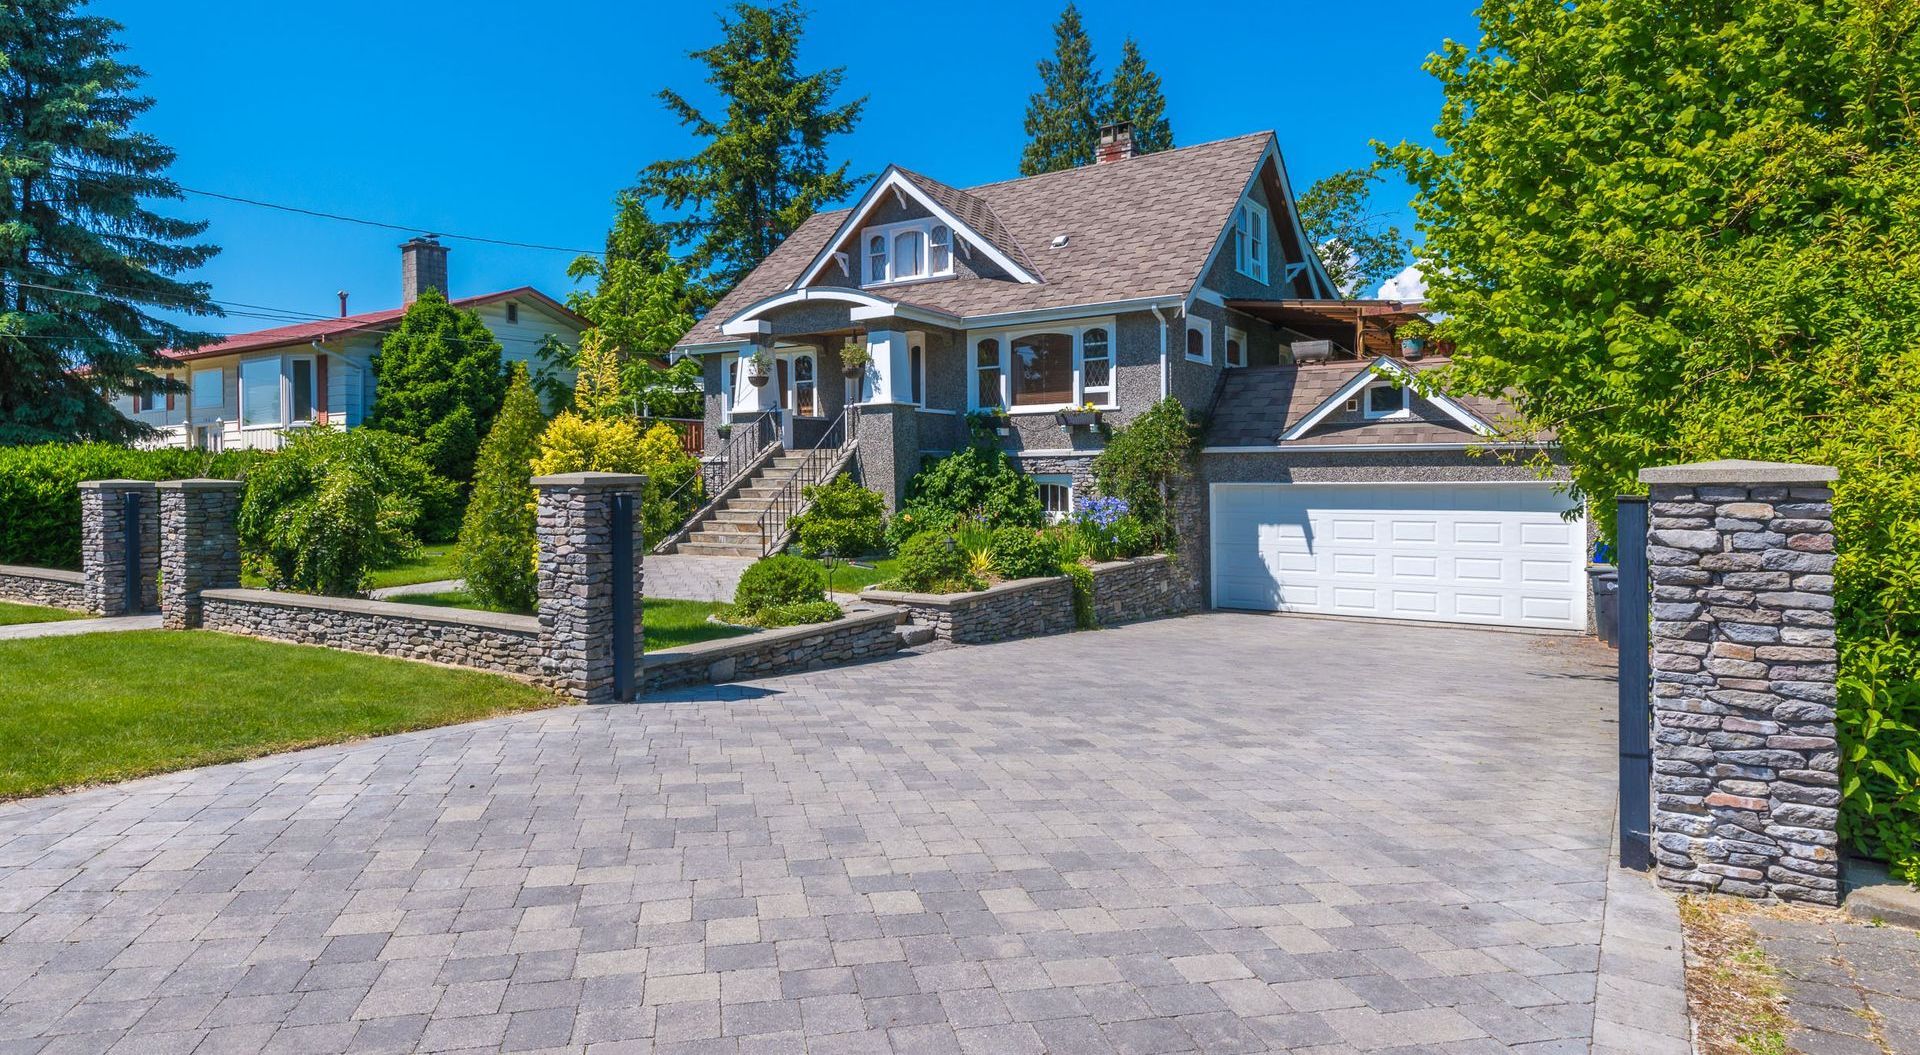
Creating a beautiful and durable driveway or patio involves more than just laying down pavers. Proper installation is key to ensuring your pavers stand the test of time, resist weather conditions, and maintain their aesthetic appeal. In this blog post, we’ll walk you through the best practices for installing driveway and patio pavers, including base preparation, edge restraints, and joint sanding.
Base Preparation
A strong foundation is crucial for the longevity of your paver installation. Proper base preparation involves several steps:
- Excavation: Start by excavating the area to the appropriate depth. This typically means digging 8-12 inches below the finished grade for driveways and 6-8 inches for patios. The depth depends on the type of soil and the load the surface will bear.
- Sub-base: Lay down a sub-base layer of crushed stone or gravel. This layer, usually 4-6 inches thick, provides a stable foundation for the pavers. Compact the sub-base using a plate compactor to ensure it is solid and even.
- Base Material: Add a layer of base material, such as crushed limestone, on top of the sub-base. This layer should be about 4 inches thick for driveways and 2 inches for patios. Again, compact thoroughly to create a level and stable surface.
- Bedding Layer: Spread a 1-inch layer of coarse sand over the base material. This bedding layer allows you to adjust the pavers and ensures a smooth surface. Use a screed board to level the sand evenly.
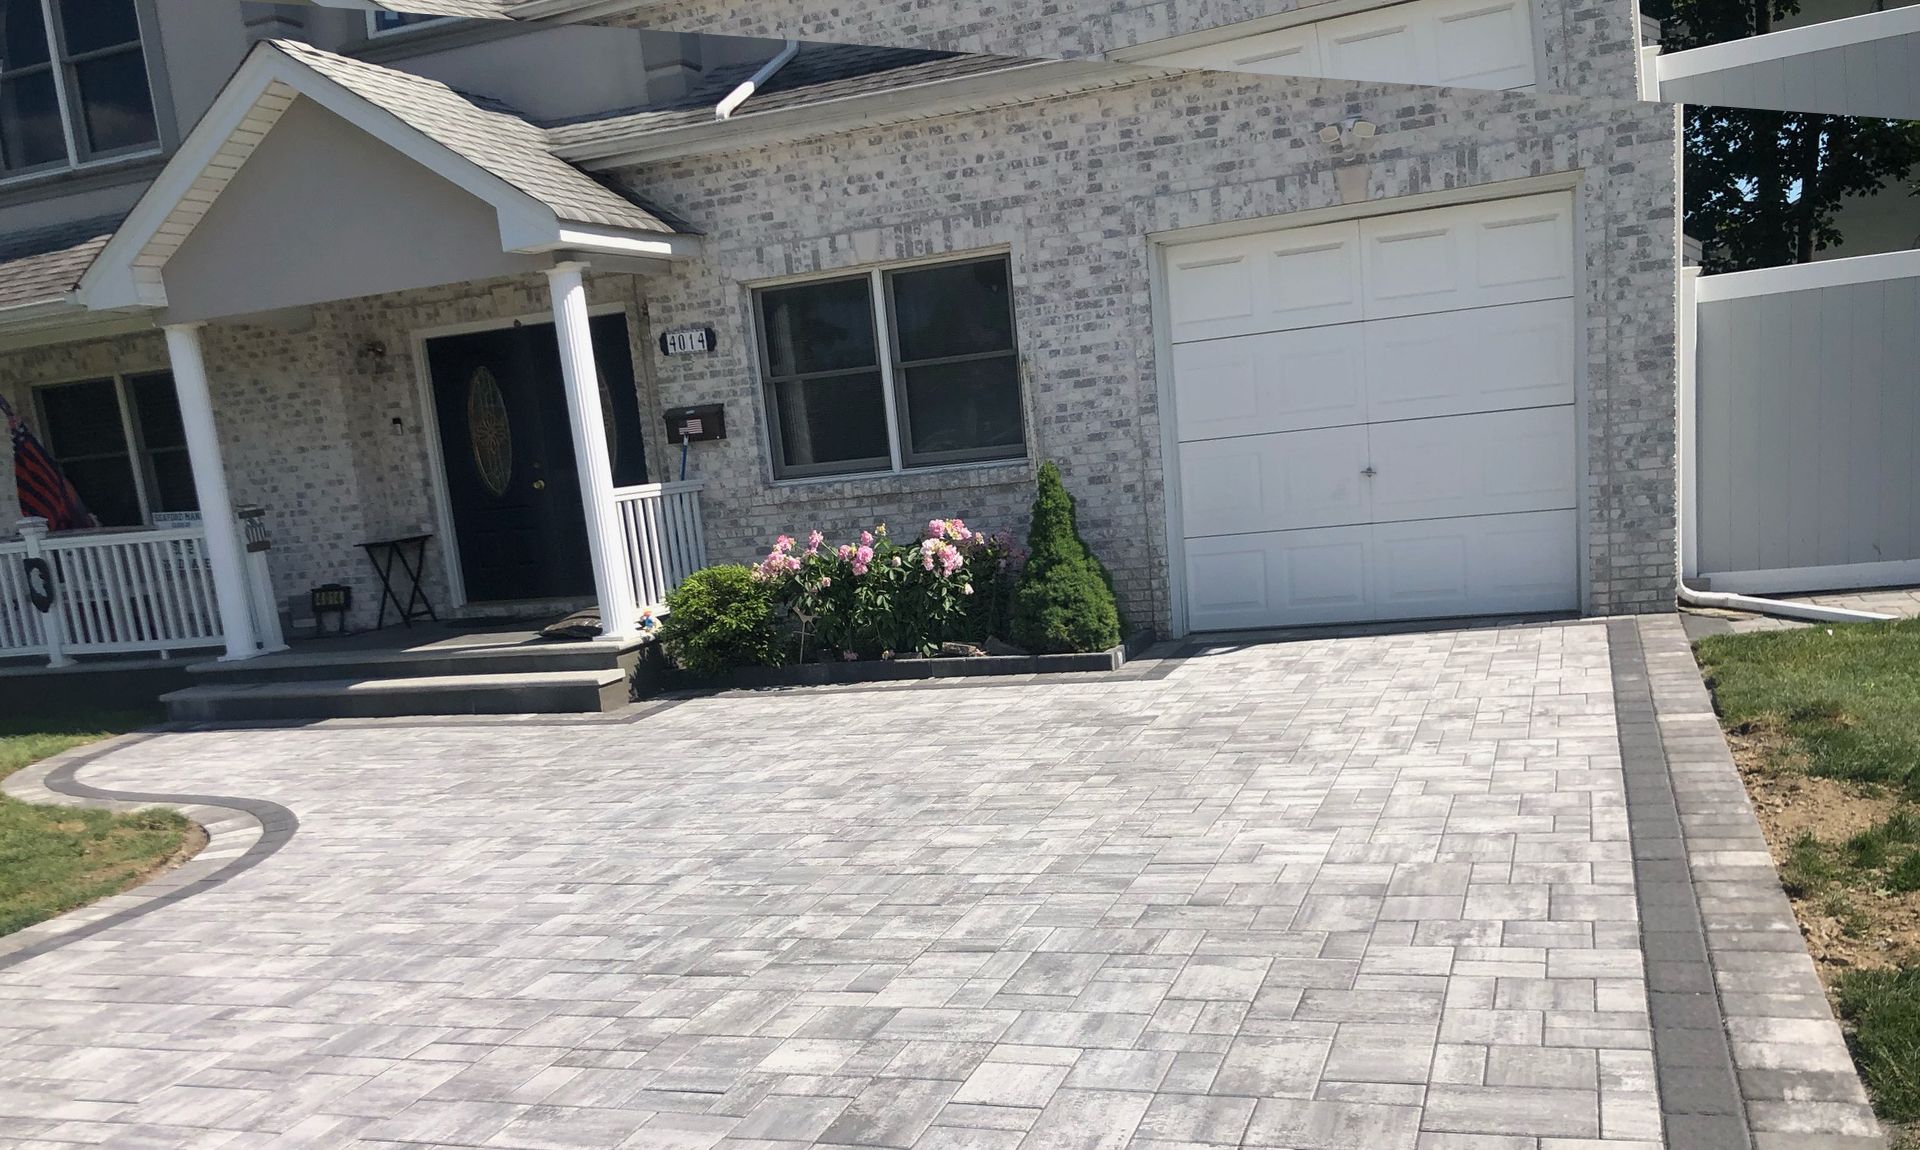
Edge Restraints
Edge restraints are essential for maintaining the integrity of your paver installation. They prevent the pavers from shifting and help retain the shape of the driveway or patio.
- Selection: Choose edge restraints made from durable materials like plastic, metal, or concrete. These should be appropriate for the specific requirements of your project, considering both aesthetics and functionality.
- Installation: Place the edge restraints along the perimeter of the paver area. Secure them with spikes driven into the ground at intervals of 1-2 feet. Ensure the restraints are flush with the bedding layer to avoid any gaps that could lead to movement.
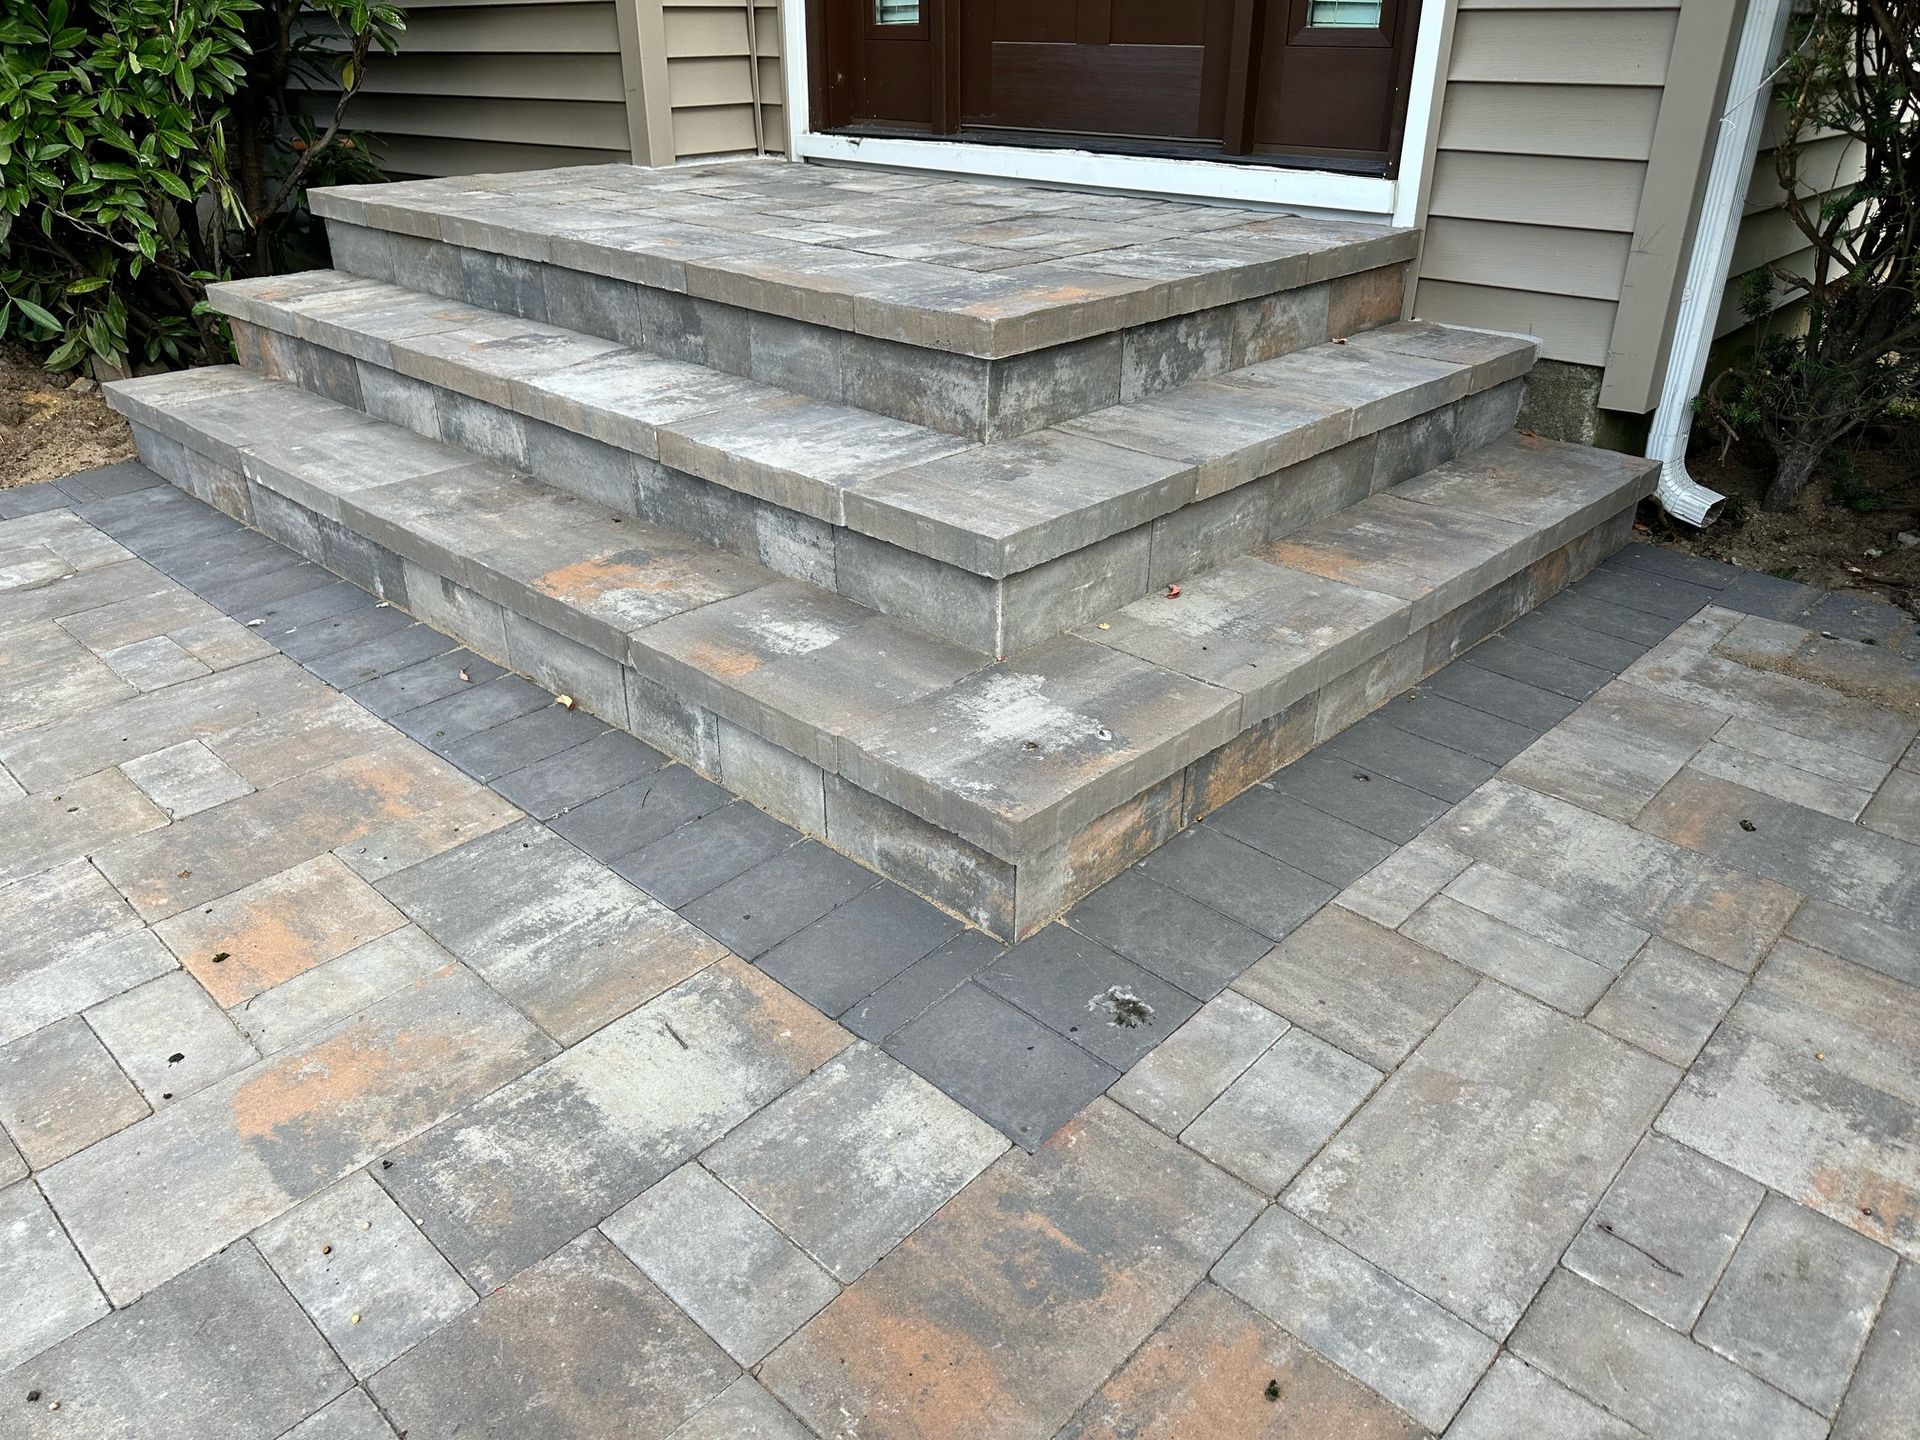
Laying Pavers
With the base and edge restraints in place, it’s time to lay the pavers.
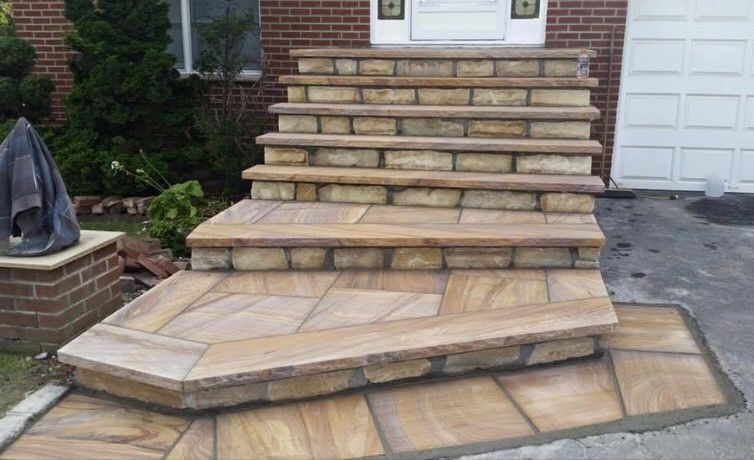
- Pattern Selection: Choose a laying pattern that suits your design preferences and the shape of your space. Popular patterns include herringbone, basket weave, and running bond.
- Placement: Start from a corner or a straight edge, placing each paver on the sand bed. Tap them gently into place with a rubber mallet. Ensure consistent spacing between pavers, using spacers if necessary to maintain uniform gaps.
- Cutting: As you approach the edges, you may need to cut some pavers to fit. Use a masonry saw or a paver splitter for clean, precise cuts.
Joint Sanding
Filling the joints between the pavers with sand helps lock them in place and prevents weed growth and shifting.
- Joint Sand: Use polymeric sand, which hardens when wet, for enhanced stability and resistance to erosion. Spread the sand over the surface and sweep it into the joints with a broom.
- Compaction: Run a plate compactor over the pavers to settle the sand into the joints. This also helps to level the surface and ensure the pavers are firmly set.
- Sealing: After the sand has been compacted and the paver joints are filled, lightly mist the area with water to activate the polymeric sand. Allow the sand to cure as per the manufacturer’s instructions before using the driveway or patio.
Conclusion
Proper installation of driveway and patio pavers requires attention to detail and adherence to best practices. From preparing a solid base to installing edge restraints and joint sanding, each step plays a crucial role in the longevity and appearance of your paver project. At J.I.P. Construction, we pride ourselves on delivering top-quality installation services, ensuring your outdoor spaces are both beautiful and durable. Contact us today to learn more about our services and how we can help bring your vision to life.
service Area
Long Island, NY
Westbury, NY
Nassau County, NY
Carle Place, NY
Salisbury, NY
East Garden City, NY
Manhasset, NY
Muttontown, NY
Old Brookville, NY
Upper Brookville, NY
Oyster Bay, NY
Syosset, NY
Jericho, NY
Dix hill, NY
and surrounding areas
Business Hours
Available 24/7 - Service by Appointment
Se Habla Español
Share On: