A Comprehensive Guide to Backyard, Driveway, and Industrial Paver Installation & Maintenance
Transform Your Backyard, Driveway, or Industrial Space with Quality Pavers

Choosing the right paver for your outdoor spaces not only elevates the aesthetic appeal of your property but also enhances its durability and functionality. From backyard patios to industrial driveways, investing in quality paver installation adds long-term value. This guide covers essential steps for installing pavers in various spaces and offers practical maintenance tips to keep your installation looking its best for years to come.
Part 1: The Installation Process for Pavers
Whether you’re planning a cozy backyard patio, a durable driveway, or a functional industrial entrance, a structured approach to paver installation is crucial for a successful outcome. Here’s a step-by-step guide for installing pavers, catered to different environments.
Step 1: Planning and Design
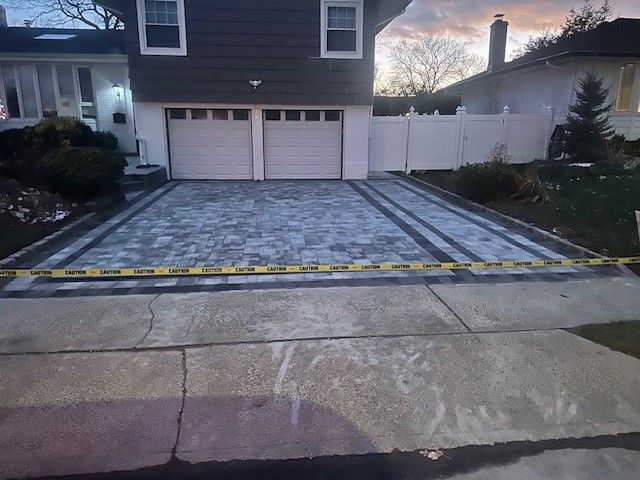
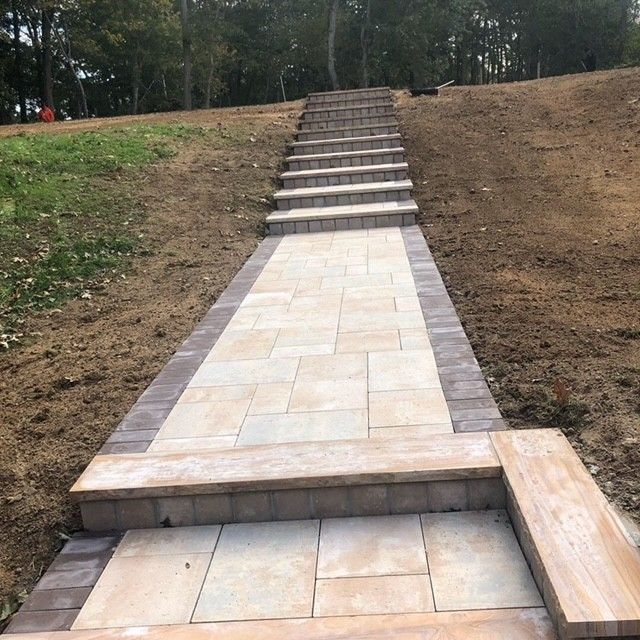
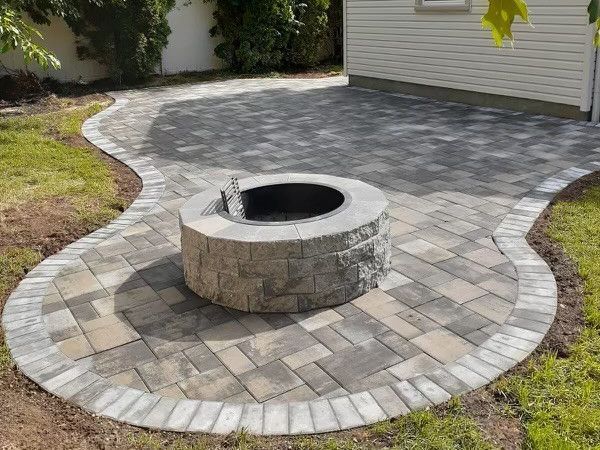
- Choose Your Layout and Material: For backyard spaces, modern paver trends emphasize eco-friendly and low-maintenance designs. Decide on a layout that matches your style, whether that’s a sleek, geometric look or a more rustic appeal. Driveways and industrial spaces require heavy-duty pavers, typically made from concrete or cobblestone for durability.
- Consider Drainage: Proper drainage is key in any paver installation. Without it, water can accumulate, leading to weed growth and structural damage over time. For industrial and driveway pavers, installing a drainage system can prevent pooling and extend the lifespan of your pavers.
- Order Materials and Prepare Tools: After selecting your paver material, calculate the amount needed and order accordingly. Essential tools include a plate compactor, level, and edge restraints to keep the pavers secure.
Step 2: Excavation and Base Preparation
- Excavate the Area: Mark the area where pavers will be installed and excavate it to a depth suitable for the paver type and the expected load. For backyard patios, a 6-8 inch depth is often sufficient. Driveways and industrial installations may require deeper excavation, up to 12 inches or more.
- Set Up the Base Layer: A solid base ensures the longevity of your paver installation. Lay a compacted layer of crushed stone or gravel, followed by sand, to create a stable foundation. Each layer should be compacted thoroughly with a plate compactor to avoid shifting.
Step 3: Laying and Securing the Pavers
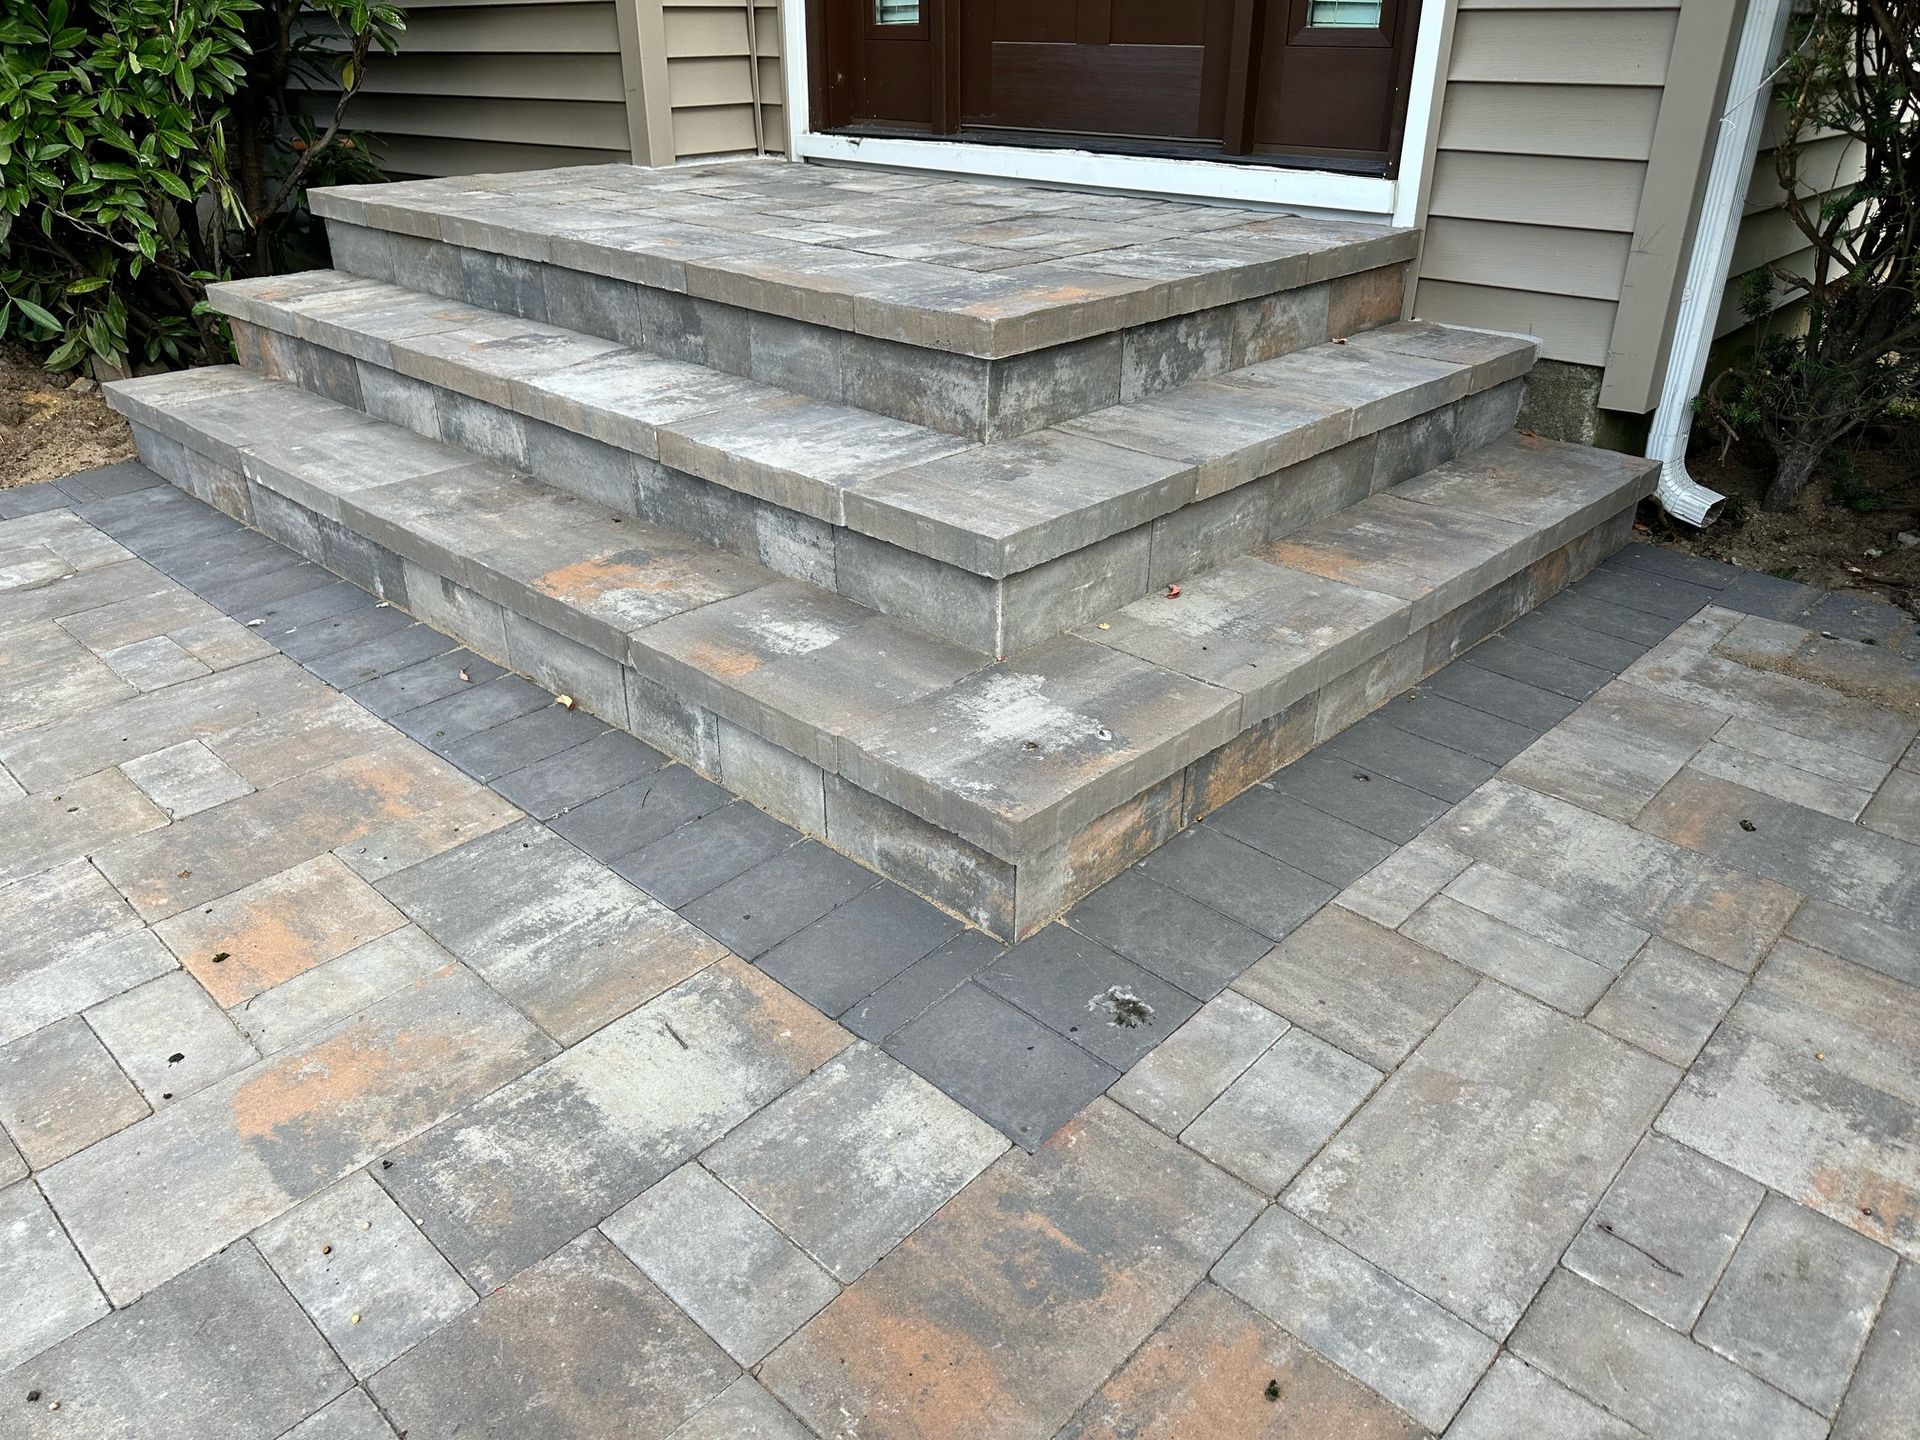
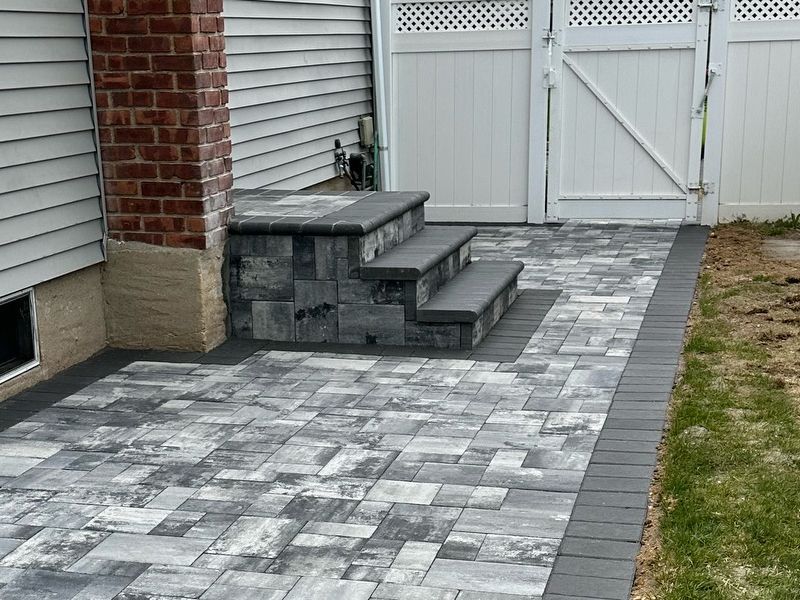
- Lay the Pavers: Start from one corner and lay each paver snugly against the next, following your chosen design. For more intricate designs, especially in backyard patios, consider using paver spacers to keep patterns consistent.
- Edge Restraints: Install edge restraints around the border of your paver area to keep the pavers securely in place, especially critical in driveways and high-traffic industrial spaces where shifting is common.
- Compact and Fill the Joints: Once the pavers are laid, use the plate compactor to set them firmly. Spread joint sand over the pavers, sweeping it into the joints. This not only keeps the pavers in place but also inhibits weed growth, an essential maintenance aspect for backyard and driveway installations.
Step 4: Sealing
Sealing pavers protects them from stains, weather, and erosion. For backyard patios, sealing also enhances color and appearance. For driveways, choose a sealant designed to handle heavy vehicles. Industrial pavers may benefit from industrial-grade sealants that withstand heavy loads and high traffic.
Part 2: Essential Paver Maintenance Tips
Paver maintenance is crucial for longevity, especially as seasonal changes impact outdoor installations. Here are some tried-and-tested tips for maintaining backyard, driveway, and industrial pavers.
1. Weed Control
- Weeds are a common challenge in backyard and driveway pavers. To prevent weed growth:
- Use a weed barrier under the pavers during installation.
- Regularly apply joint sand, which helps fill gaps between pavers and minimizes weed seeds from taking root.
2. Regular Cleaning
- Keep pavers clean to maintain their appearance and durability:
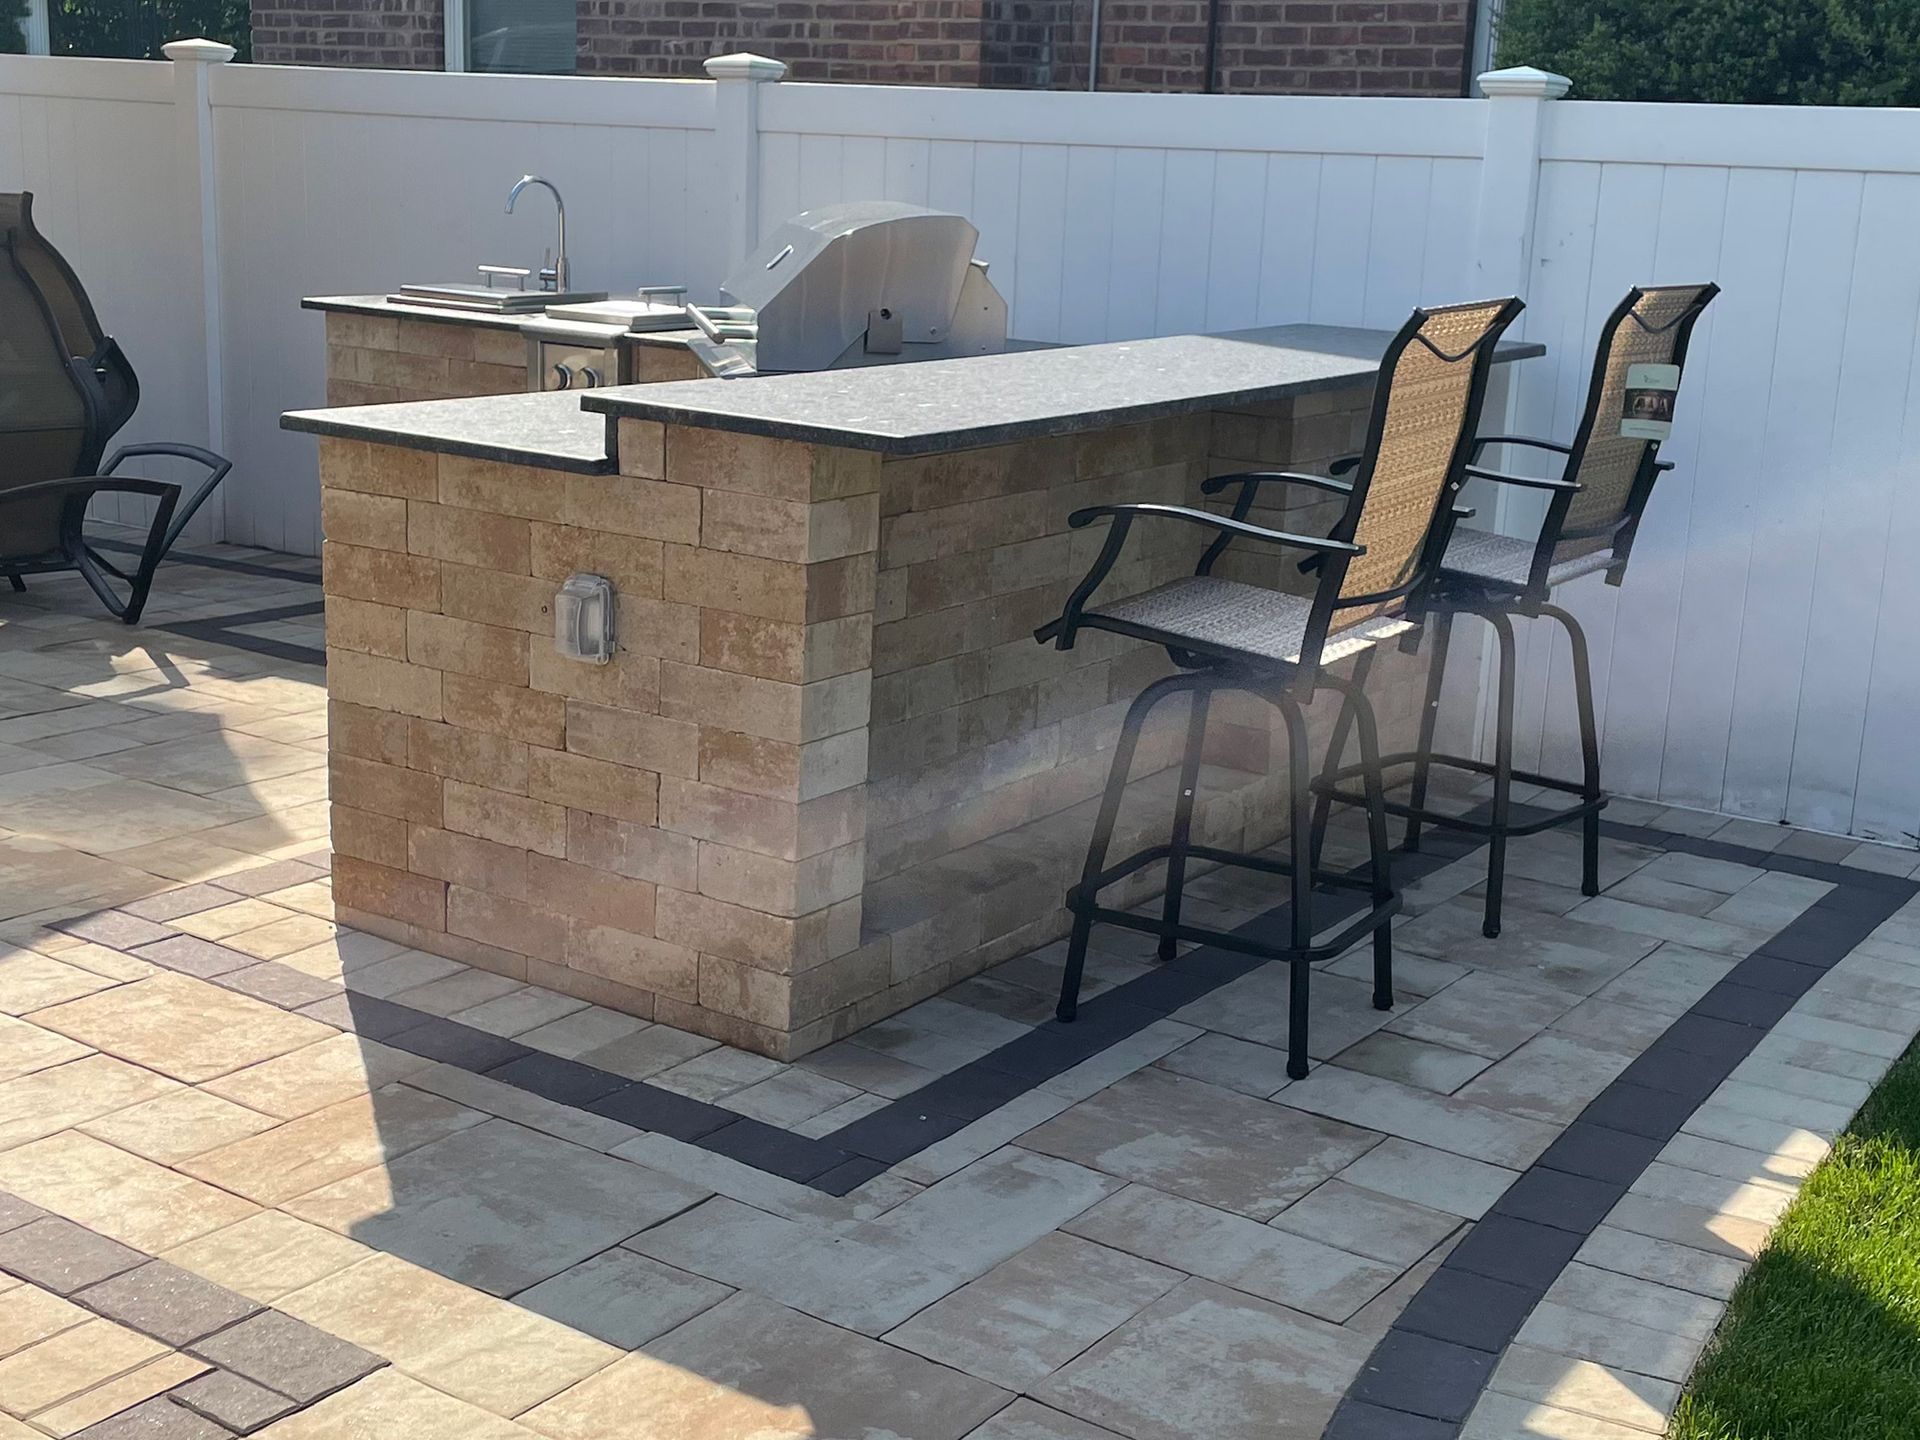
- For backyard patios, sweep regularly and occasionally use a mild detergent to remove stains from BBQs and gatherings.
- Driveways and industrial spaces benefit from power washing. Clean driveway pavers before applying winter sealants to avoid trapping dirt under the seal.
3. Resealing
- Reseal every 2-3 years for high-traffic areas to protect against stains and fading.
- In colder months, sealing driveways can reduce the damage from freezing and thawing cycles.
4. Replacing Damaged Pavers
- Individual pavers can crack or shift, particularly in high-use areas. Fortunately, pavers are relatively easy to replace without disturbing the entire layout. Simply remove the damaged paver, add joint sand, and replace it with a new one.
5. Managing Heavy Loads (Industrial Pavers)
- Industrial spaces endure high loads, making it essential to check for cracks or shifting that can interfere with the stability of loading docks or warehouse entrances. For large industrial driveways, perform regular inspections and address issues early to prevent larger repairs.
Conclusion
Installing and maintaining pavers involves a mix of planning, quality materials, and regular upkeep. Whether for a backyard, driveway, or industrial site, each type of paver installation has specific needs to ensure it remains attractive, durable, and functional. By following these steps and implementing practical maintenance practices, you can enjoy the benefits of beautiful and long-lasting pavers that add value to your property.


Share On: